Carve A Unique Pumpkin
I used to wonder how people made great looking pumpkins. Were they master carvers? Then, my husband (not much of a crafter himself, but knows I am) bought a book on pumpkin carving, complete with patterns. That took the “mystery” out of everything! I definitely know about patterns - and the importance of using the right tools. I was ready to go!
Cool, Crisp Autumn
I love autumn. It marks the end of heat, the start of a “rest time”, and the beautiful scent of fall in the air. I love the crisp mornings, and the crunchy, frosty ground. The colors can be spectacular. Fall definitely offers a HUGE change in weather and vibe here in the Northwest. It puts me in the mood for pumpkin carving.
Disclosure: This site contains affiliate links. As an Amazon Associate, I earn from qualifying purchases. Clicking on links, and purchasing products, may result in the seller paying us compensation - at no extra cost to you. Affiliate links are in green.
SUPPLIES
Pumpkin Carving Pattern
We originally used the patterns in the book we purchased. I have since found patterns free online. Never use the original pattern, because it will be destroyed in the process. Make a photo copy, and use that. You can re-use favorite patterns year after year (or get brave and try something new).
Pumpkin Carving Tools
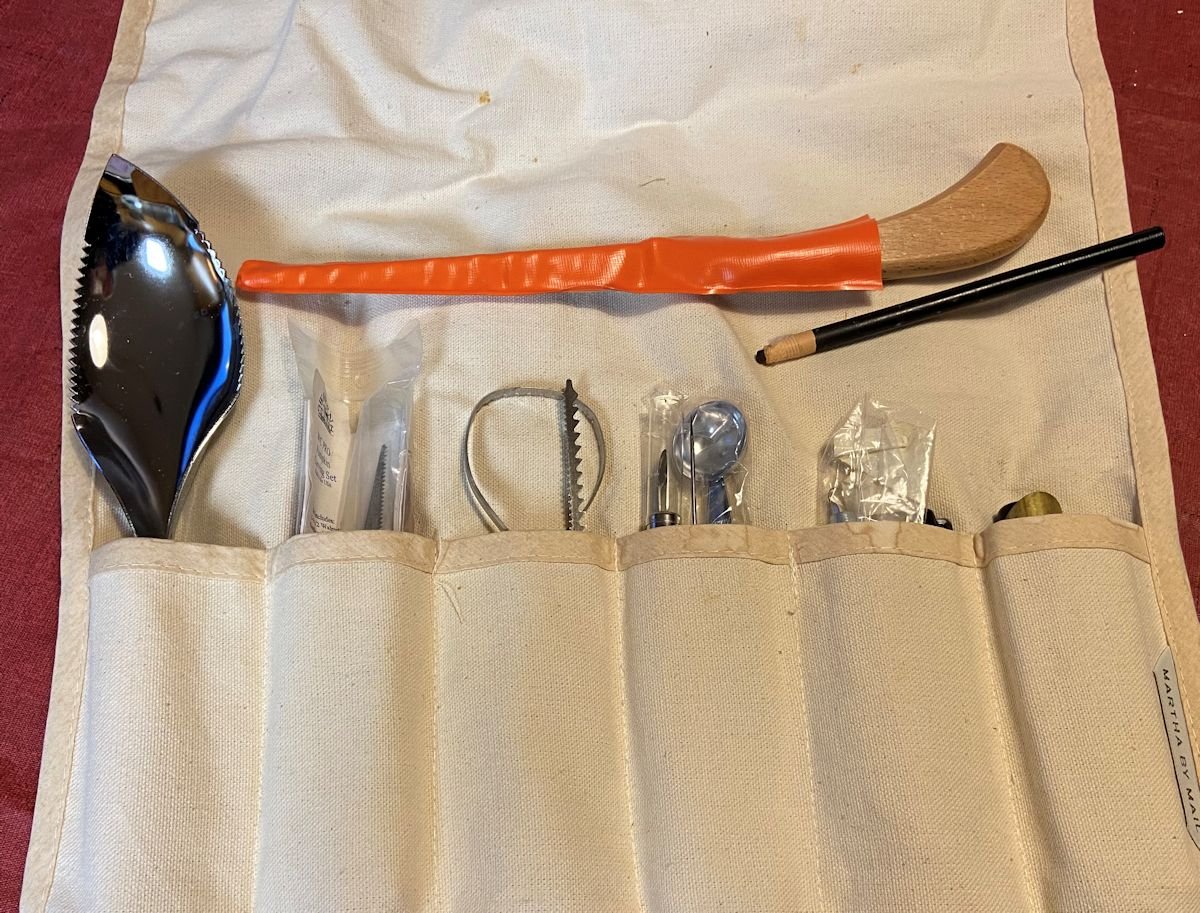
Don’t go cheap with the tools! Purchase a good quality pumpkin carving set of tools. You will need a sharp knife for cutting off the top, and sturdy tools that don’t break! Trust me - I tried a cheap set and was NOT happy. They don’t have to be expensive - just decent quality.
The tools in the Amazon ad below are similar to mine.
Pumpkins
So Many Pumpkin Varieties
We have several farms nearby that sell pumpkins. Oh my gosh! Such a display! It is hard to choose. The shape you choose will depend on the pattern you are using. Try to find a pumpkin that will sit straight, and has a large enough area for your design. If your design is too large, make a photo copy in reduced size.
Friends
Carving Party
I list “friends” under supplies because - hey - this is a great time to have a party. Featured are my eggnog, pumpkin, and beer breads.
Other Supplies
I recommend a plastic table cloth. I use them for painting classes, or getting together with friends for painting or other messy projects. Just wipe clean when done. Also, an apron and gloves if you want extra protection for clothing and hands.
INSTRUCTIONS
Refer to the photos below.
Wash and dry your pumpkin.
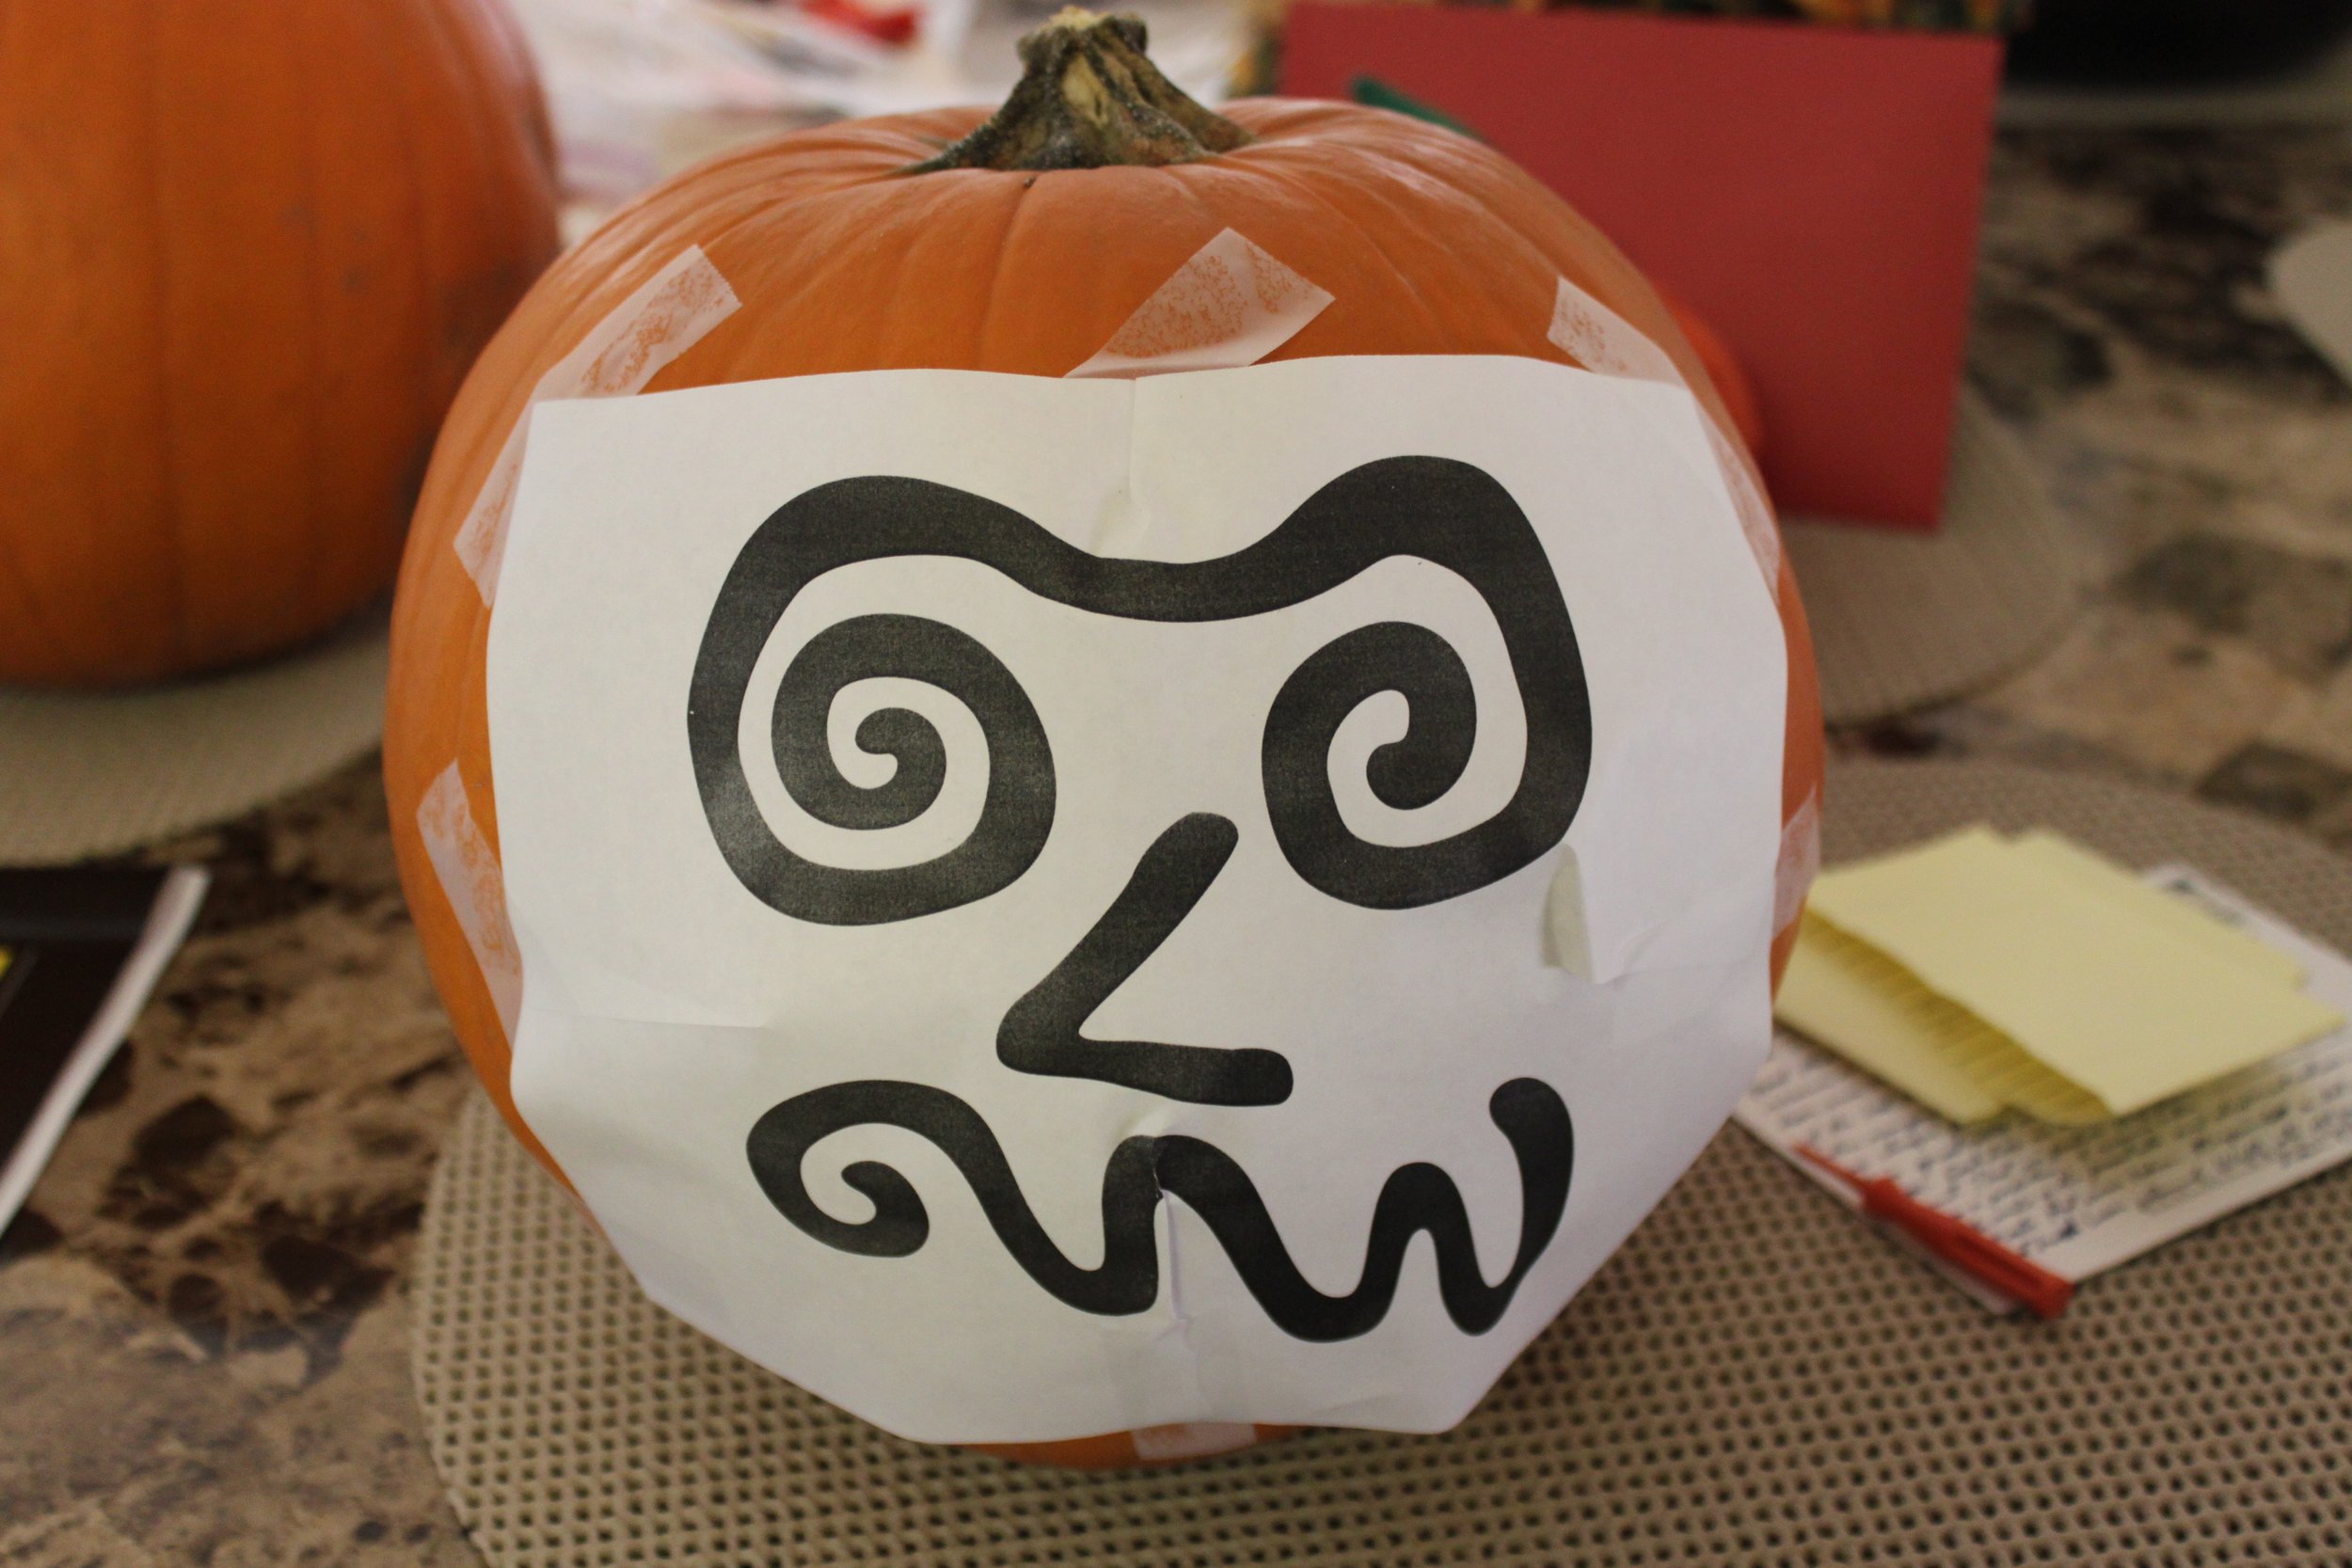
Place the pattern onto the pumpkin in the area you plan to carve. Do not tape it down yet. Once you know where the carving will take place, use a sharp knife to cut around the top of the pumpkin. Remove the top, and use the scoop tools to clean out the pumpkin. Clean and keep the seeds for roasting, or discard them.
Tape the paper pattern to the pumpkin.
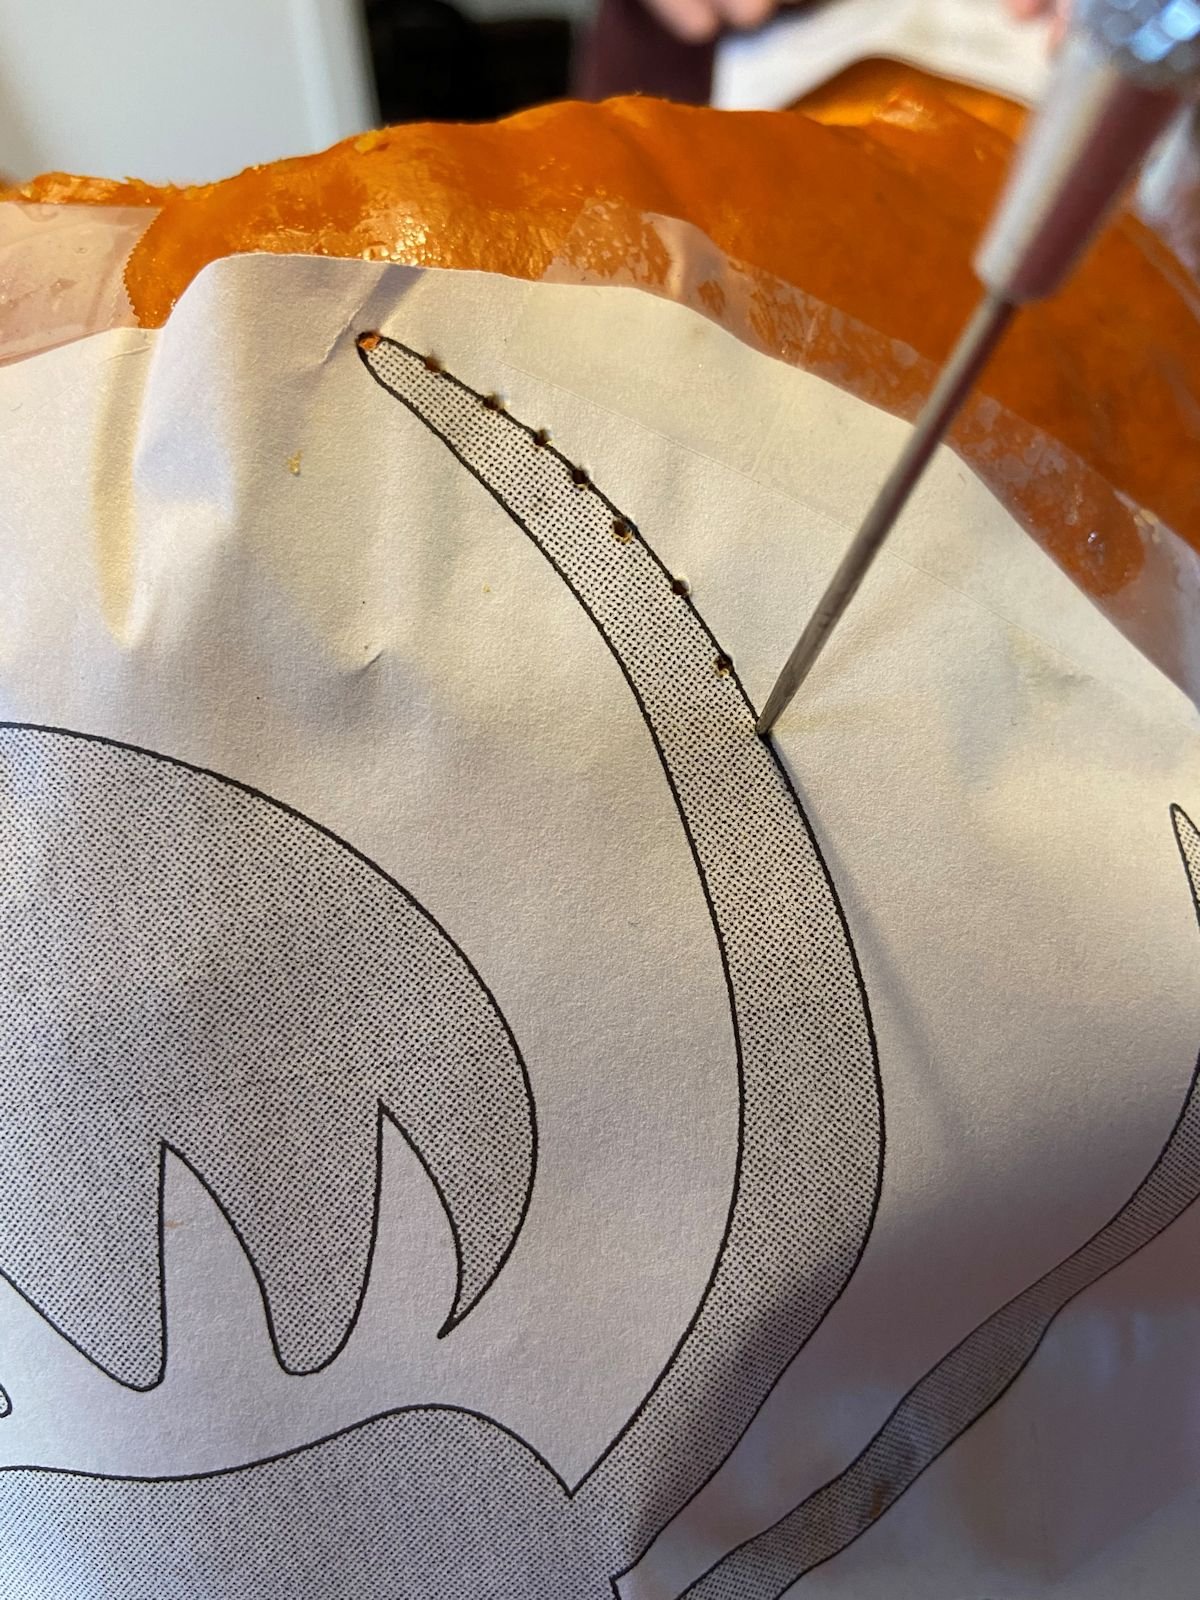
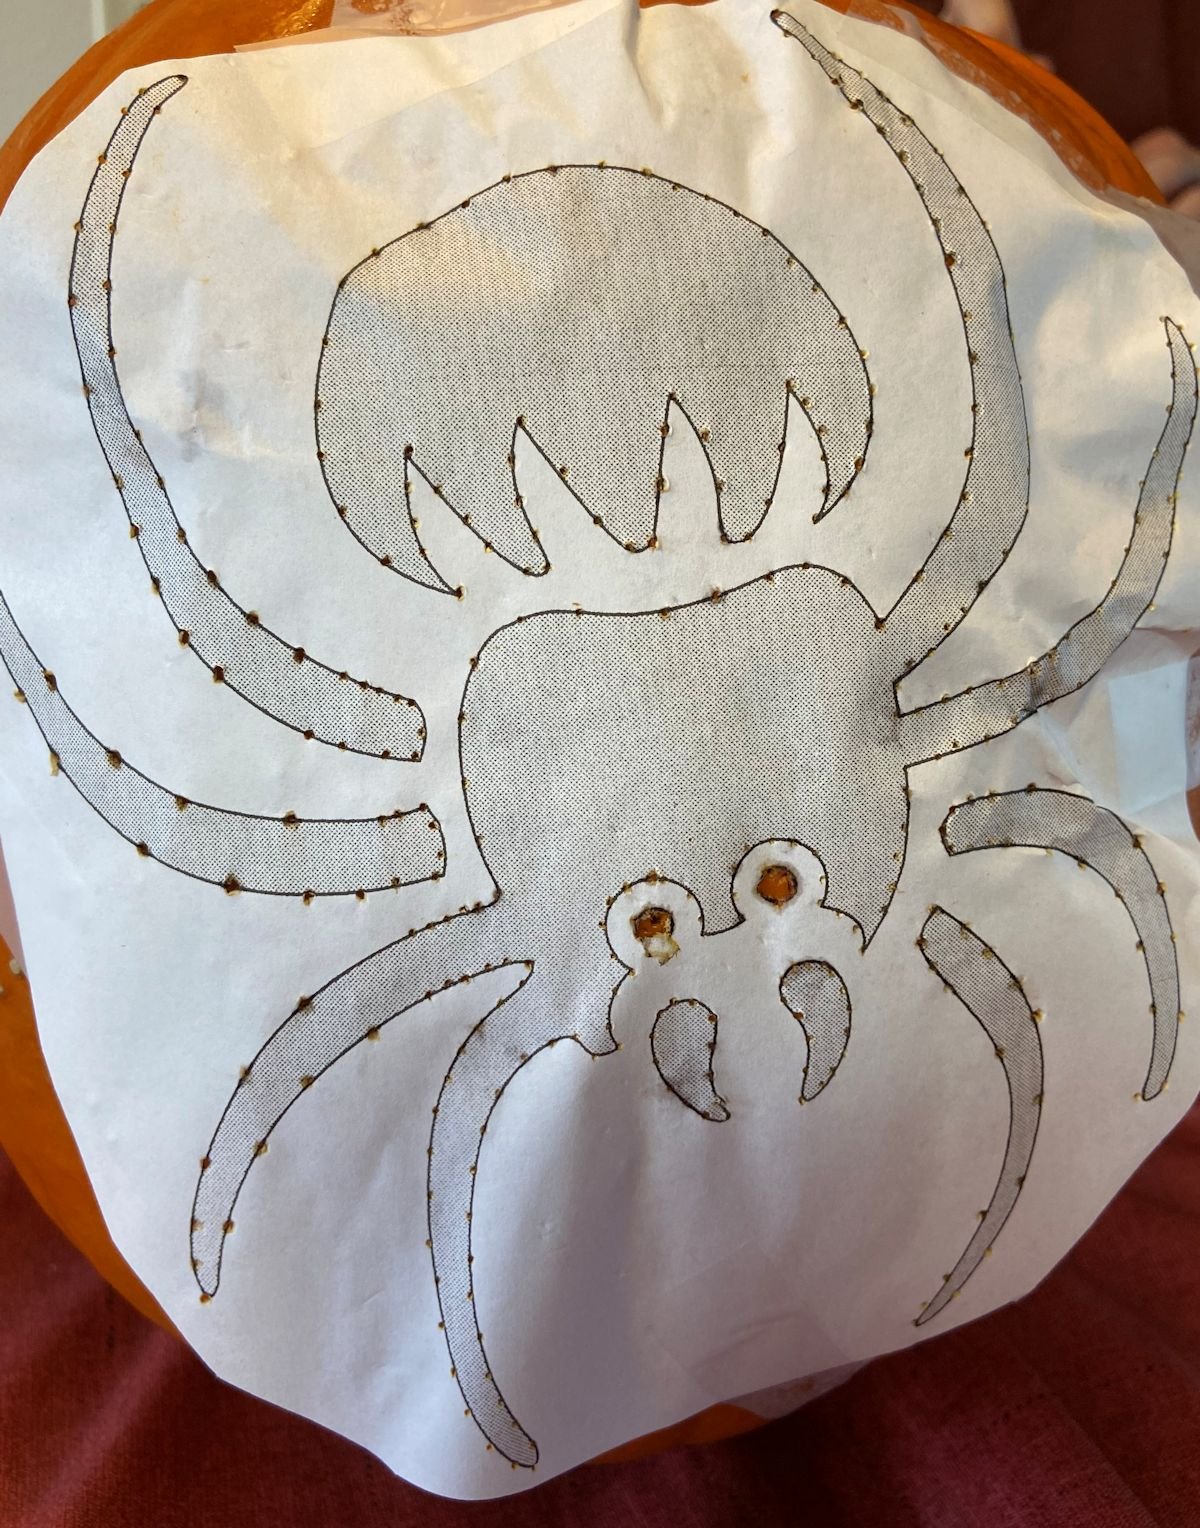
Using the small pointed tool, punch holes along the pattern lines you will be cutting on. You are creating “dots”. When you cut, you will cut on the dotted lines.
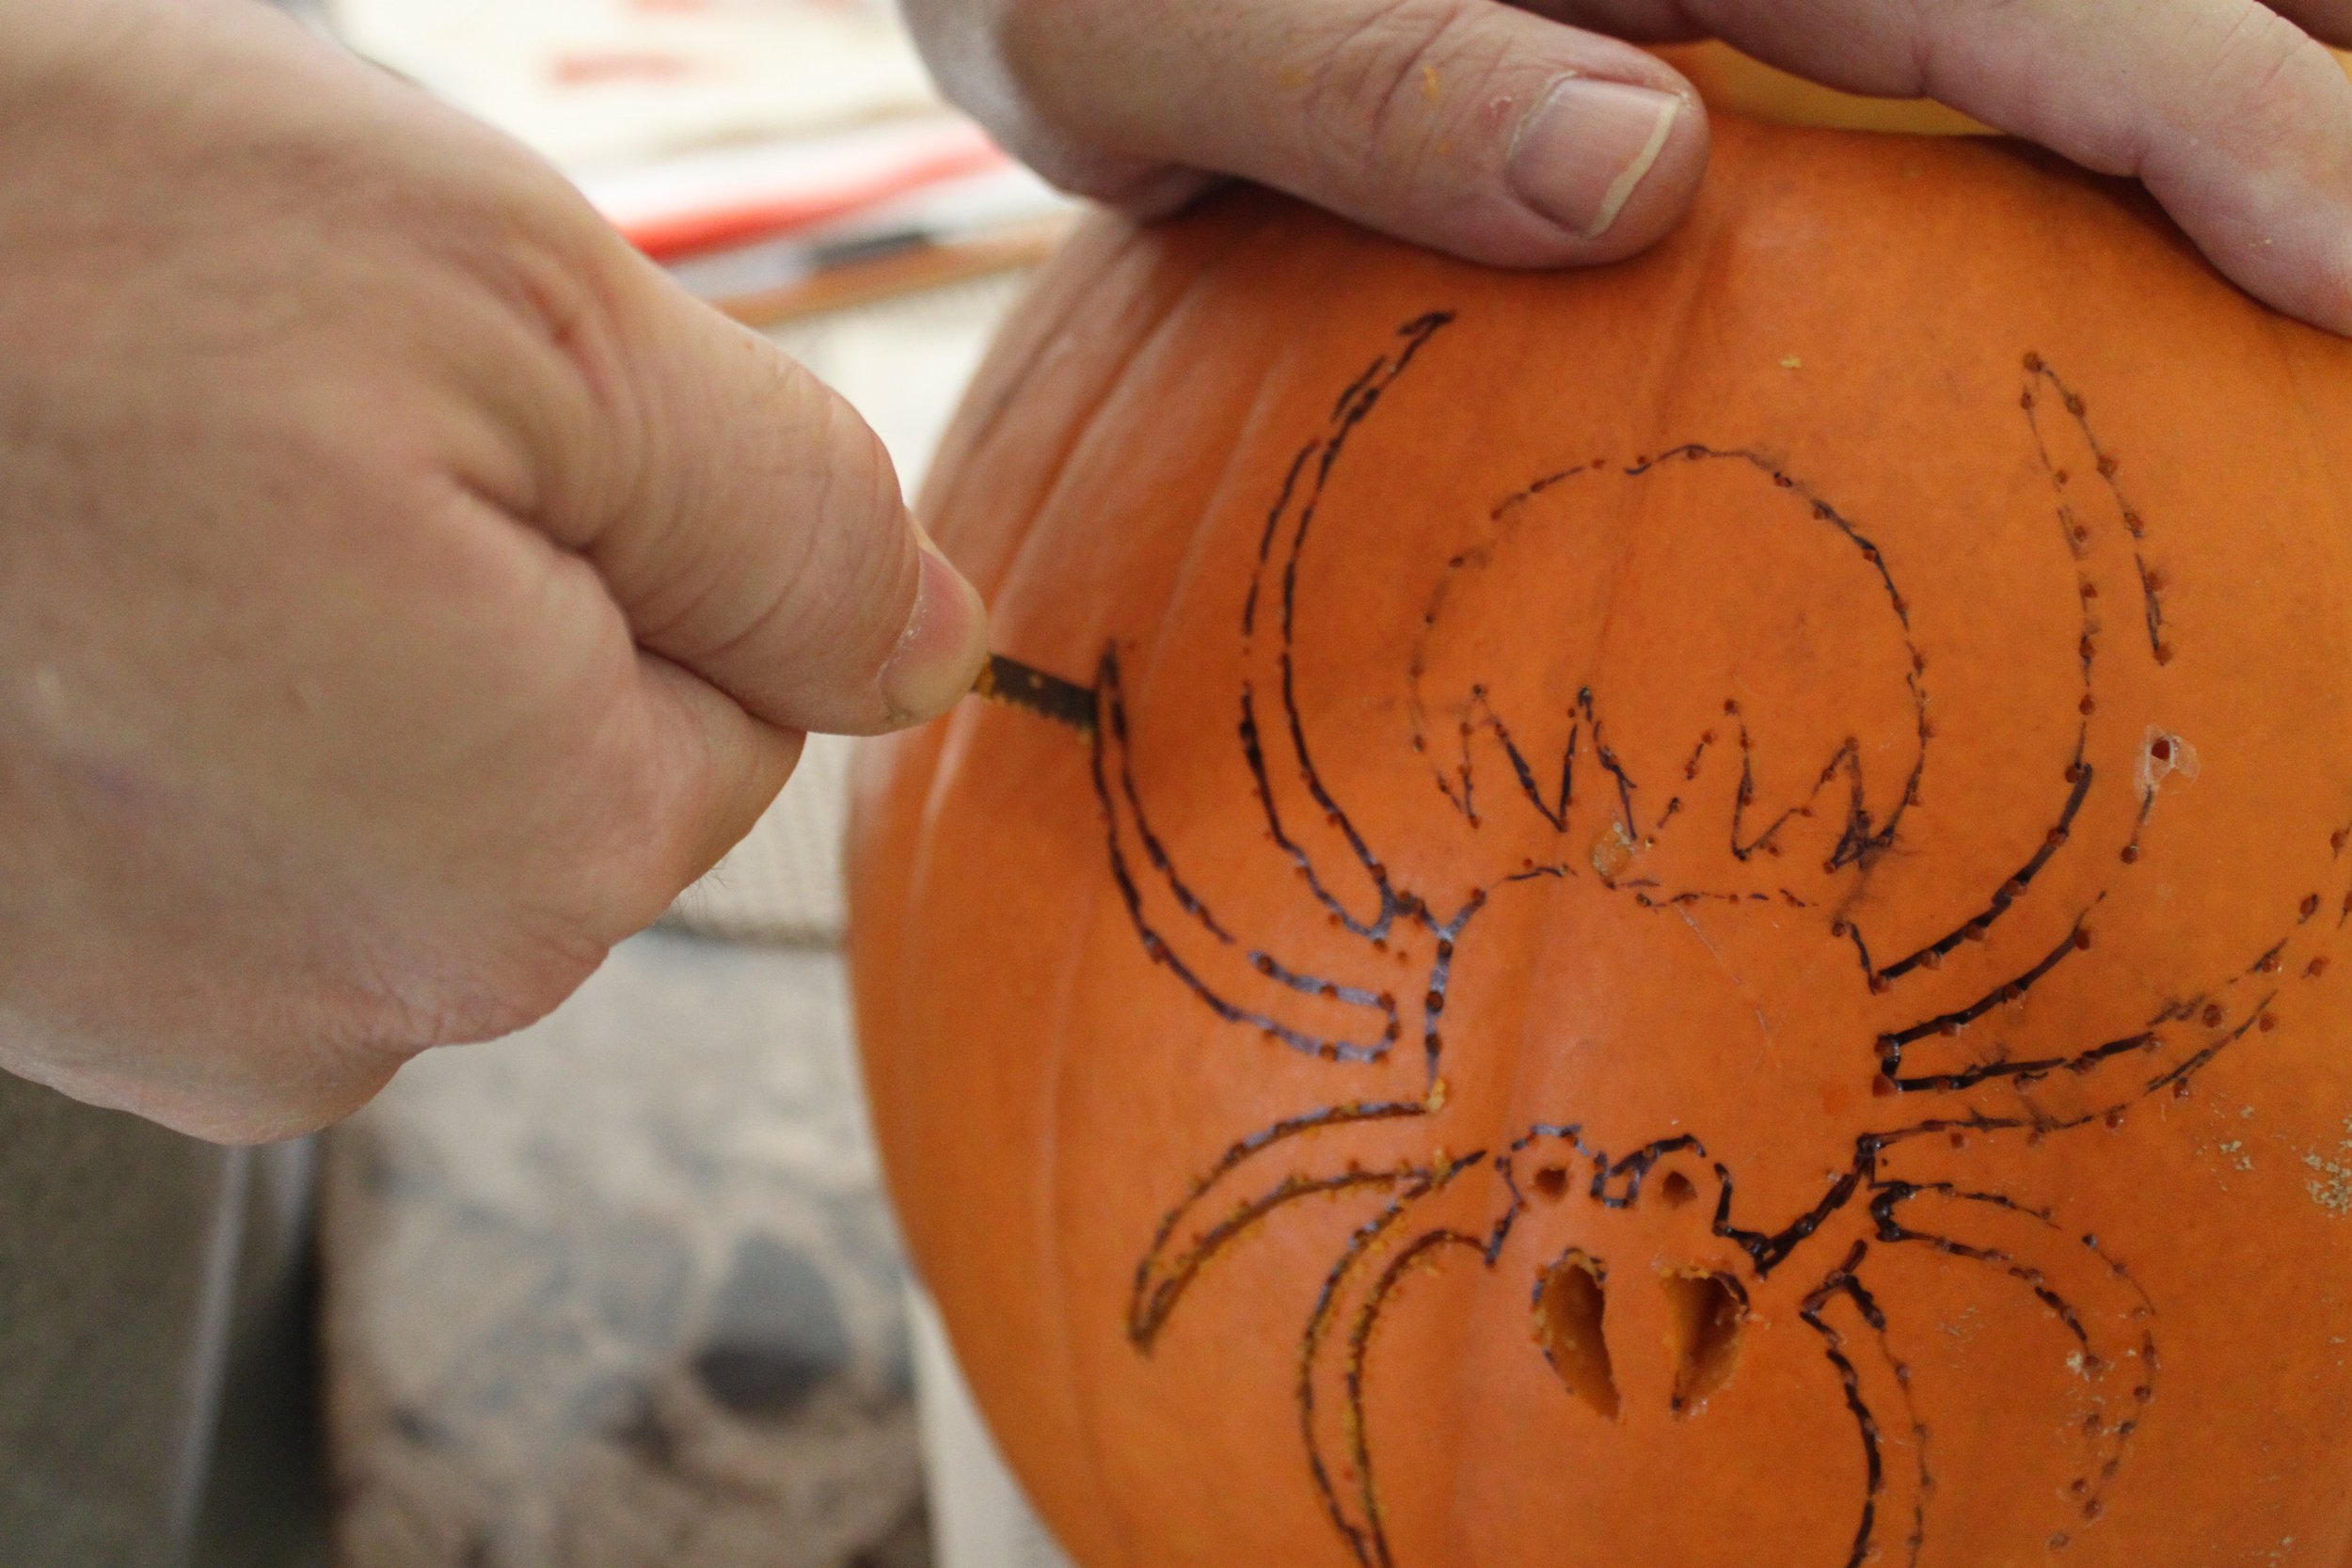
Remove the paper pattern. I use a marking pen to “connect the dots” at this point - so I don’t cut the wrong area! Sometimes, with more complex patterns, it can become a bit tricky deciding where to cut.
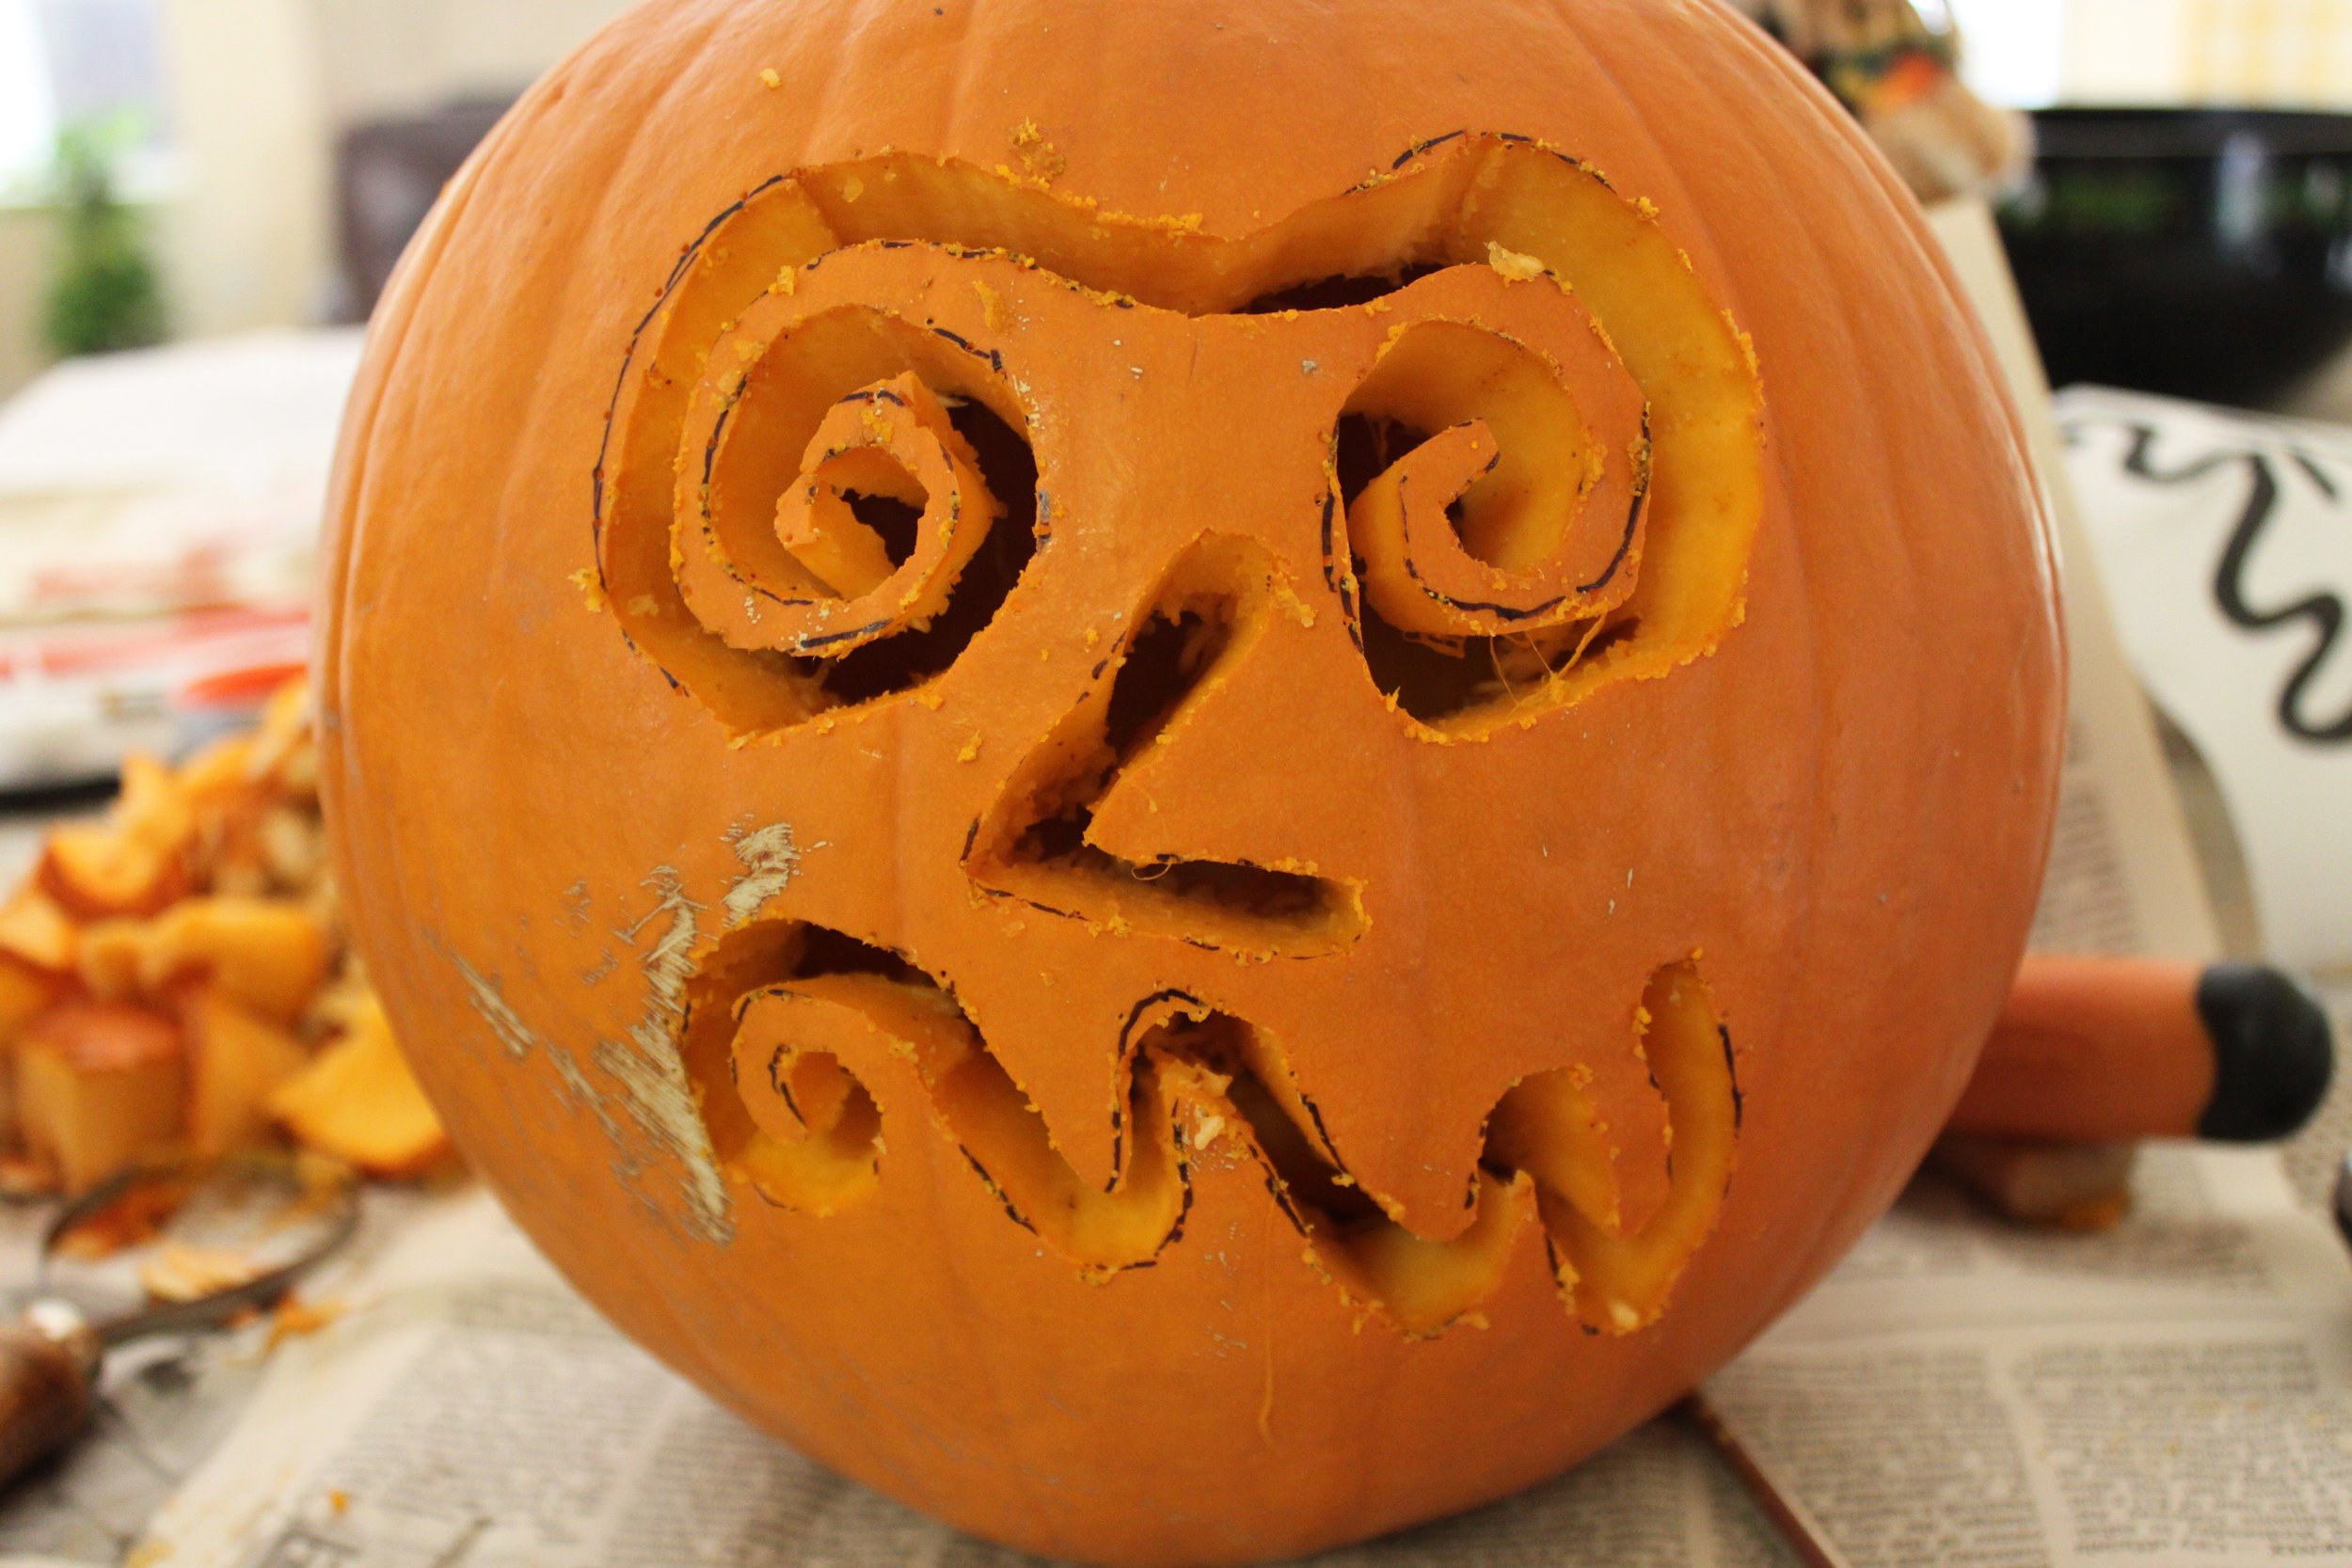
Using the cutting tool, cut along the dotted lines. Check your pattern if you are unsure of a cutting area. Patterns are in the style of stencils. Remove the areas that have been cut. Be careful - refer to your pattern if unsure of what to remove. As long as you remove the areas that are meant to be removed, and leave the areas that are to remain, your pumpkin will look terrific.
And just like that - you have an “artsy pumpkin.”
RECYCLING PUMPKINS
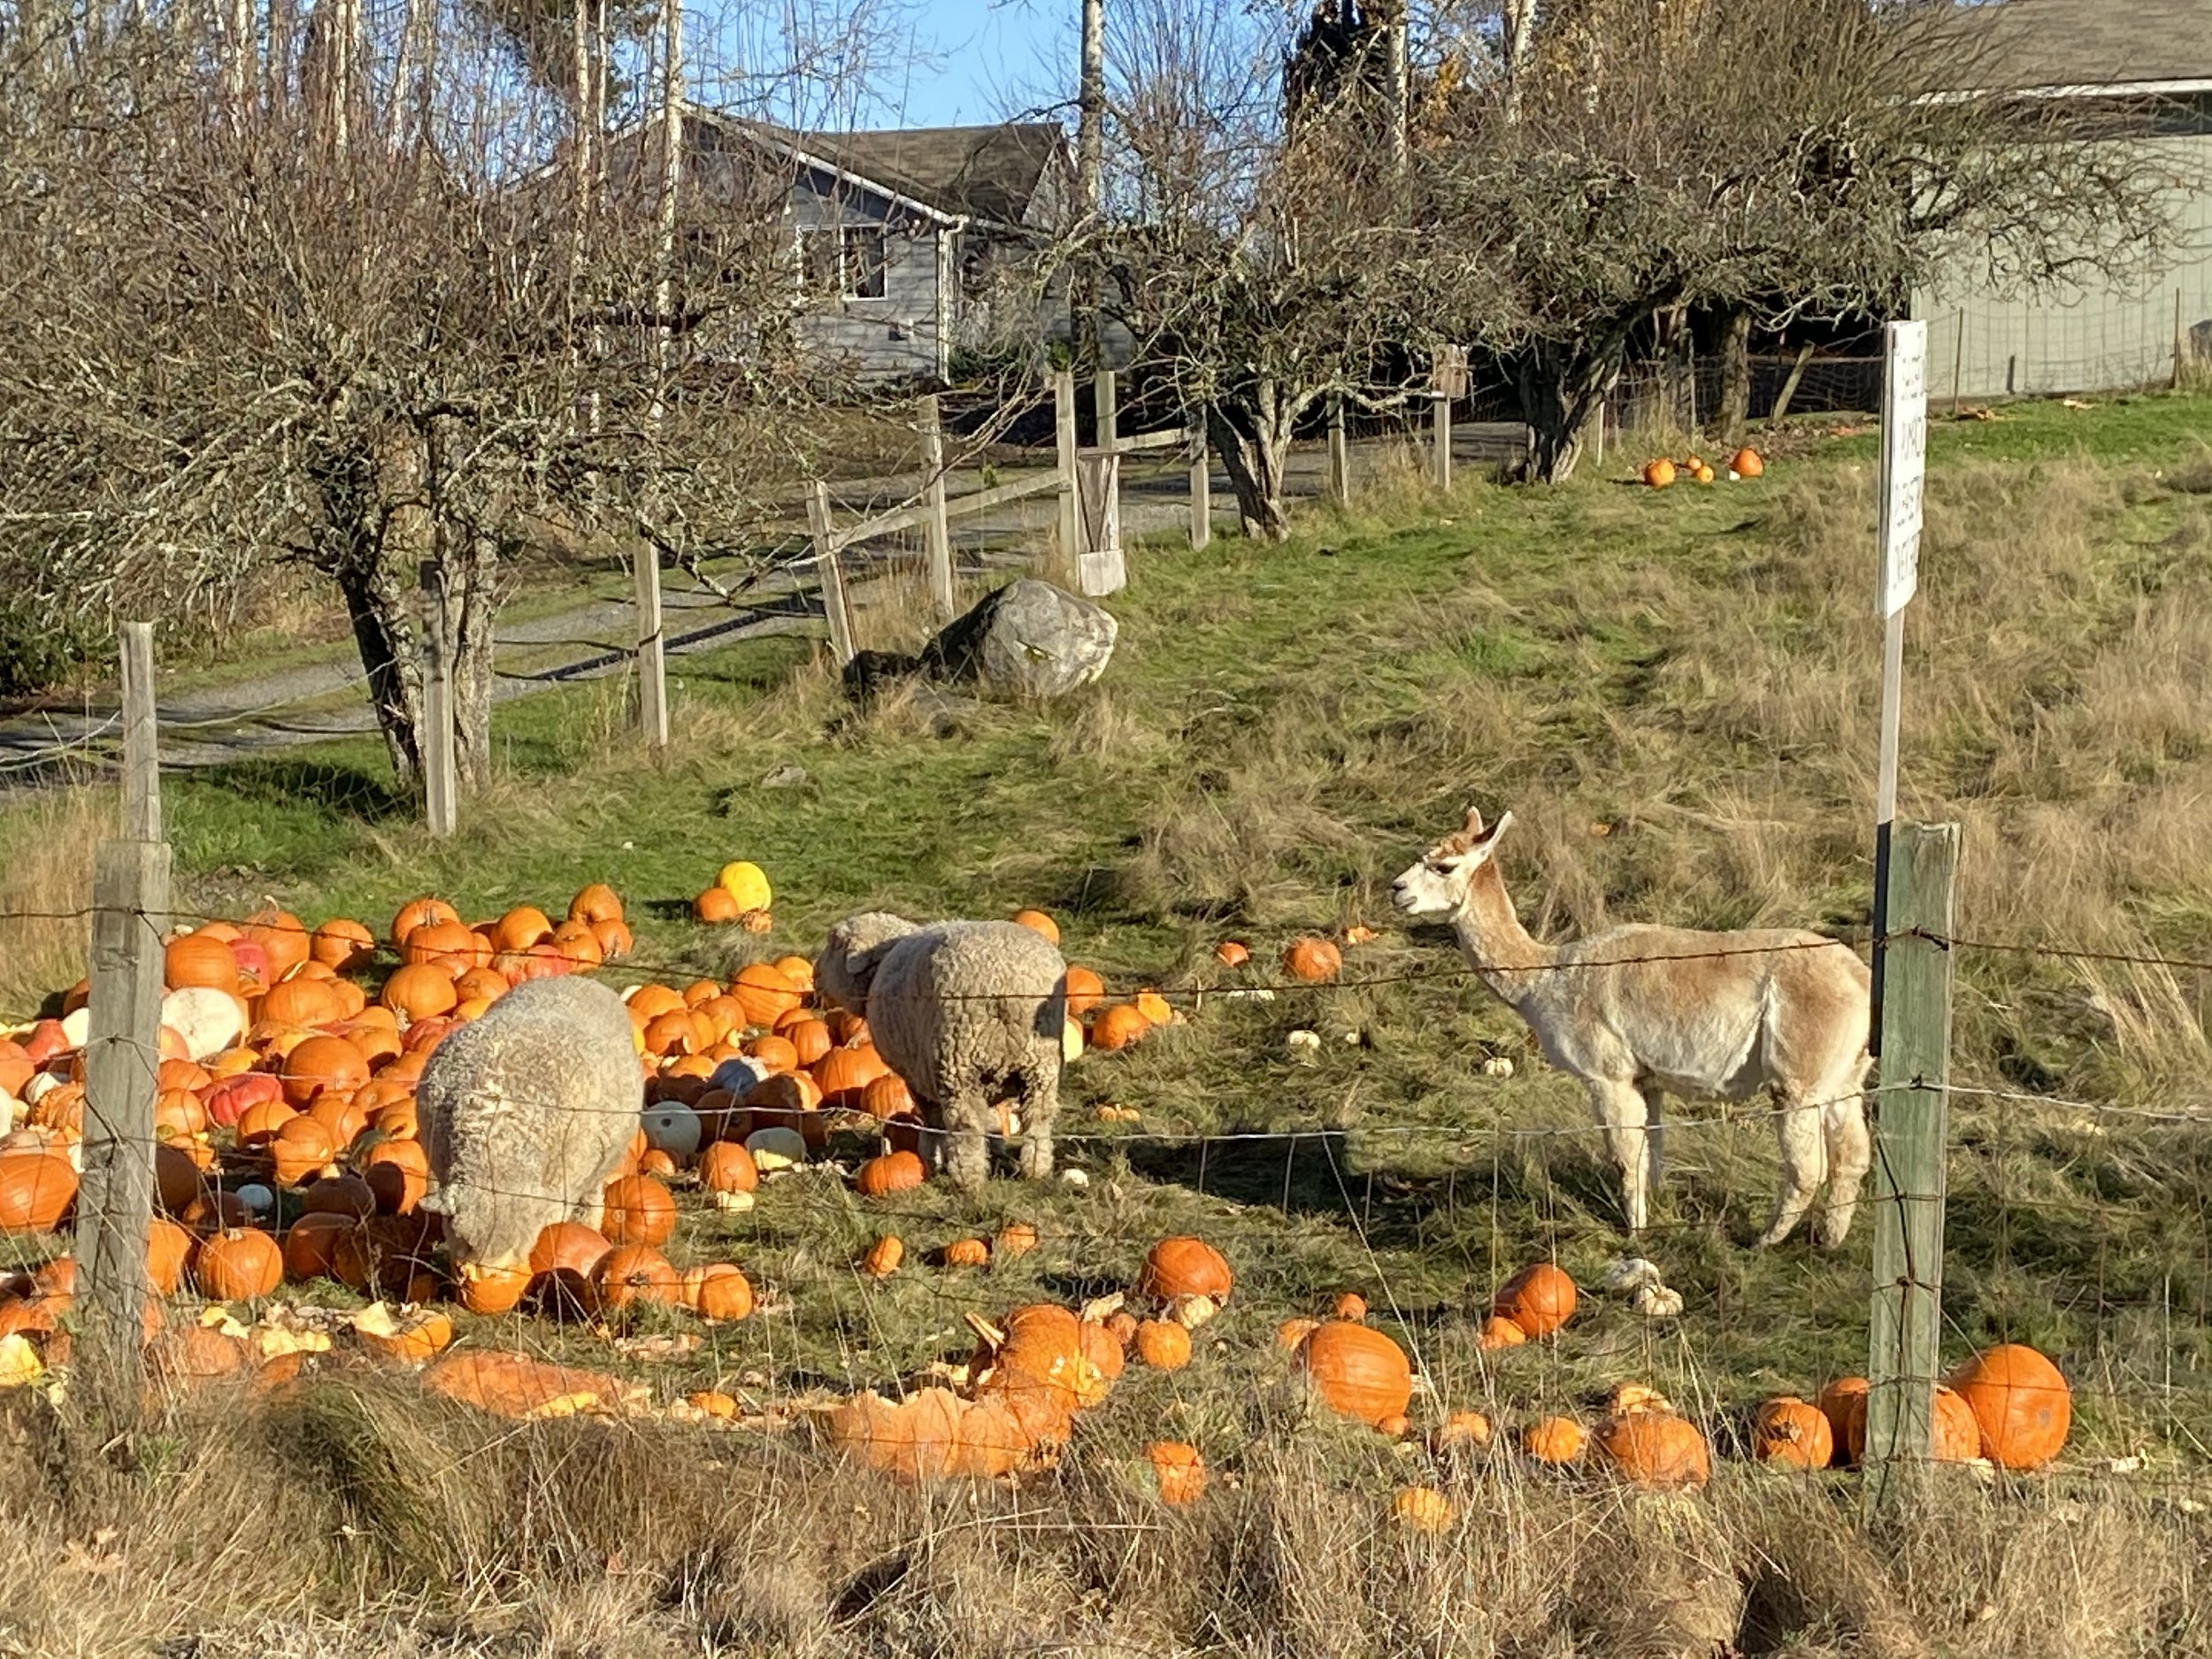
Farmers near me request pumpkins (fresh - no mold!). Sheep, pigs, and goats love them. Check your area - better than a landfill.




Super easy pumpkin pocket placemat. Setting the table can be fun for kids!