Remove Sparkly Ceiling
Get Rid Of That Textured Sparkly Ceiling
Yes, it’s an awful job, but so worth it!
Disclosure: This site contains affiliate links. As an Amazon Associate, I earn from qualifying purchases. Clicking on links, and purchasing products, may result in the seller paying us compensation at no extra cost to you. Affiliate links are in green.
Also see:
Lifestyle Blog
Remodel Projects
Wood Projects
Yard & Exterior Projects
SAFETY FIRST - test for asbestos
Following directions and safety instructions from the testing company, remove a small sample of the ceiling’s surface and send it in for testing. We collected samples from a few different areas of the house. Ours came back with the good news that our ceiling was free from asbestos. If positive for asbestos, we would NOT have done anything further with it except paint over it. Leave asbestos work to the professionals.
TOOLS
Plastic drop cloths to line walls and contain dust to areas of work
Painter's drop cloths or plastic tarps this is a VERY messy job
Shop vacuum - have a broom and dust pan handy as well
Handheld sprayer or squirt gun – the ceiling comes down easier when damp
Step stool I am a short female and definitely needed a stool
Helpers - this was another family project
INSTRUCTIONS
Place tarp on the floor of the room where the ceiling covering is being removed. This is a super messy project, and the tarp helps with clean-up. Tape plastic to every wall.
Turn on an air filtering machine. Ours lit up red right away, and continued to run for days. We also had the windows and doors open.
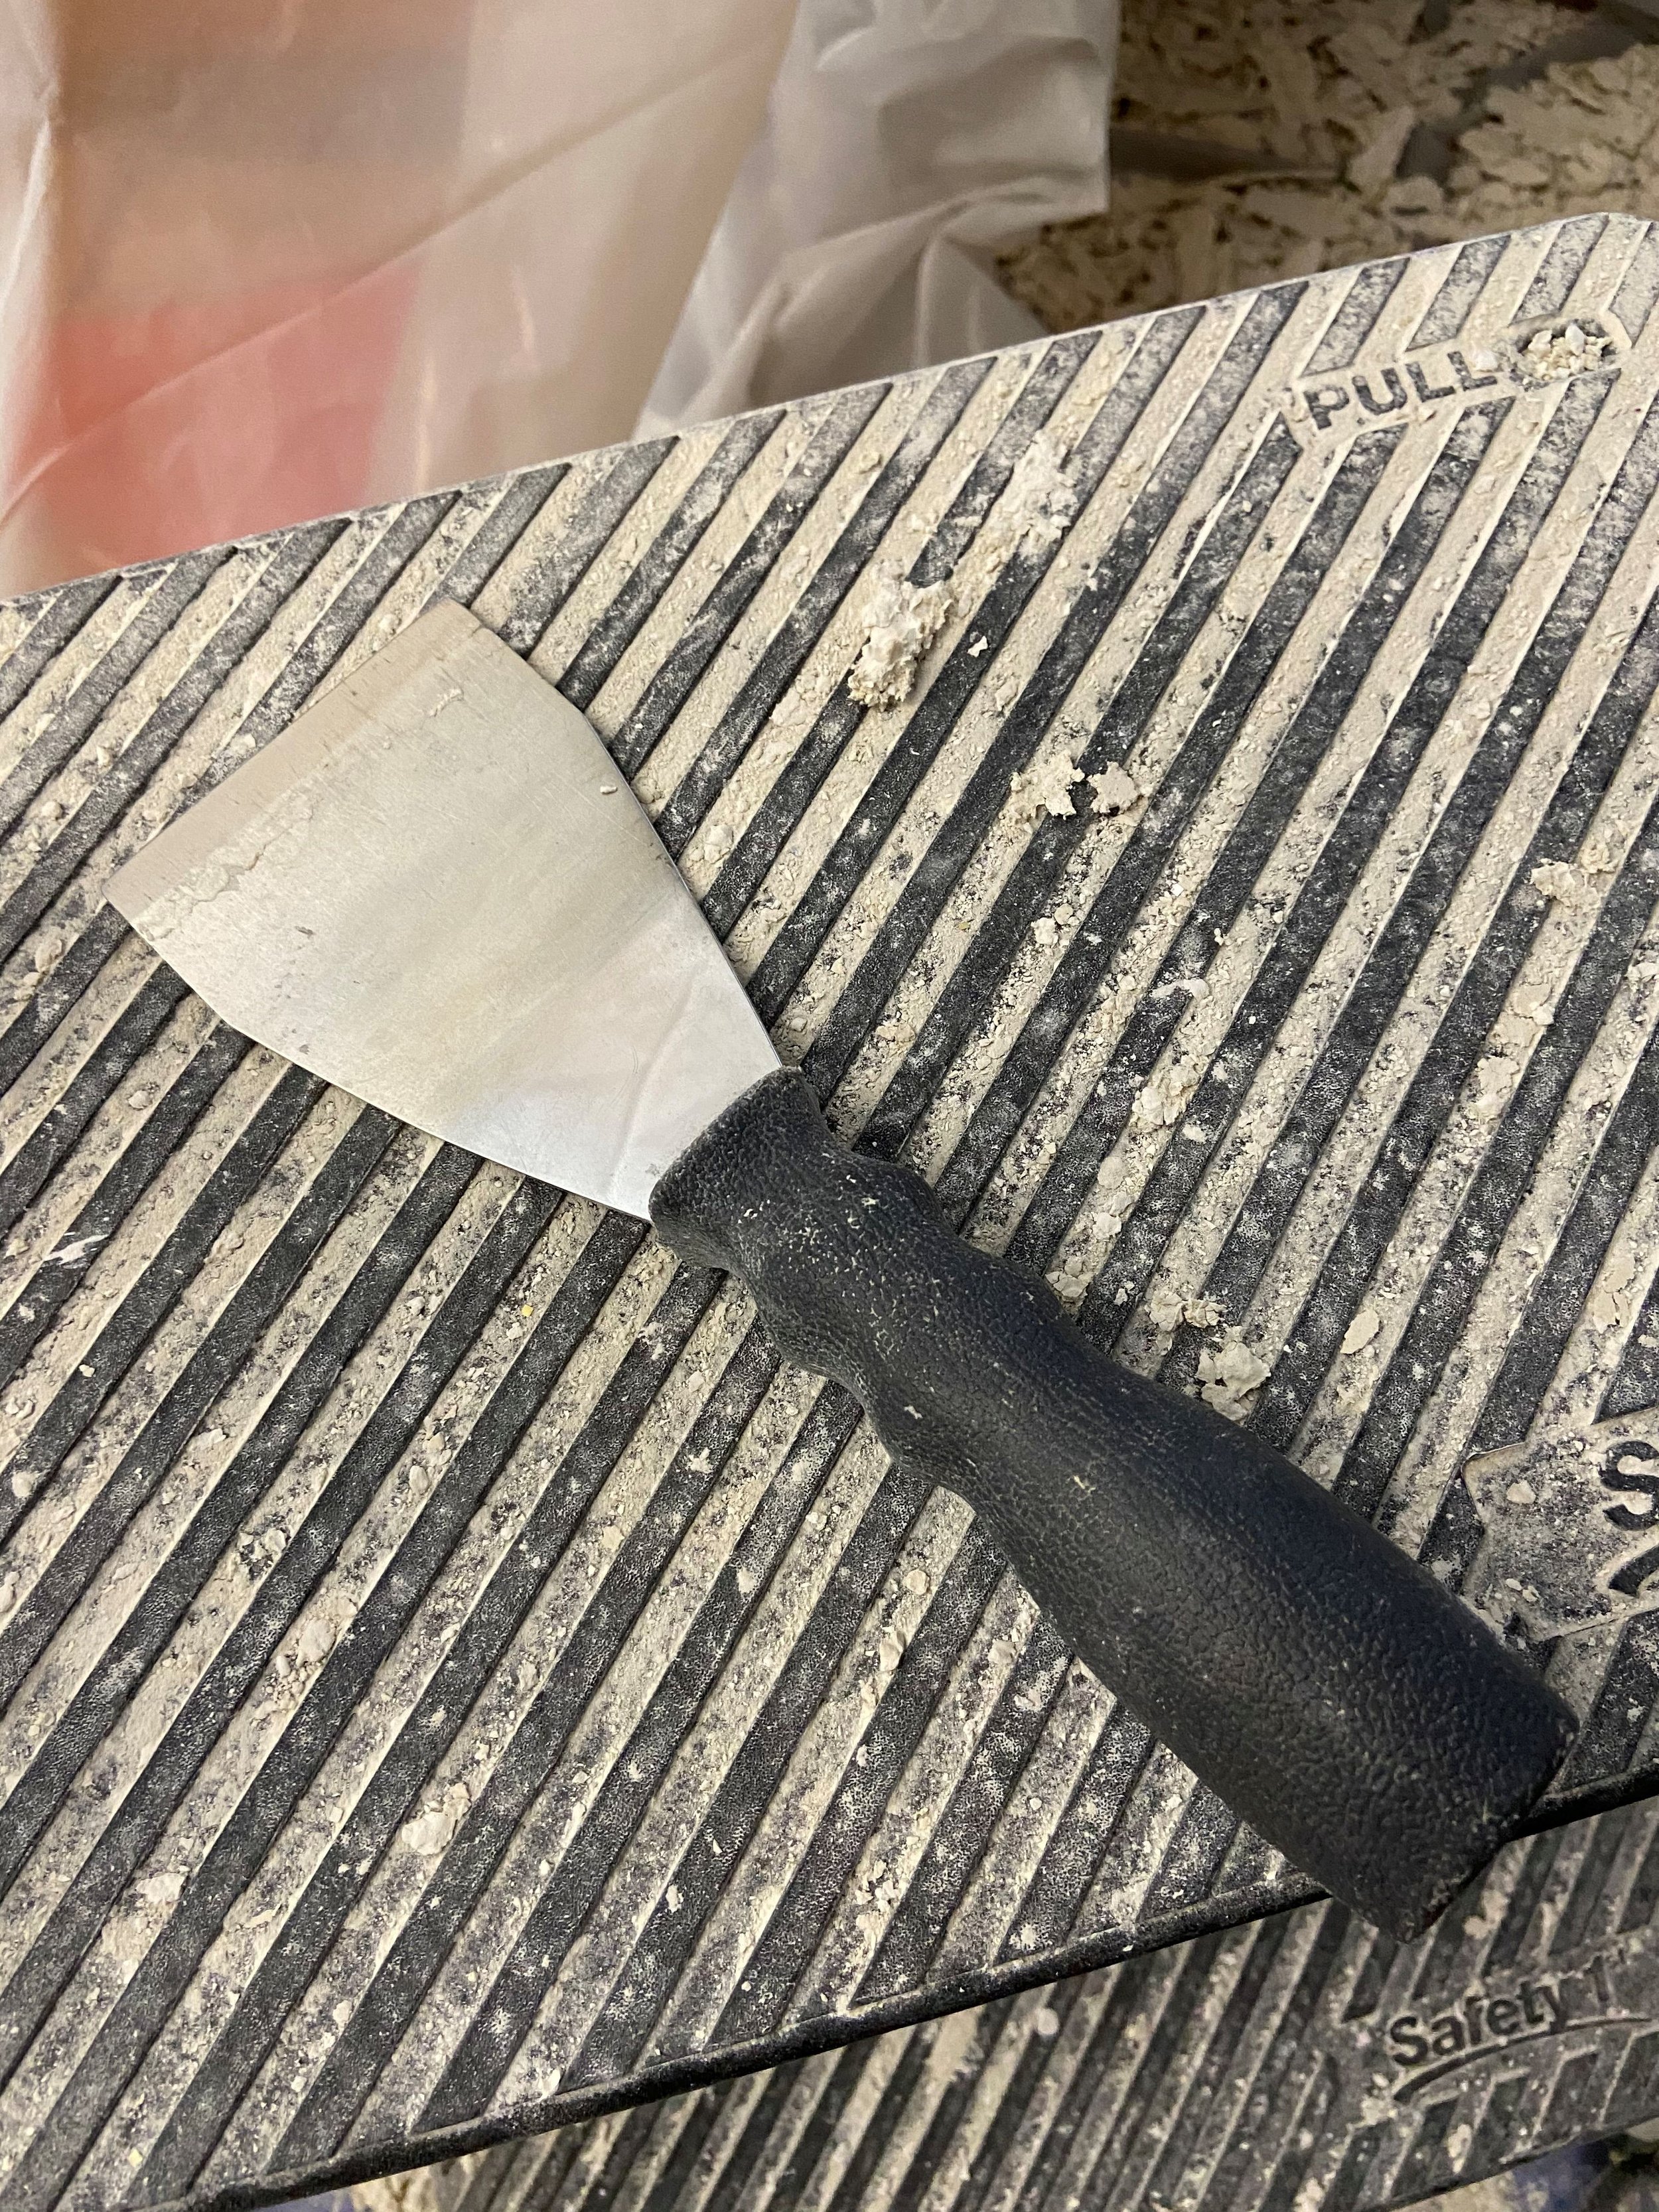
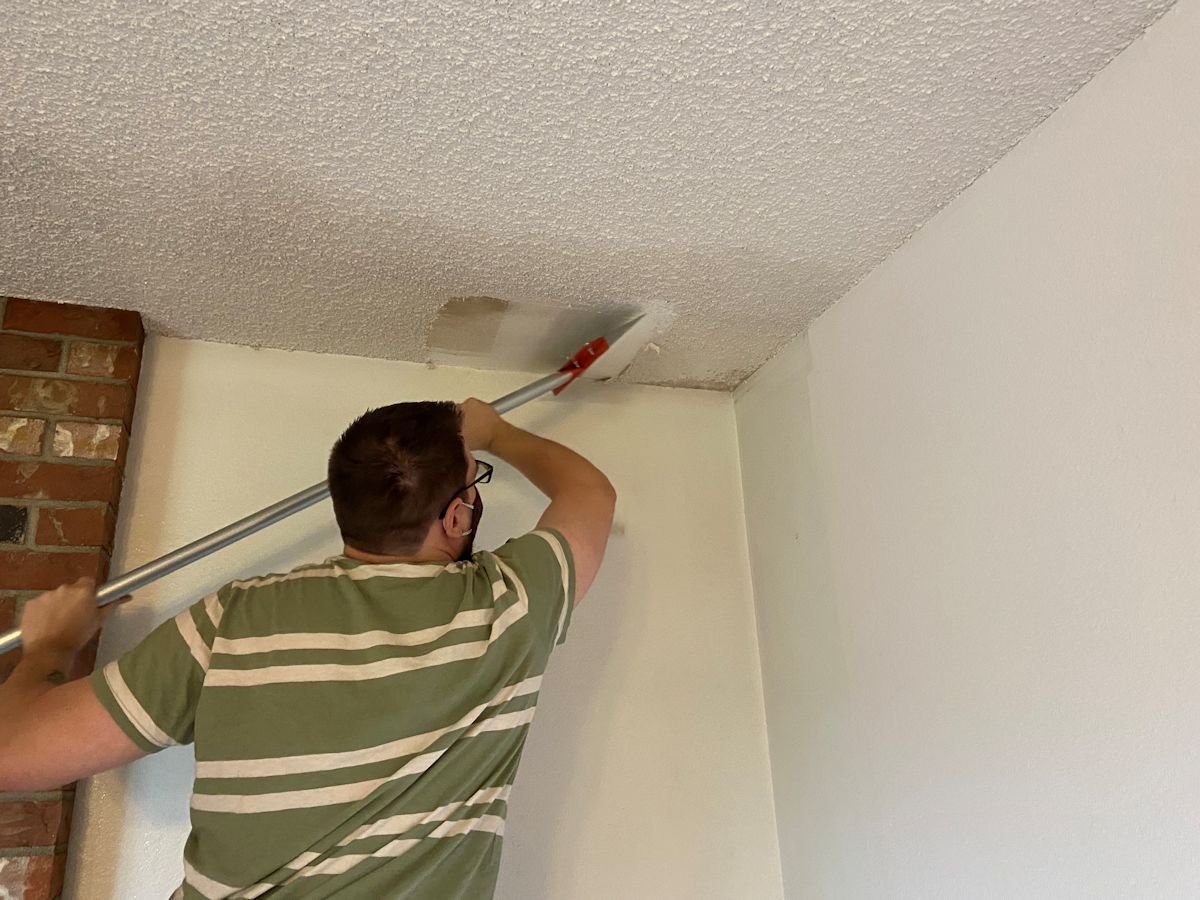
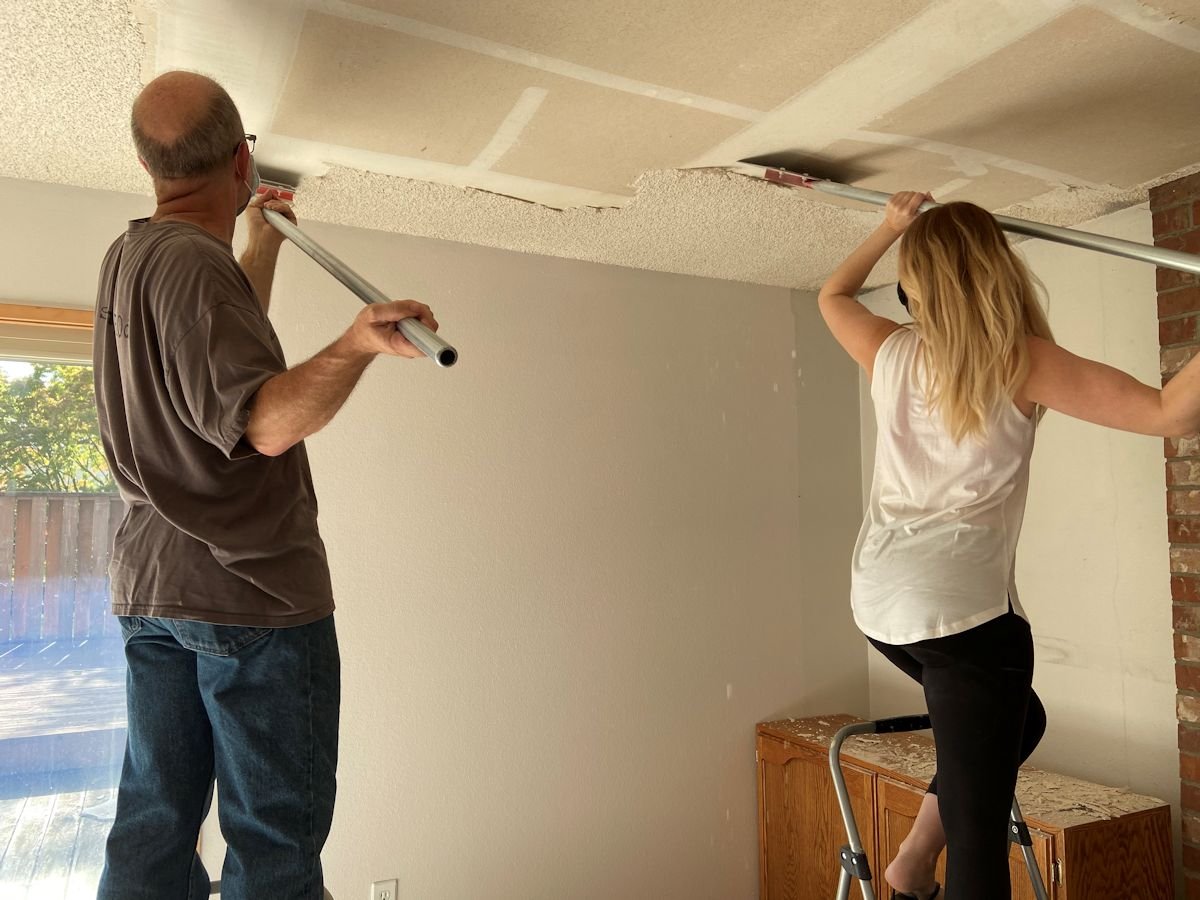
Work by section - spray water onto an area, let it soak in a bit, then scrape. The fourth photo below shows the sprayer we used for water. It is the same type as you would use for spraying weed control into your garden, but we bought a new one and used it for water.
There is no easy way to do this - just do it. I had to keep thinking about the results - it kept me motivated.
CLICK THE PHOTOS FOR LARGER IMAGE
I had a bit of an issue with a shoulder and hand when the entire job was done - nothing that a bit of PT couldn’t take care of. A doctor asked me, “Are you sure you should be doing this?” I am a small, “older” female, but that does NOT mean that I an incapable. I am quite sure that she would not have asked a young man the same question. We can do this!
I have to admit - the big guys could remove quite a bit with one scrape; I was much slower. I still got a lot of it done though.
If in doubt, always check with your doctor of course. You will breathe in a lot of dust, and injuries can occur.
CLICK THE PHOTOS FOR LARGER IMAGE
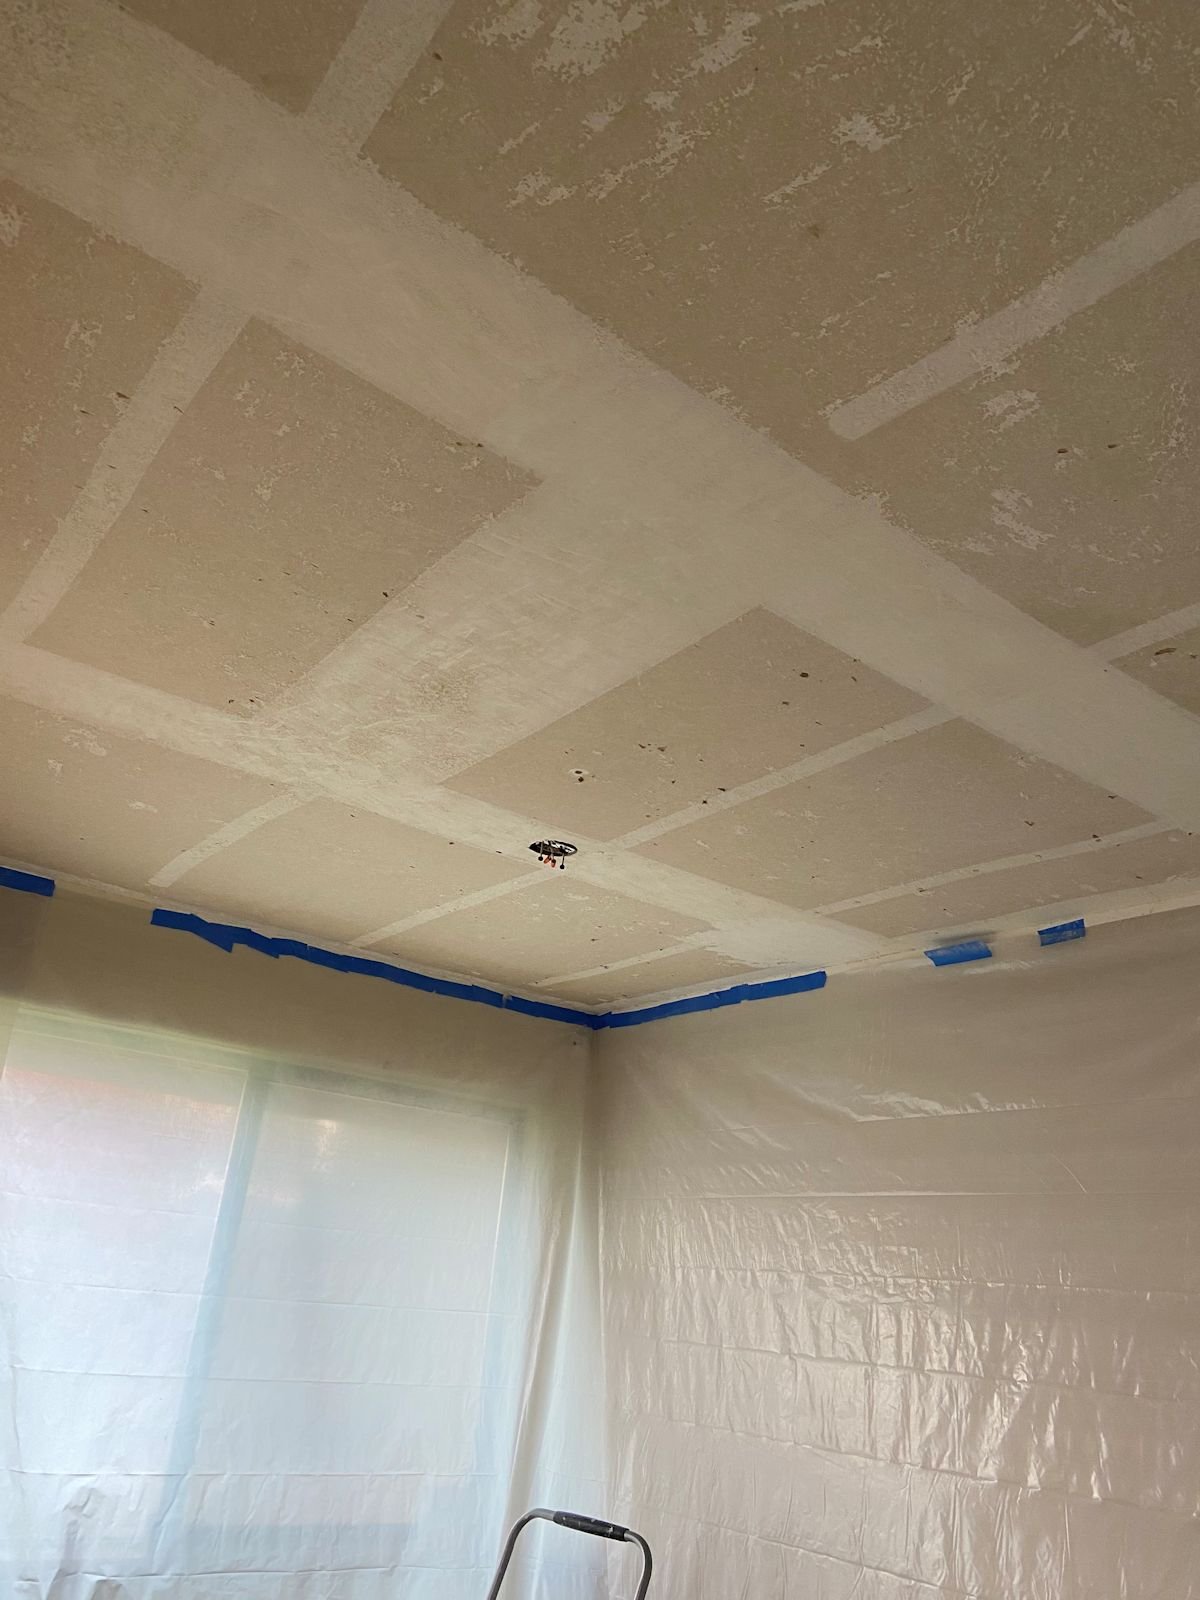
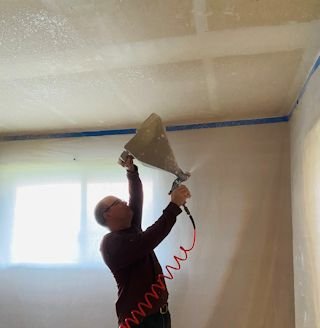
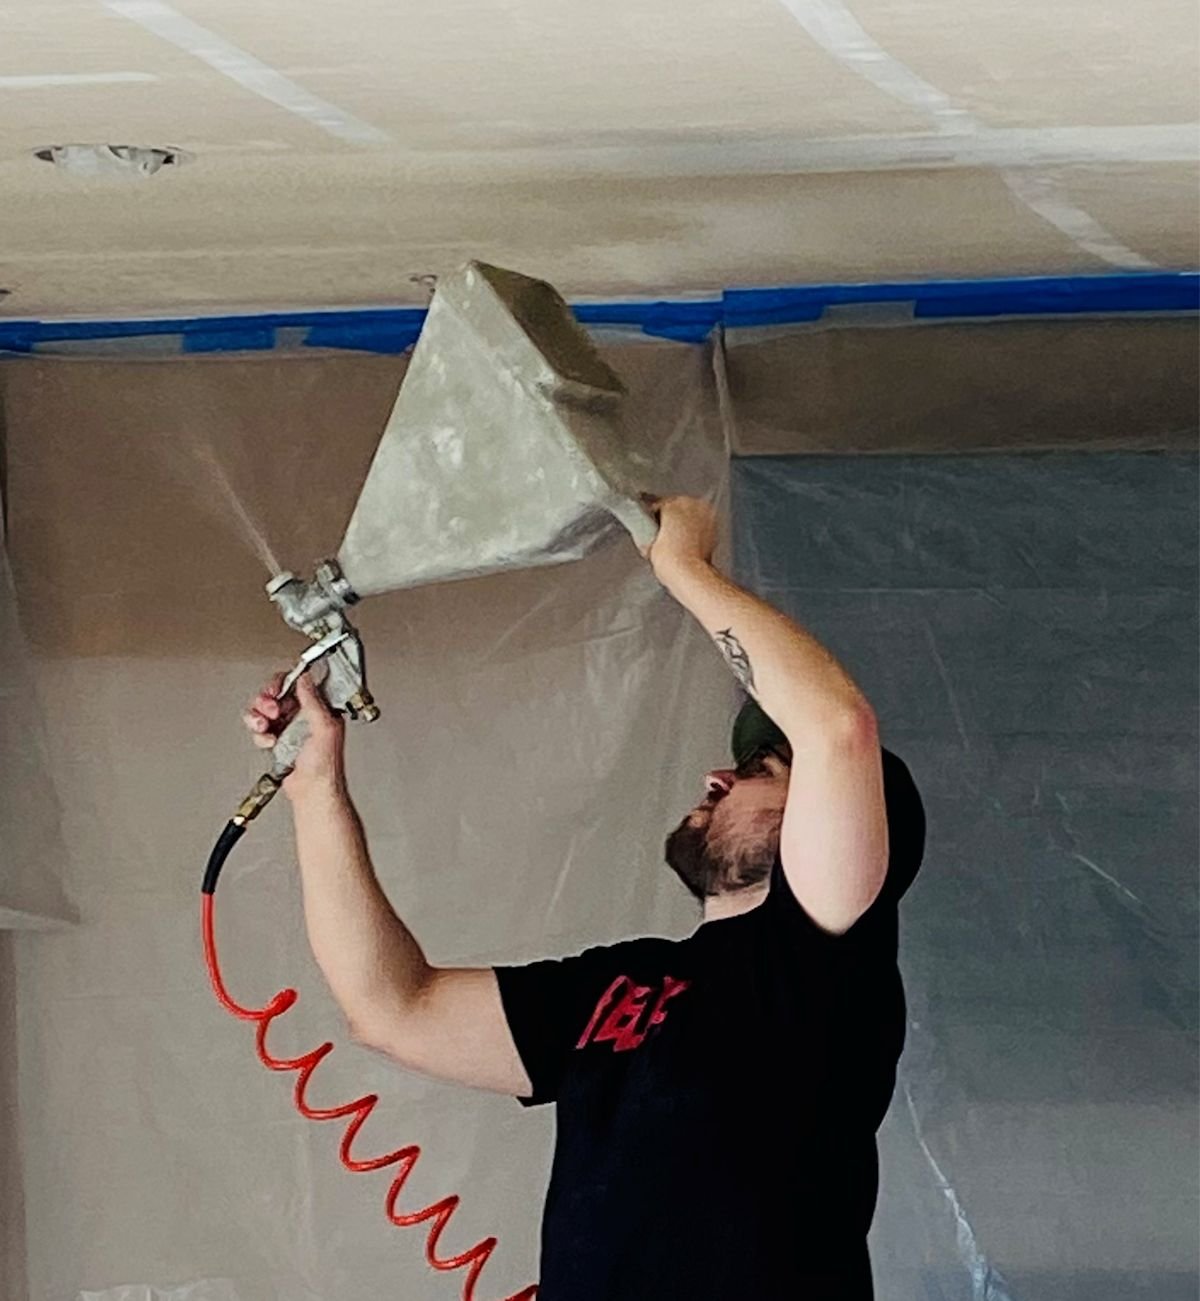
The end result was a cleared off ceiling that was ready for new texture, which my husband sprayed on. That job was too heavy for me. After the ceilings were textured and painted, can lights were installed throughout the house.
The first thing I did when we moved in was to clean and paint the walls throughout the house. It brightened up the place and made I loved how clean it was. The problem with that, was that I had to repaint several walls, or parts of walls, after the new ceiling was sprayed on. Even though we covered the walls with plastic, the dust seemed to get down onto the wall in areas.
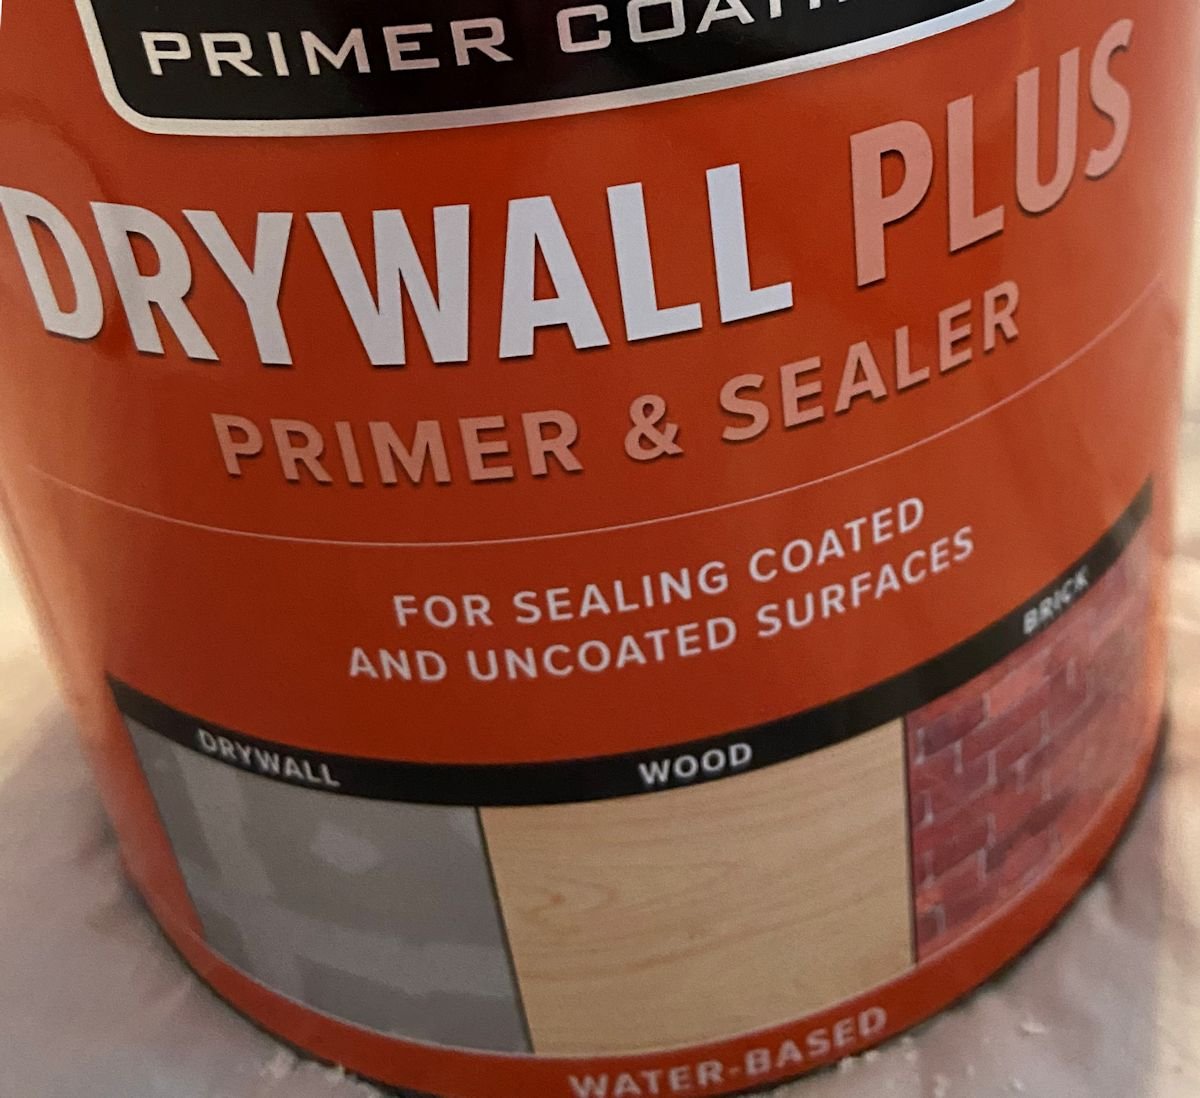
After the new texture was on, the ceiling was painted with a good primer, then painted with good quality interior paint. A salesperson told me that a primer was not necessary. Wrong! The ceiling texture was streaky without it. I highly recommend using a good drywall primer before painting over new texture.
CLICK THE PHOTOS FOR LARGER IMAGE
More Home Improvement Projects
Lifestyle Blog
It’s all about enjoying life in a perfect balance.
Organize, minimize, simplify, DIY. Free up time and money for hiking, biking, art, enjoying nature - or doing the things you love..






Protect your wood deck from the elements with proper prep and quality stain. Proper maintenance enhances the life span of a wood deck. Protect from snow, rain, freezing ice, hot sun.