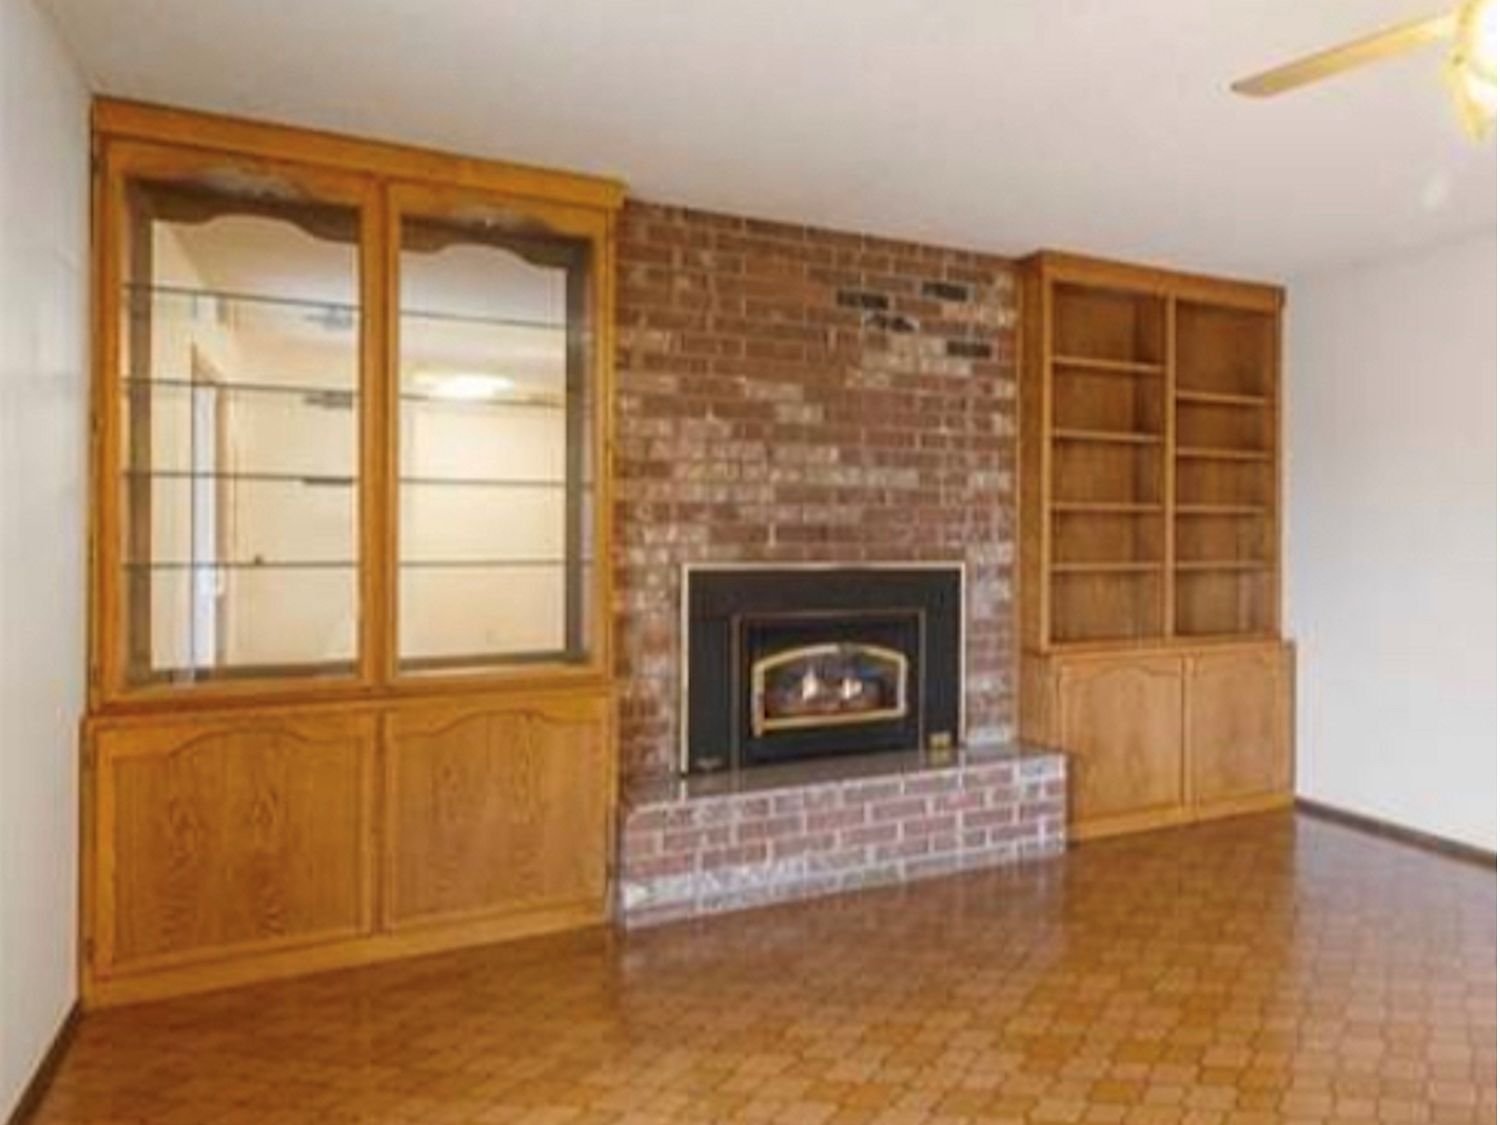
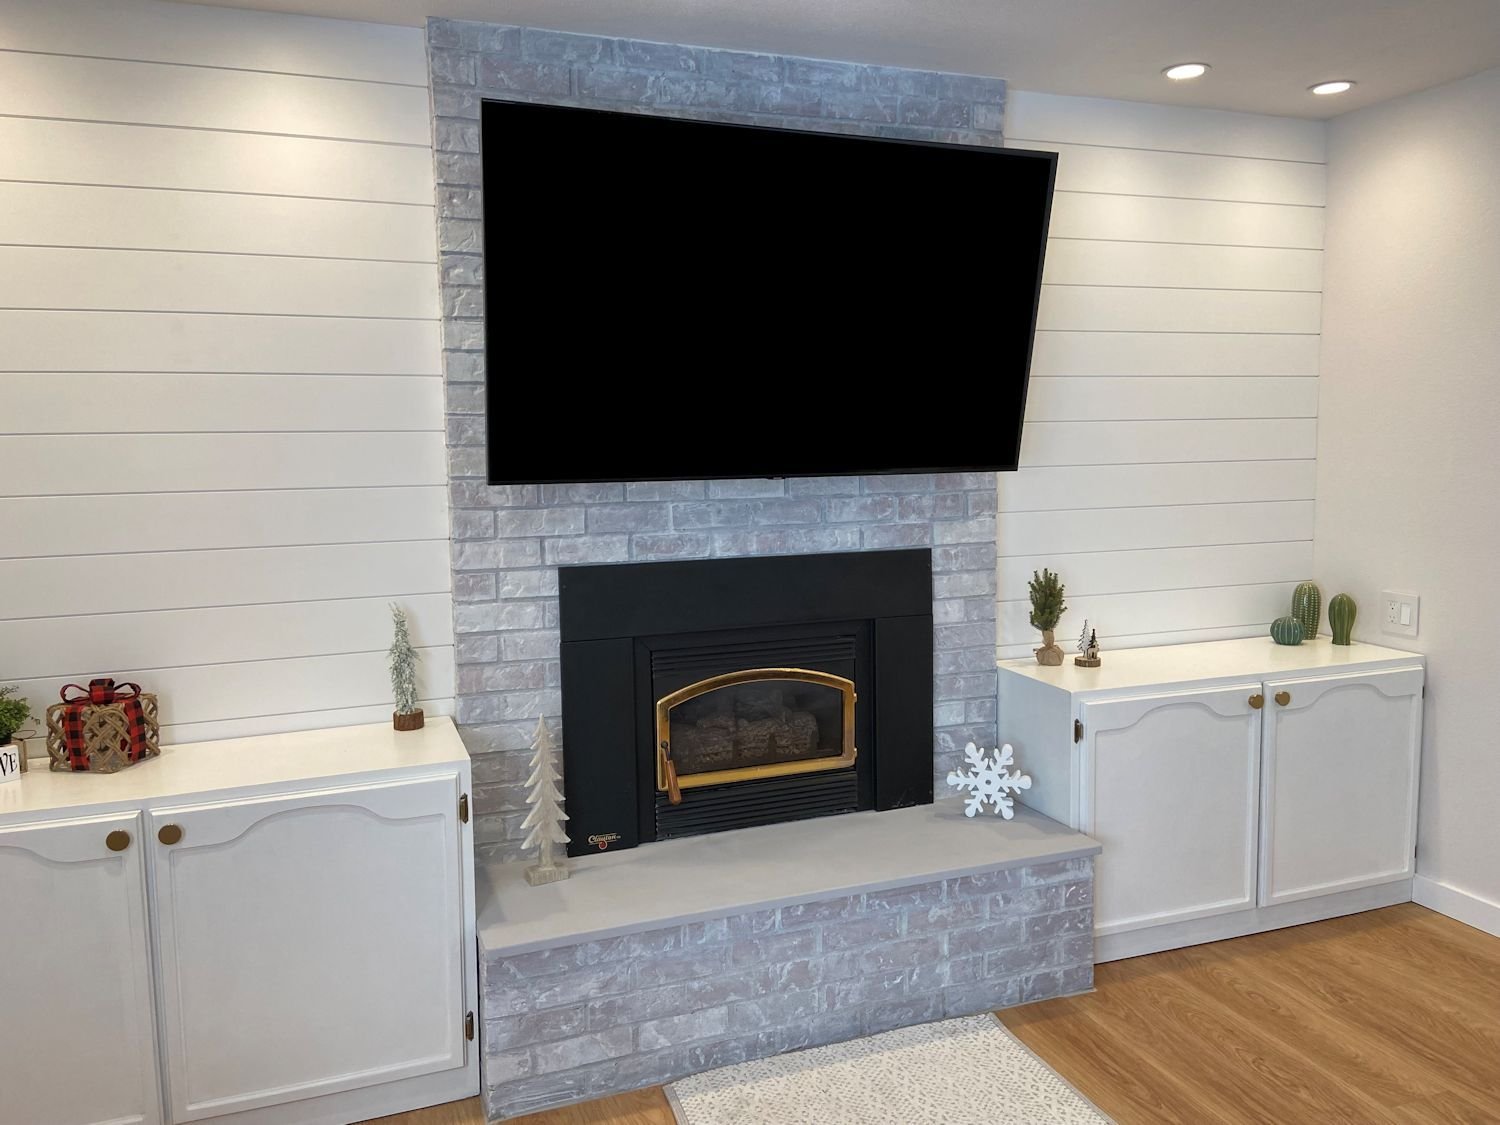
Remove Carpet, Linoleum & Subfloor
Tear Out That Yucky Old Floor
Another not-so-fun job, but so satisfying!
Disclosure: This site contains affiliate links. As an Amazon Associate, I earn from qualifying purchases. Clicking on links, and purchasing products, may result in the seller paying us compensation at no extra cost to you. Affiliate links are in green.
Also see:
Lifestyle Blog
Remodel Projects
Wood Projects
Yard & Exterior Projects
Why Do It Yourself?
Besides saving boatloads of money, you can be sure it is done to your satisfaction if you pull it all up yourself. I could not believe the dirt that was under the floors and carpet. Yuck! The “old house smell” quickly dissipated once we got the carpet, linoleum, and subfloor OUT, and the entire floor area cleaned. It was a long, hard process, but we were so happy to have accomplished it ourselves. Soooo satisfying!
CARPET
First on our list was the carpet.
TOOLS - carpet
Good quality painter's mask (old carpets are dirty and full of dust)
Shop vacuum - have a broom and dust pan handy as well
Retractable knife for cutting carpet
Carpet Pliers - for removing carpet staples from floor - see the image below for the tool we used to pull out the large staples
Tool for removing carpet tack strip
Rubber mallet for hitting the crow bar
Crow bar for lifting subfloor
shop vacuum also have a broom and dust pan handy – things can get messy
Crescent Nail Puller Pliers see special note below
SPECIAL NOTE: We could not have done this job without the Crescent Nail Puller Pliers (the red-handled tool shown in following photo). We used it as our magic tool for removing the large staples. It is made for pulling nails, but it was a life-saver for pulling out the huge subfloor staples. Leverage is provided by the rounded side. The teeth grip the staples, the tool is rocked back against the rounded edge, and the staple comes up and out. Some were stubborn, but most came out with this tool. I’m sure we pulled HUNDREDS.
I also sometimes had to pry a staple first with a screw driver or whatever I could get under it to loosen it a bit first.
We were lucky in that the subfloor and carpet were not glued down!
Making this a DIY saved boatloads of money I’m sure. It was very labor intensive.
INSTRUCTIONS - carpet
My husband pulled up all the baseboards first. He then removed tack board strips that held the carpet in place. We cut the carpet and pad into strips and rolled the pieces up, which made the pieces much easier to carry out of the house. I felt like I would have to burn my clothes after this job. There were piles of dirt under it all. We used the shop vac to take care of that. All of the old molding, carpet, tack strips, and carpet pad were hauled to the dump. Yay!
When the carpet and pad were removed, there was the fun job of pulling thousands of carpet staples. We accomplished that with a pair of pliers.
After the floors were swept and vacuumed, I painted them to keep dust down. We still had a lot of remodeling to do before the new floors would be installed, and I wanted the place to look at least a little bit normal in the meantime. They actually looked pretty good for being plywood floors. Clean at least.
CLICK THE PHOTOS FOR LARGER IMAGE
LINOLEUM & SUBFLOOR
A subfloor had been installed over the base floor in the kitchen and family room. This was so the linoleum would sit up at the level of the top of the carpet. I knew when I first looked at the house that all of that would have to be torn out. This was the hardest part of the floor removal. Carpet removal is a piece of cake next to subfloor and linoleum removal.
TOOLS - linoleum
Besides the tools listed above, you will need a large scraper (we used the same one we used on the ceiling removal). I also found a super helpful tool on Amazon that pulled out the HUGE subfloor staples - simple pliers would not suffice. See the photo and SPECIAL NOTE up under “supplies”.
INSTRUCTIONS - linoleum
Using scrapers, retractable blade, and any other tool you find to be helpful, peel up the linoleum. Like the carpet, it helps to cut it into strips first. For our project, we ran our retractable knife through just the linoleum. We lifted an edge, then pulled the section up from the subfloor.
Once The linoleum is up, you can start on the subfloor. We used scrapers, heavy mallot, and crowbars of various sizes to pull up that subfloor. We used the mallot to hammer the large crowbar under the subfloor - then pulled. I also had a long scraper tool that was quite effective. Once the subfloor is up, you will need to pull up the seemingly endless amount of subfloor staples. That’s where my special tool came in handy. It has the red handles in the photo below. It is like pliers, but has a wedge off the backside to rock back on - giving more leverage when pulling.
Once that was all up, we hauled it away, used the shop vac to clean up the mess, and I painted that floor as well.
CLICK THE PHOTOS FOR LARGER IMAGE
We finished in time for the professional installers to install the new flooring.
Don’t forget to pick up new heater grates for your new flooring.
CLICK THE PHOTOS FOR LARGER IMAGE
FINISHED!
The before and after were amazing and made all the work worth it (though I would not want to EVER repeat this job again).
The first image below shows the linoleum over the subfloor. We removed all subfloor, linoleum, and carpet in the house, and placed new flooring throughout.
Exterior Projects
Lifestyle Blog


Protect your wood deck from the elements with proper prep and quality stain. Proper maintenance enhances the life span of a wood deck. Protect from snow, rain, freezing ice, hot sun.