Pool And Yard Toy Caddy
organize pool & yard toys
made with PVC pipe
originally on our previous site: CraftAndFabricLinks.com
Disclosure: This site contains affiliate links. As an Amazon Associate, I earn from qualifying purchases. Clicking on links, and purchasing products, may result in the seller paying us compensation at no extra cost to you. Affiliate links are in green.
Also see:
lifestyle blog
Yard Decor Crafts
Yard Home Improvement
Sewing
A word about this project
This project was one of our first on our previous site. It was wildly popular on that site, so we decided to move it to our new site.
Pool Makeover
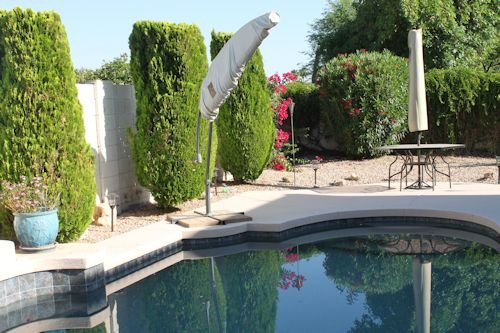
We had our pool resurfaced with a beautiful pebble type finish, and added new tile around the water line. It was so gorgeous! New flower pots and plants added color to our Southwest desert landscaping.
oh what a mess!
I loved the new look. The pool remodel was a large project, and I wanted to do it justice by maintaining a beautiful pool area. This was our family’s favorite entertaining and gathering place.
I knew we needed a system for keeping pool toys organized. My husband created a perfect pool toy organizer.
PVC Pipe Yard & Pool Toy Organizer
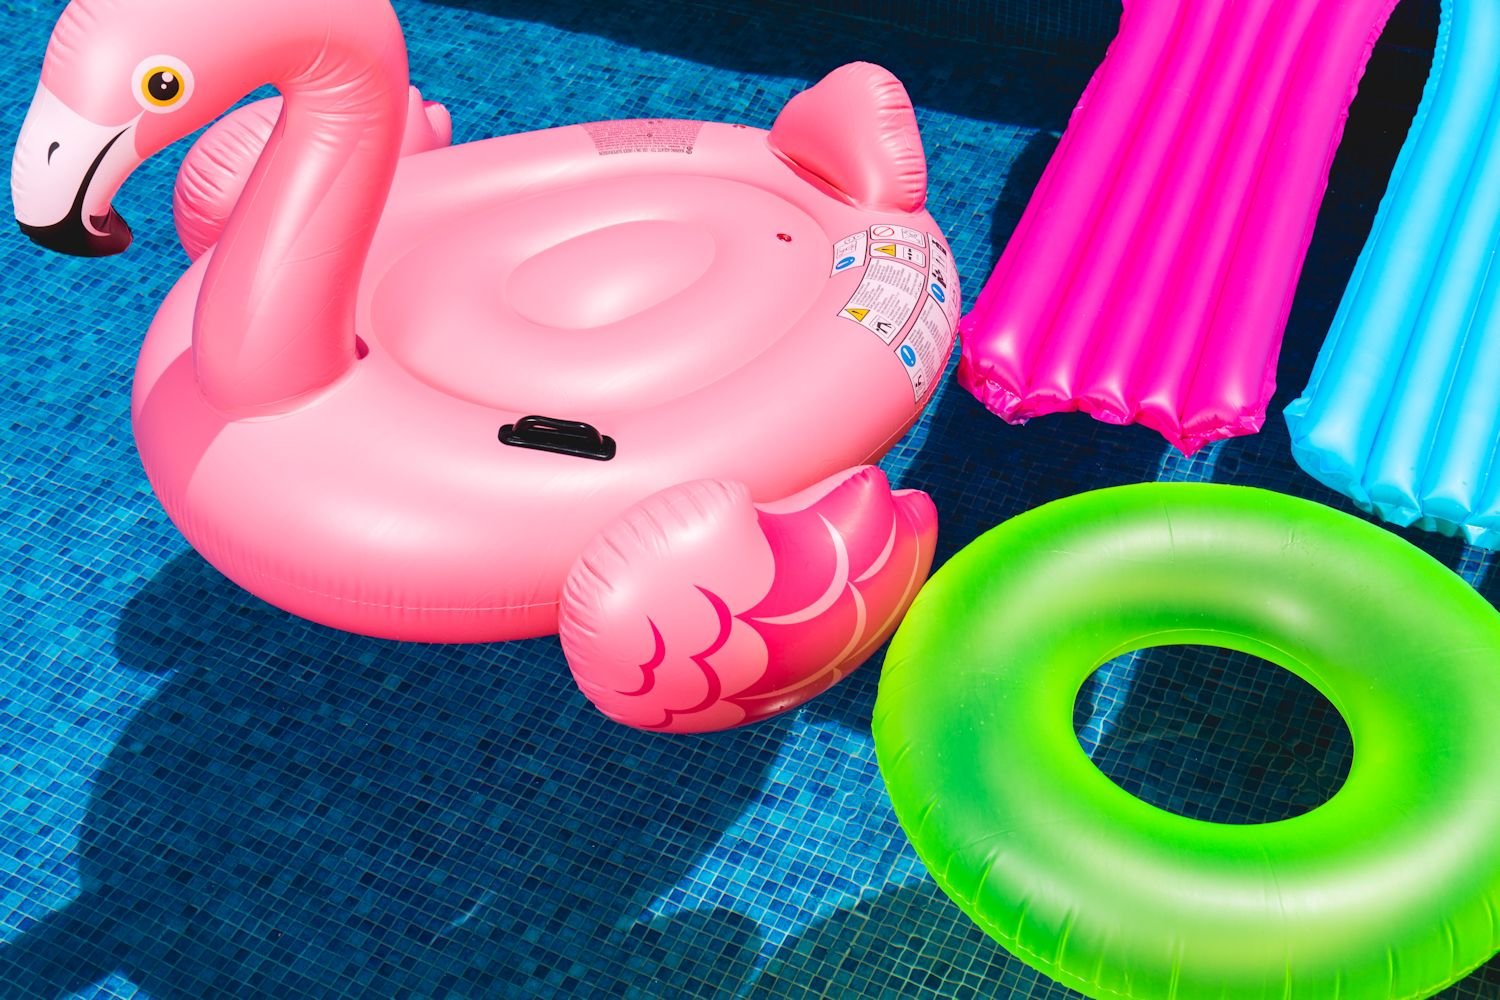
A pool is not beautiful with pool toys strewn about. Keep pool toys such as floats and noodles nicely put away when not in use.
Clean up your yard and deck with this easy-to-make toy caddy. Made from PVC pipe, it is a fast and inexpensive project. The caddy is made up as two units. Toys are placed between the units.
Snap together sections of PVC pipe to create a handy set of yard toy holders. Place the two holders the distance apart your toys require. Our instructions create 3 slots, each 24” high. Need more slots? Simply add more sections.
Toy Caddy Size
Our instructions create three slots, each 24” high. Space the two pieces as close together or far apart as you need to change the length. Add sections to create more slots.
SUPPLIES
The following supplies will make the two units:
Check Amazon for pricing; affiliate links are green
General paint supplies brushes, drop cloths
PVC pipe 6 five foot pieces of 3/4 inch PVC pipe OR 3 ten foot pieces of 3/4 inch PVC pipe - either will work (choose according to what your vehicle will carry)
PVC pipe end caps 16 3/4-inch end caps
PVC T joints 12 3/4-inch T joints
Saber saw OR hack saw
paint thinner & rag (to clean pipe)
Optional: plastic enamel paint spray for painting the PVC pipe, and glue if you wish to glue the pieces together - we did not use glue.
INSTRUCTIONS
Step 1: Clean the PVC pipe with a good cleaning solution. Rinse and dry.
Step 2: Use the tape measure and marker to mark eight 24” pieces of pipe, fourteen 6” pieces of pipe, and four 3” pieces of pipe. Make a small mark at each interval. Use the T Square to draw straight lines for cutting at each mark. Refer to the following photos and diagrams.
NOTES ON DIAGRAMS & CUTTING
Drawings are obviously not to scale, but cut marks are placed as shown.
Each small cut represents 6”; each tiny cut represents 3”; each larger cut represents 24”. Each unit requires seven 6” pieces, two 3” pieces, four 24” pieces, 8 ends caps and 6 T joints.
Use safety goggles to cut pipe. If you are not skilled in the use of power tools, ask an experienced person to complete this step for you.
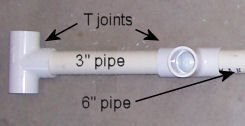
Step 3: Lay out 6 T joints. Attach a 6" piece of pipe between each set of T joints (total 3 6" pieces). Attach a 3" piece off each end. The two end T joints are connected to the 3" pieces and these T joints lie flat on the floor. The other connecting T joints face up. Refer to the next two photos.
Step 4: Connect a 6" piece to each open end of the two end T joints. Connect a 24" piece to the remaining 4 T joints. Place an end cap over all open ends (8 end caps are needed per unit). Repeat for second caddy.
Step 5: Using plastic enamel spray paint (secially formulated to adhere to plastic) paint your new toy holders. NOTE: If you are planning to glue the pieces together, do so before painting. We chose not to glue our pieces. This way, we could disassemble for storage during winter months.
To add another slot, simple add 1 additional 6" section of pipe. You will need an additional T joint, 24" section and end cap as well.
Paint the PVC pool toy caddy if you wish to have a color other than the pipe color. We used a spray-on plastic enamel paint.
PVC Projects
Garden Projects
Also see: Yard Crafts
Lifestyle Blog


Protect your blueberries from birds with a DIY cover. Easy to create using netting and PVC frame.