Custom Wood Flower Box
Elevated Wood Planter
Perfect for hard-to-grow areas: adjustable size
Designed and built by Kevin Sherrod
Disclosure: This site contains affiliate links. As an Amazon Associate, I earn from qualifying purchases. Clicking on links, and purchasing products, may result in the seller paying us compensation at no extra cost to you. Affiliate links are in green.
Also see:
lifestyle blog
Garden Projects
Exterior Projects
Wood Projects
Bring Beauty To Your Yard
Living in the desert Southwest, we had many hard-to-grow areas. One such area was along the patio where I loved to have my morning coffee. When we lived in the Pacific Northwest, I enjoyed gardening, and now I missed some of my favorite flowers. The Southwest had its own beauty, but I wanted to bring in some of my old favorites. Besides the problem with the soil, I knew I did not want to stoop down to garden. I decided that I wanted some sort of raised bed. I discussed it with my husband, hoping he would have ideas. He came up with a perfect design for three flower boxes, and built them for me. Yes, I am a lucky gal :-)
Now, we are back in the beautiful Pacific Northwest. I moved this project over from our previous site, CraftAndFabricLinks, because it is a really good quality tutorial.
Flower Box Size
Build to your own specifications: our 3 boxes are each 23" wide by 60" long by 18" high (approximately). They were a PERFECT height for enjoying flowers while sitting at my garden table.
A note about size:
Coming from the world of precision sewing, I am used to EXACT MEASUREMENTS. It will never make sense to me that a 2" x 4" board is actually 1.5" x 3.5", but that is the world of building. I will list the items as they are listed in the store; keep in mind that the boards are not actually these measurements. Yes, it makes it more fun when building. No wonder my father used to always say, "measure twice and cut once" (as opposed to measuring once and having to cut twice).
SUPPLIES
FOR EACH FLOWER BOX you will need:
four 2" x 4" boards - one for each corner (my box was approximately 18" high, so I needed enough board length to cut into four 18" pieces)
six 2" x 6" boards for the long sides (3 each side) - in the length you need (mine were 60")
six 2" x 6" boards for the short ends (3 each end) - in the length you need (mine were 20")
These boards come in various lengths. You will need enough board feet to cut into the sections you need according to the dimensions of your box. We used six 60" pieces of 2" x 6" for the two long sides (3 each side), and six 20" sections of 2" x 6" for the two short ends.
48 screws - approximately 3" (they need to be long enough to go through the outside board into the corner post)
General Building Supplies
Sandpaper - if needed
Paint brushes - if you wish to paint or stain your box
Warning About Pressure Treated Wood
Due to termites in our area, we used pressure treated wood. Pressure treated wood is CHEMICALLY TREATED with VERY TOXIC CHEMICALS. Take all necessary safety precautions when handling this wood, including masks, goggles, gloves and any other safety item listed - ask for the wood handling information from the store personnel where you purchase the wood. DO NOT allow food to come into contact with the wood. This wood is NOT appropriate for use with herbs or vegetable gardening. I only planned to grow flowers. Change your clothes and wash your hands after handling the wood - BEFORE handling food.
INSTRUCTIONS
1. Measure
Decide where you wish your boxes to sit. Measure the area and write down the size you plan to make the boxes. We decided on three boxes, each measuring 23" wide x 60" long x 18" high.
2. Prepare Ground / Check Boards
Level the ground where you plan to place your flower box. We already had gravel over the area; this is good for drainage.
Lay out all boards to ensure they are of equal length. Trim where necessary.
3. Create The Frame
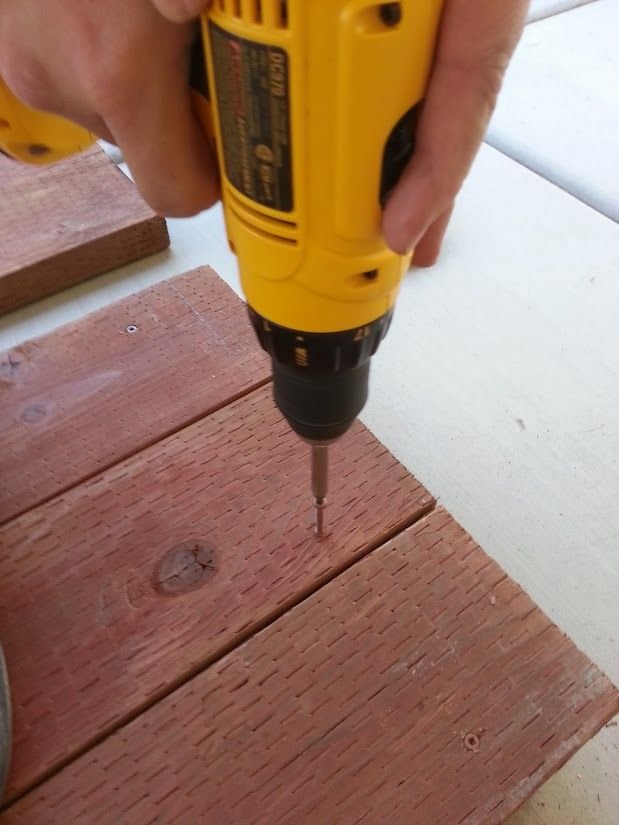
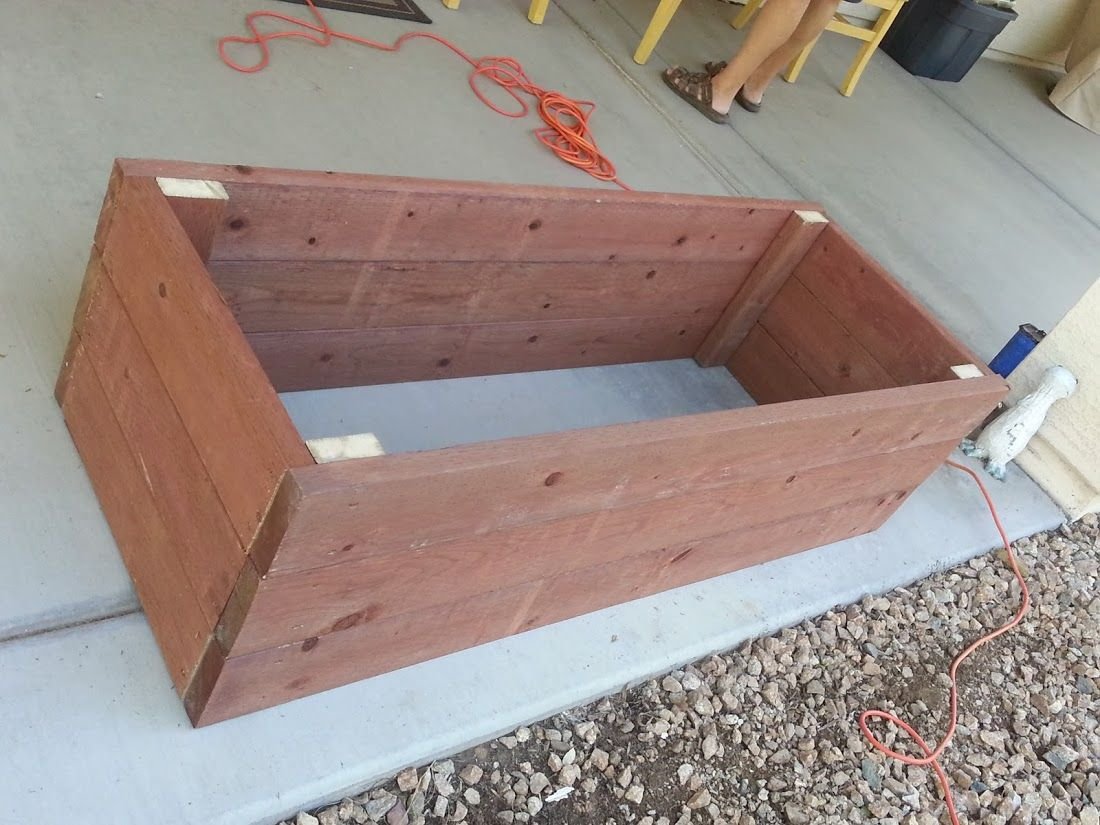
All screws are inserted from the outside, and attach to the corner posts. Our flower box frame was completely built, then set onto the gravel. The gravel makes up the bed of the flower box.
Long Sides
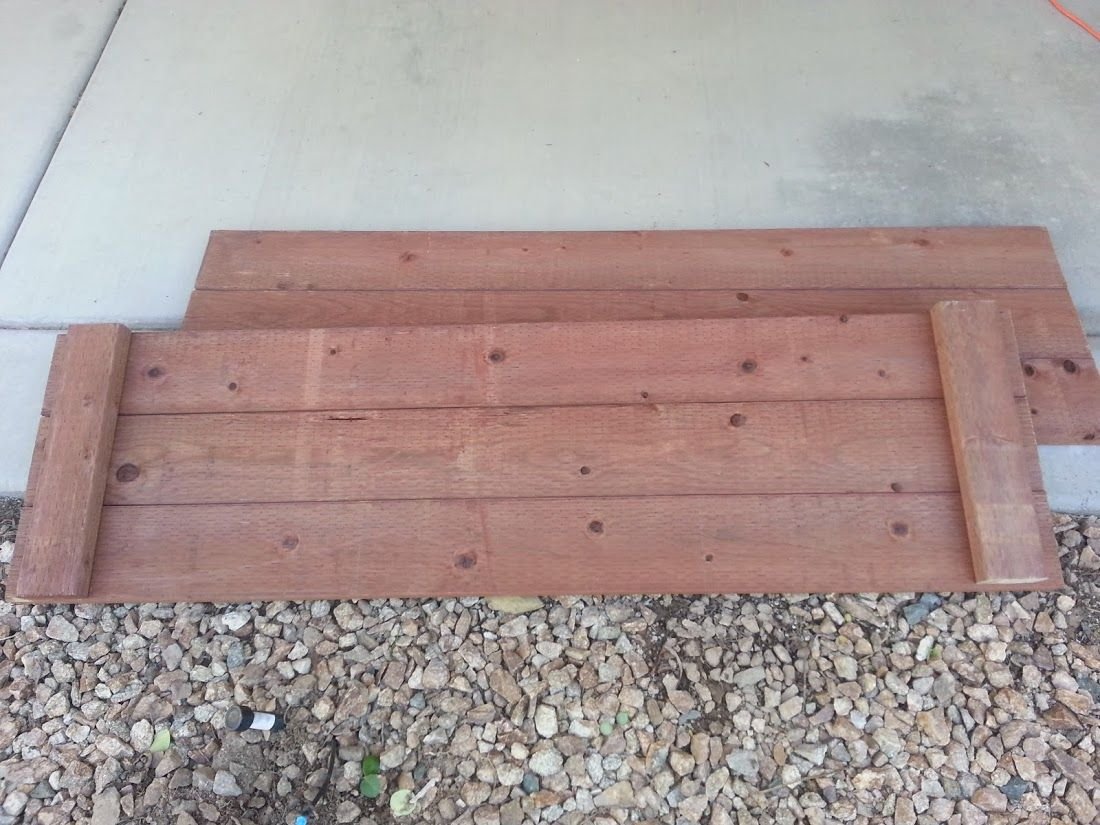
Screw the long side boards to the corner posts; leaving space at the end for attaching the end boards. Refer to the photos below. Create two long sides.
Short Ends
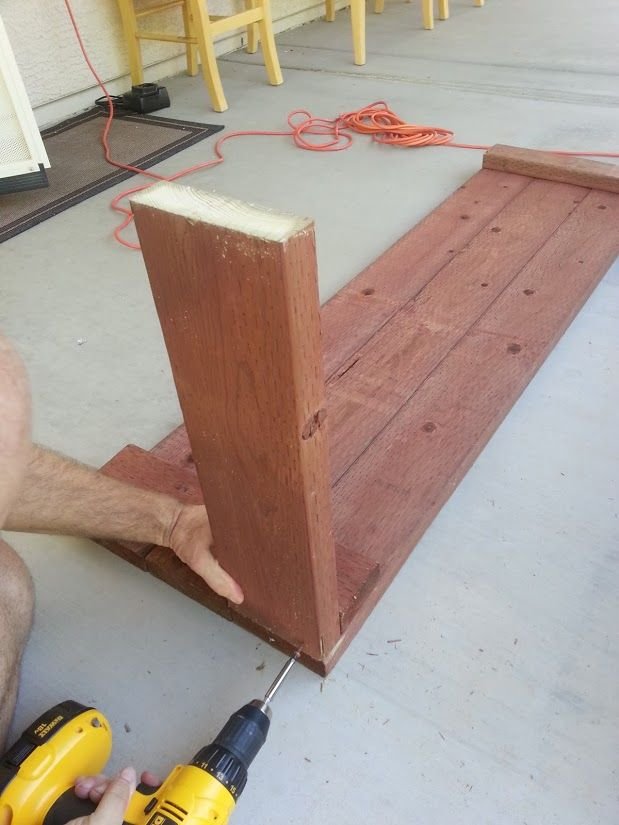
Lay out one long side. Screw on the boards for a short side onto each end of one long side (second photo below).
Finish The Frame
When the ends are attached, screw the second long side into place. You will now have a flower box frame.
NOTE: Board ends do not show on the long sides; the end pieces only show from the short ends. Refer to the photo. The screws are not very noticeable and add to the rustic charm of the weathered boxes.
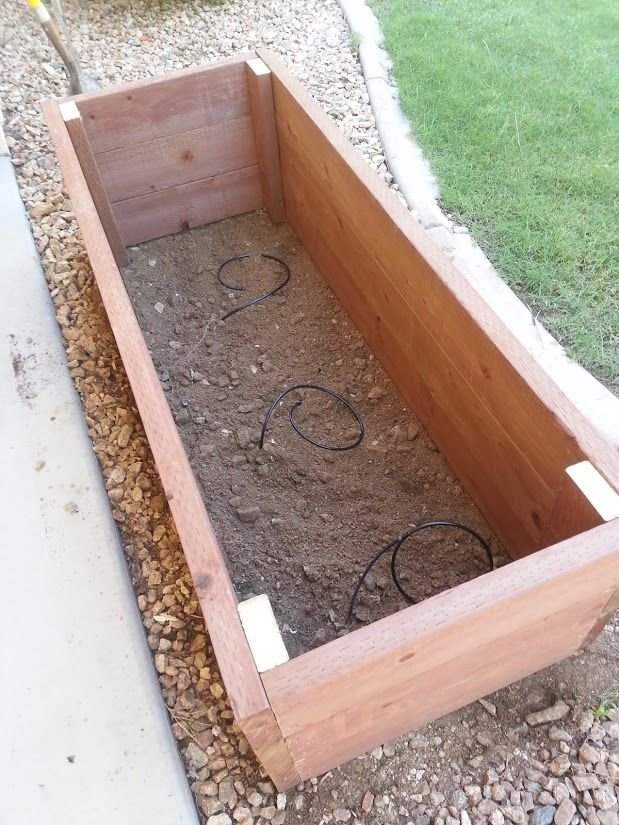
Run Sprinkler Lines
Run Sprinkler Lines at this time.
Test the sprinkler system. Place the frame onto the ground after the sprinkler lines are in place.
Fill With Soil
Fill and level the boxes with good potting soil.
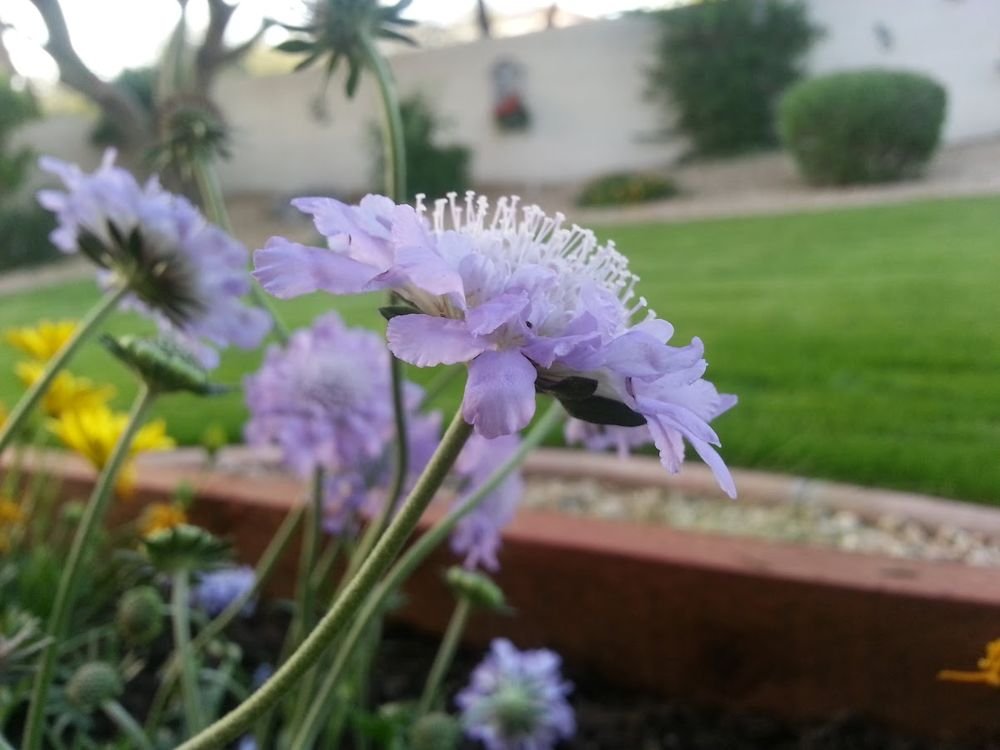
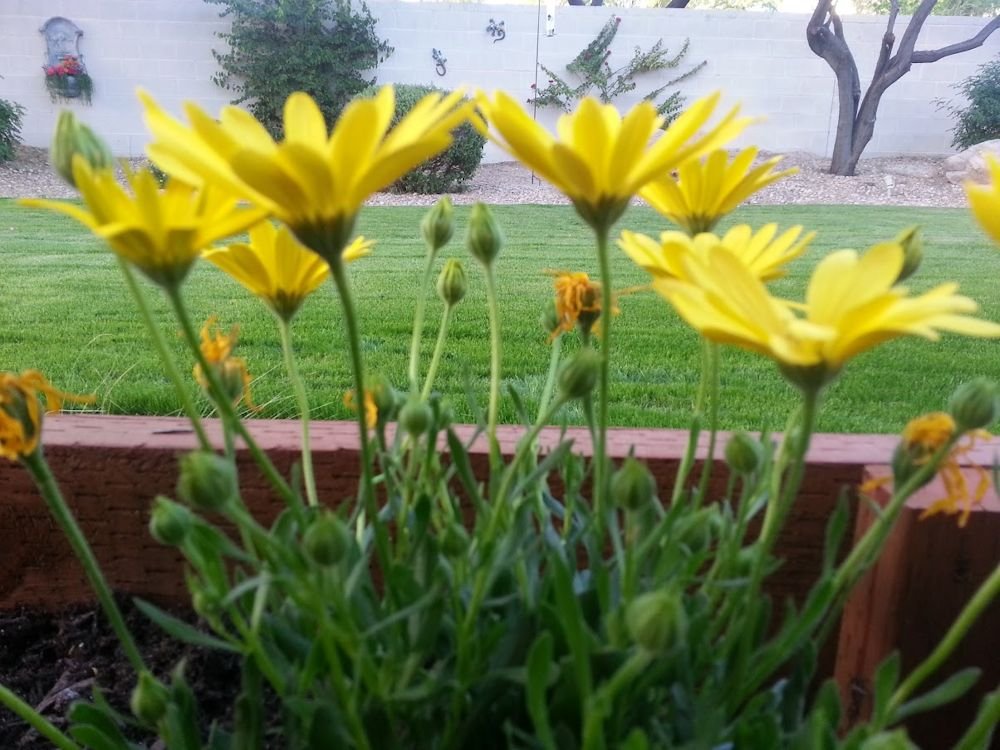
Now, you are ready to plant your beautiful new custom flower boxes!
Click photo for larger view.
Garden Projects
Lifestyle Blog






Protect your wood deck from the elements with proper prep and quality stain. Proper maintenance enhances the life span of a wood deck. Protect from snow, rain, freezing ice, hot sun.