Exterior Fireplace Makeover
Patch & Re-Paint Outdoor Stucco Fireplace
This article originally appeared on our previous site: CraftAndFabricLinks.com
Disclosure: This site contains affiliate links. As an Amazon Associate, I earn from qualifying purchases. Clicking on links, and purchasing products, may result in the seller paying us compensation. Affiliate links are in green.
Also see:
Lifestyle Blog
Fireplace Projects
Garden Projects
Paint Projects
SUPPLIES - for this project
Check Amazon for prices. Green links are affiliate links.
Grout this comes in tubes and pre-mixed tubs
SUPPLIES - general cleaning & painting supplies
painter's drop cloth (old towels will do – I use old towels to protect areas from paint splatter and drips
Various paint brushes in sizes of your choice
TSP or other good cleaner / degreaser
kitchen garbage bags with draw string for storing paint tray during breaks
baby wipes works well for quick clean-up
Resealable Plastic Bags (such as zip-lock) for storing brushes when not in use
Disposable Gloves definitely recommended when using the oil base paints
mineral spirits for cleanup if using oil base paints
cloth for skin clea-up I used Disposable Cosmetic Pads
Rubber Mallet or hammer (for pounding down the paint can top when done painting)
FIREPLACE REPAIR ASSESSMENT
Several things drew me to our place on the Upper West Side, in Phoenix. Beautiful hills loaded with hiking trails, peace and quiet, friendly area, and open spaces and parks in the neighborhoods. My husband and I had found our quiet retreat.
I love sitting in my back yard in fall and spring. The flowering trees and shrubs are gorgeous, and provide a serene place for me to set up my easel and do some painting. Local artists often join me in my back yard.
The house came with a beautiful patio that included a built-in fireplace (yes, winter nights get cold here in the desert).
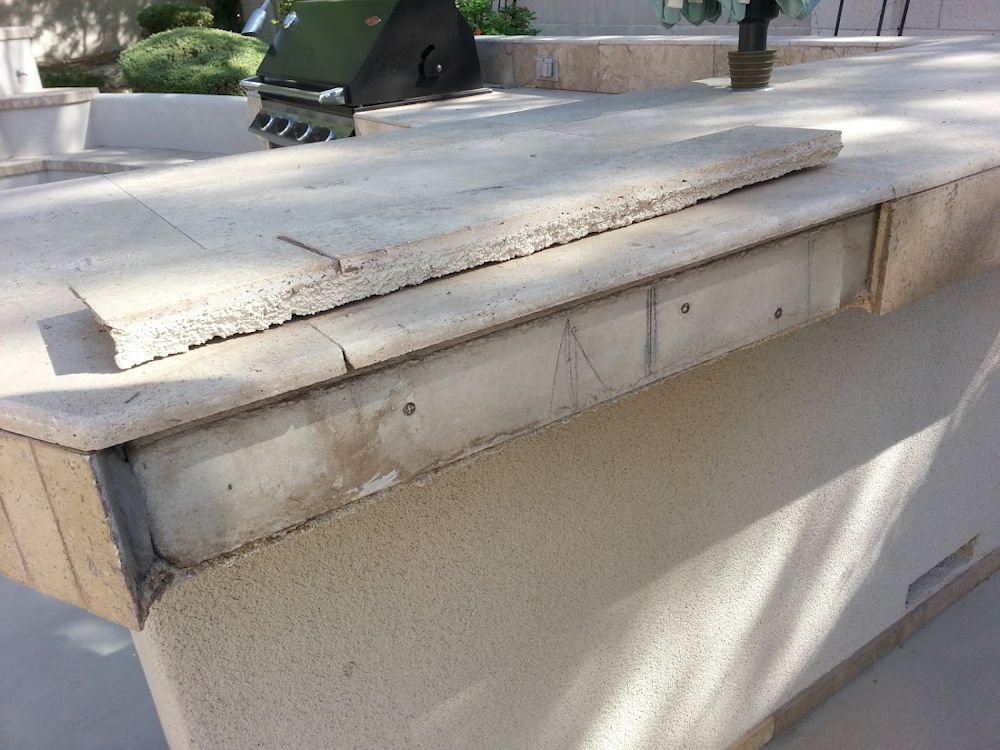
We noticed, however, that tiles were loose in some areas, and the paint had faded. The fireplace, seating area and grill with bar had a "tired" look. We decided to repair the tiles and re-paint before the next monsoon (heavy rains that come in the summer). The tiles were actually starting to fall away on the bar end.
The integrity of the fireplace had been checked by a professional, and was found to be good.
We also decided to put up outdoor patio lighting. We came up with a very clever method for stringing lights without the use of a patio roof.
INSTRUCTIONS
Repair loose tiles - patch cracks.
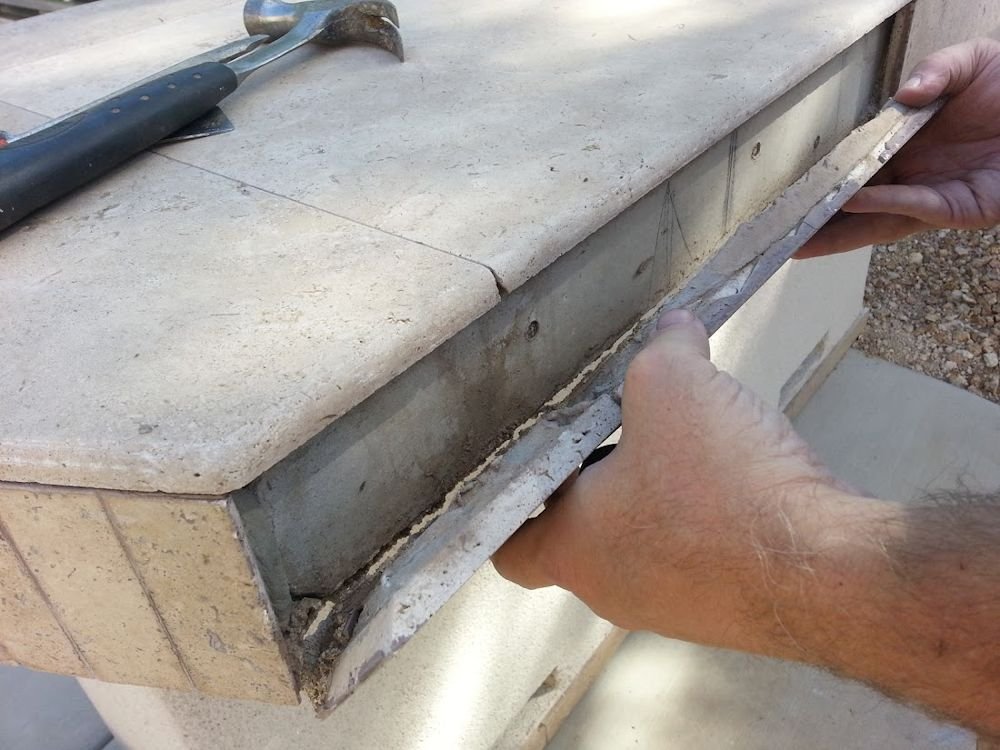
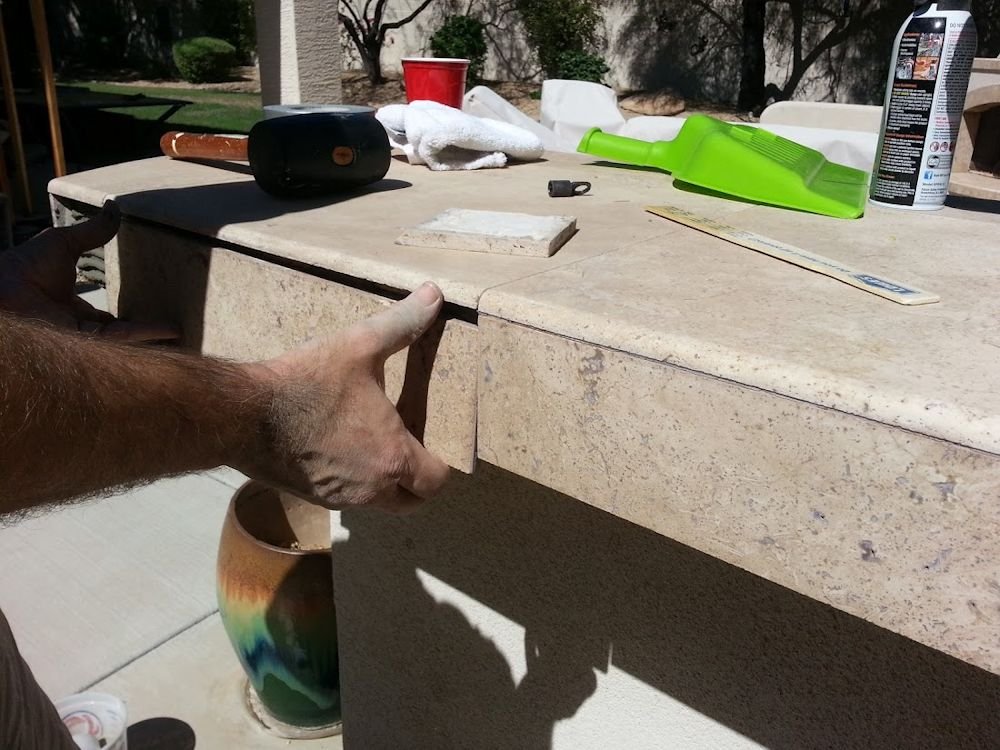
The first step was to remove all of the loose tiles. That was easy - they were falling off on their own. We walked around the entire fireplace / bar / seating unit, testing all decorative tiles in order to locate any that were loose.
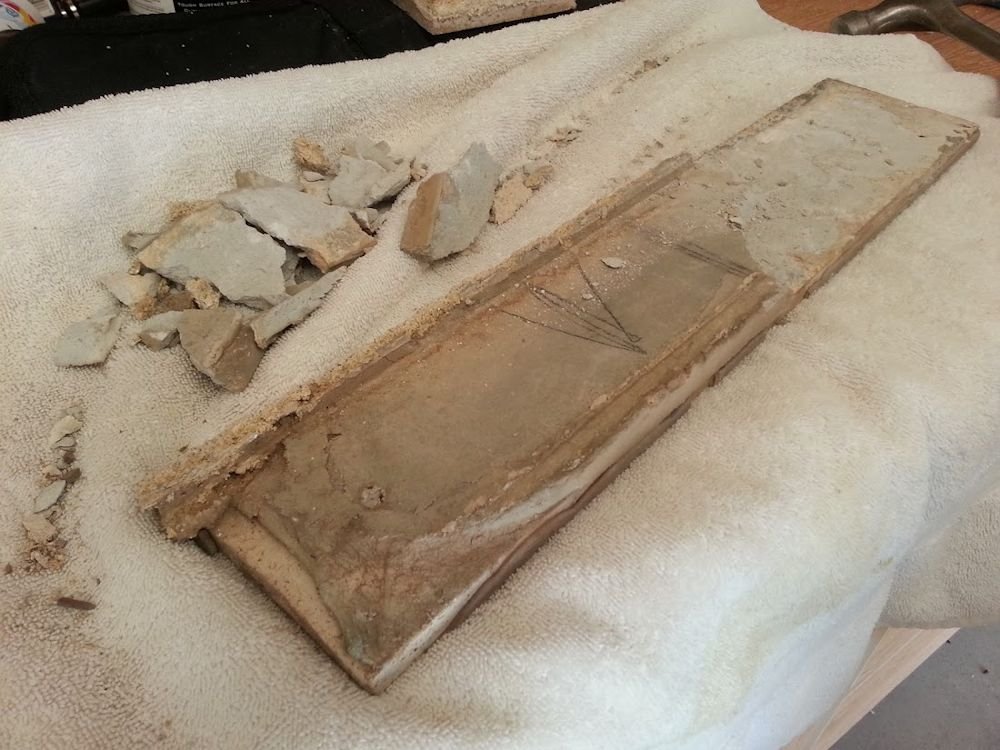
The tiles were not damaged, so we were able to re-use them. That was a bonus because we were not sure we would be able to purchase the same type. We cleaned off the backside of the tiles, removing dirt and old grout. We also cleaned old grout and debris from the area that held the tiles.
To re-use old tiles, all old grout, dirt and debris must be removed. Rough areas can be sanded. This can be time-consuming. Finding new tile that matches to current color scheme might be an easier option. We only had a few areas that needed repair, so we opted to clean and re-use the tiles.
Click on the following photos for larger view on mobile devices.
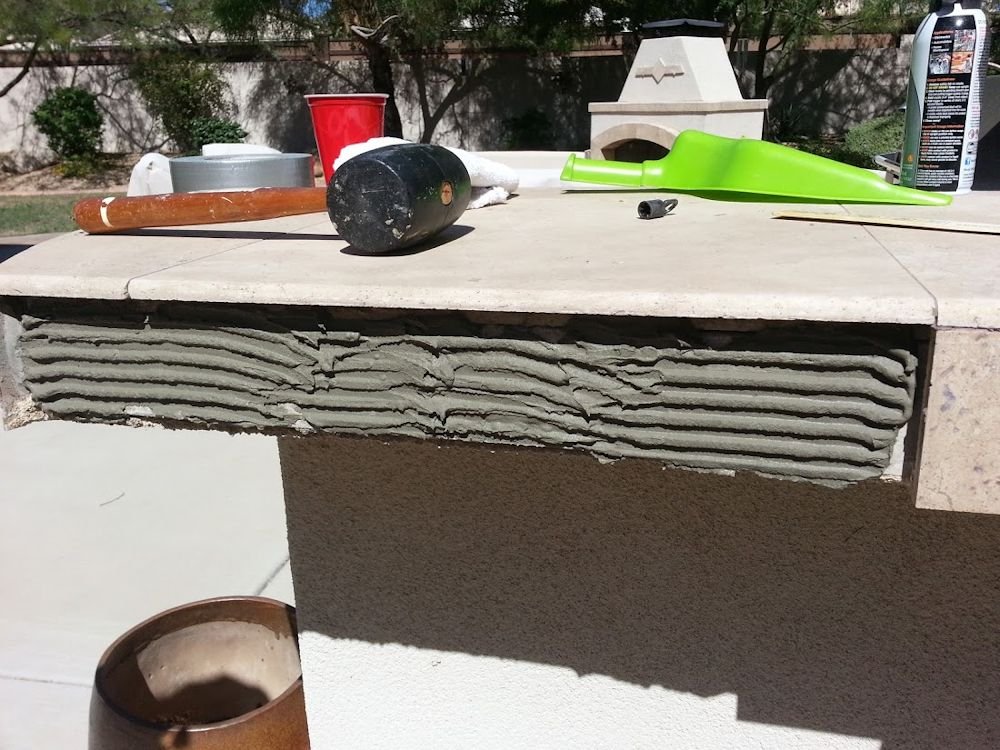
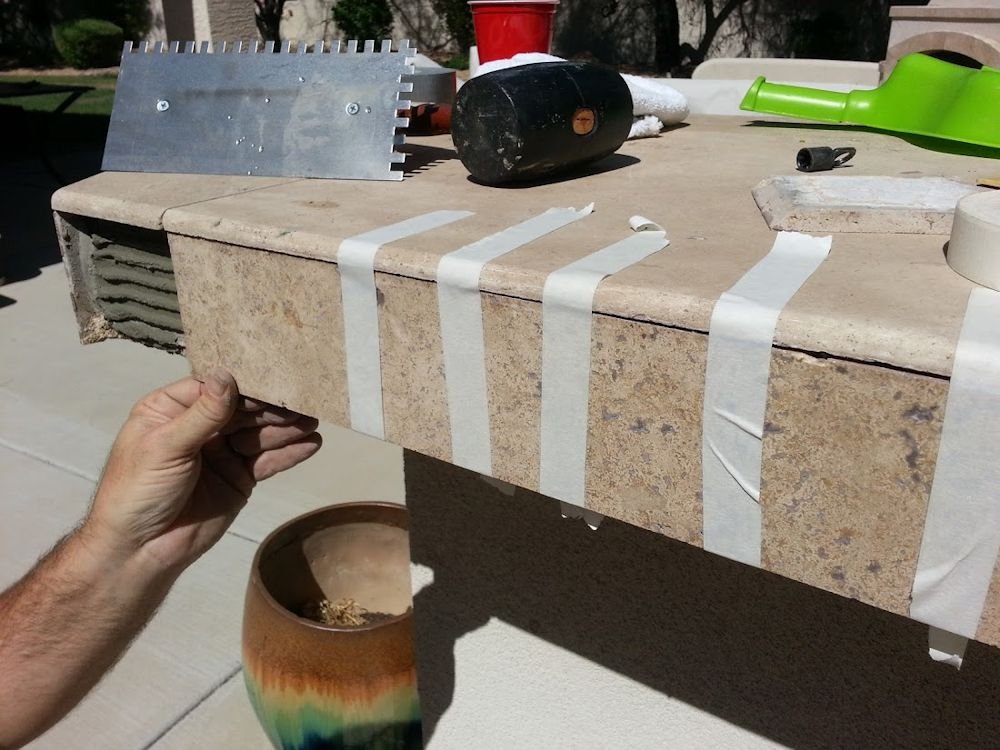
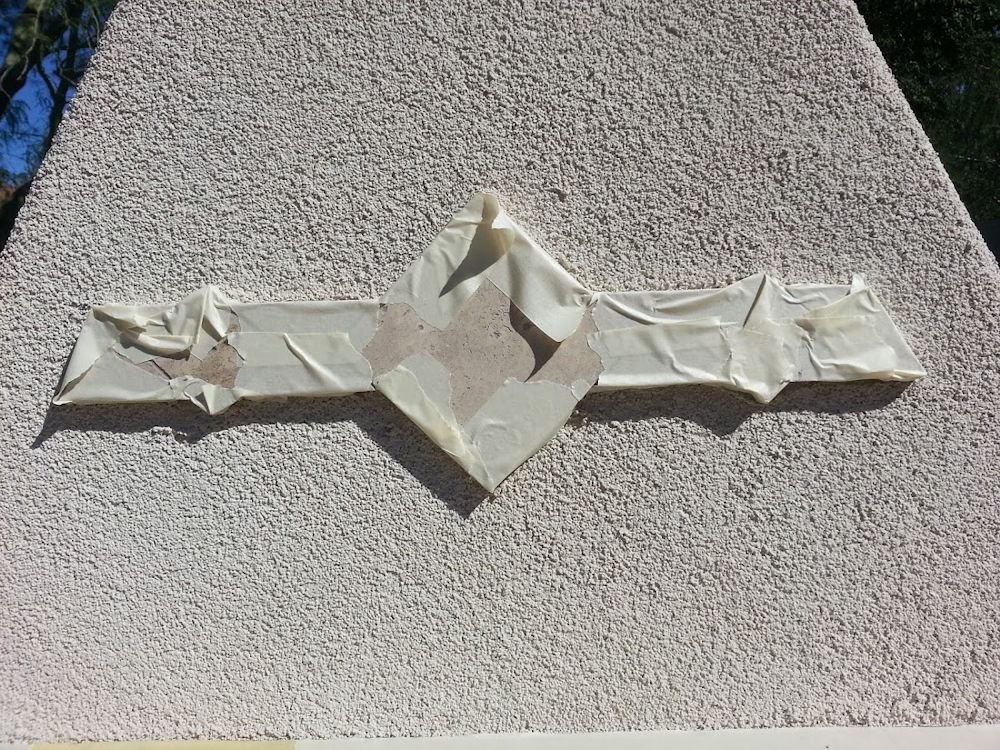
We mixed new grout, placed the tiles back into position, and used tape to hold them while the grout set.
Once we knew the tile was set and secure, we thoroughly cleaned the entire unit. We used a power washer to remove all dirt and debris.
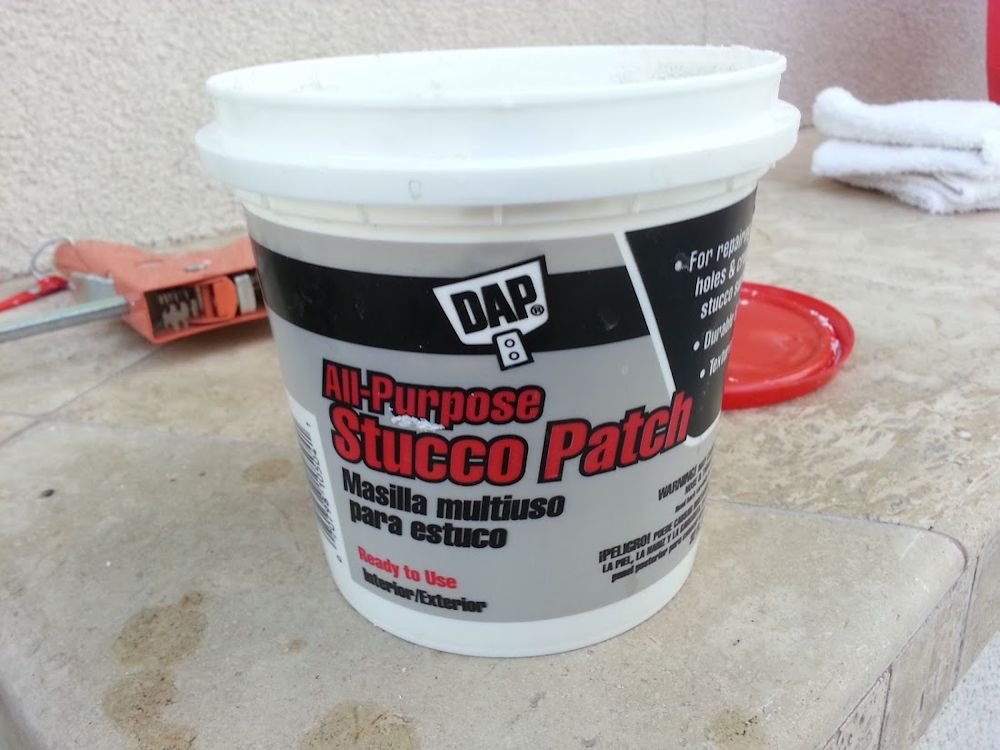
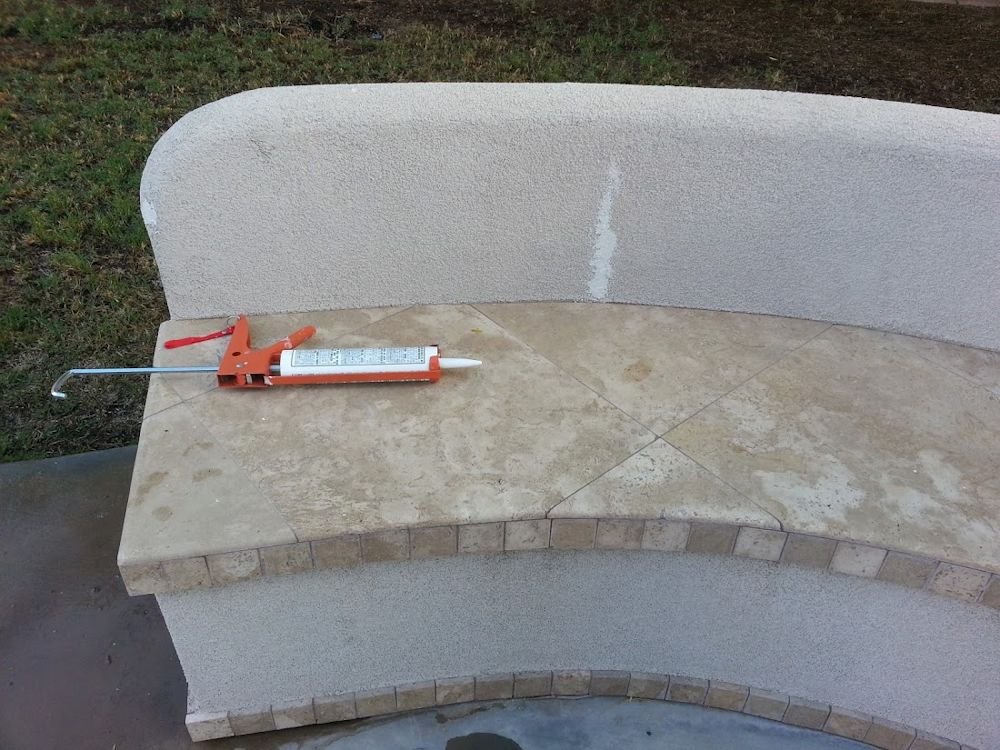
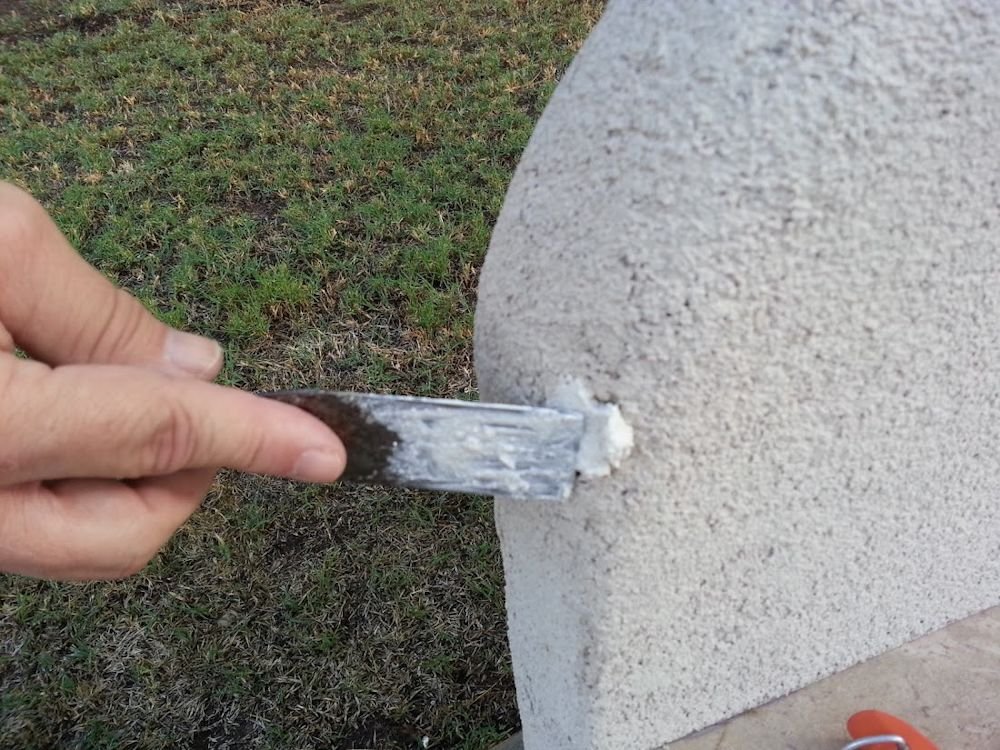
We checked for cracks. All cracks were cleaned, then sealed with Dap All Purpose Stucco Patch.
The next step was to choose a color for the new paint. We didn't want it to stand out, but knew we wanted something that helped the tile "pop" a bit more. The pale color of the old paint didn't really set off the tile appropriately.
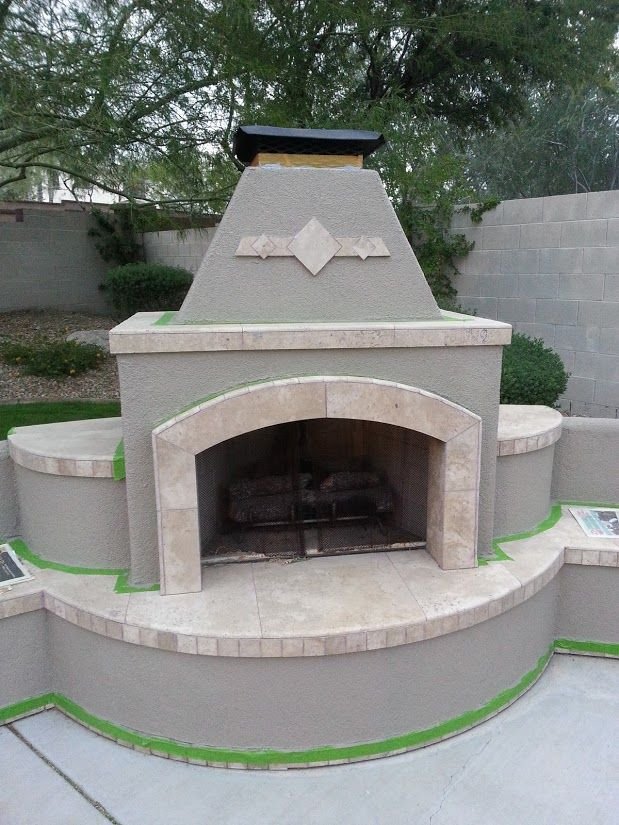
We went with a color that was a deeper tan (see top photo). We were hesitant, thinking it might be too dark, but the Southwest sun is very bright. The color was perfect. The paint blended nicely with colors of the tile, while helping the tile stand out more.
Tiles were taped off for protection from paint.
We hand painted the entire unit. A power painter would have worked, I am sure, but I am "old fashion" and like to hand paint. I feel I have much better control.
Finished!
This photo shows the finished project. The tile stands out beautifully!
The bar, grill and fireplace all look new. This "refresh" brought out what it was meant to be - a beautiful accent to the patio.
We absolutely LOVE our "new" outdoor fireplace!
Also see: build exterior flower boxes
Also see: string patio lights (when you don’t have a roof or posts for hanging them)
Also see: shed make-over











Protect your wood deck from the elements with proper prep and quality stain. Proper maintenance enhances the life span of a wood deck. Protect from snow, rain, freezing ice, hot sun.