Closet Laundry Makeover
Disclosure: This site contains affiliate links. As an Amazon Associate, I earn from qualifying purchases. Clicking on links, and purchasing products, may result in the seller paying us compensation at no extra cost to you. Affiliate links are in green.
Also see:
lifestyle blog
Home Decor Projects
Home Remodel Projects
Organizing Projects
Part of moving from our large home in the Southwest to our small home in the Pacific Northwest was giving up my wonderful, huge laundry room. Now - well - I just have a closet. What I learned was that the large laundry room never was necessary.
We Super Downsized
Our previous laundry room: large area with storage cabinets, counters and space for my extra refrigerator.
Moving to our new “cottage” meant I would no longer have the large laundry room. I needed to seriously downsize. Plus, the new room required a lot of work to make it serve the functions I needed.
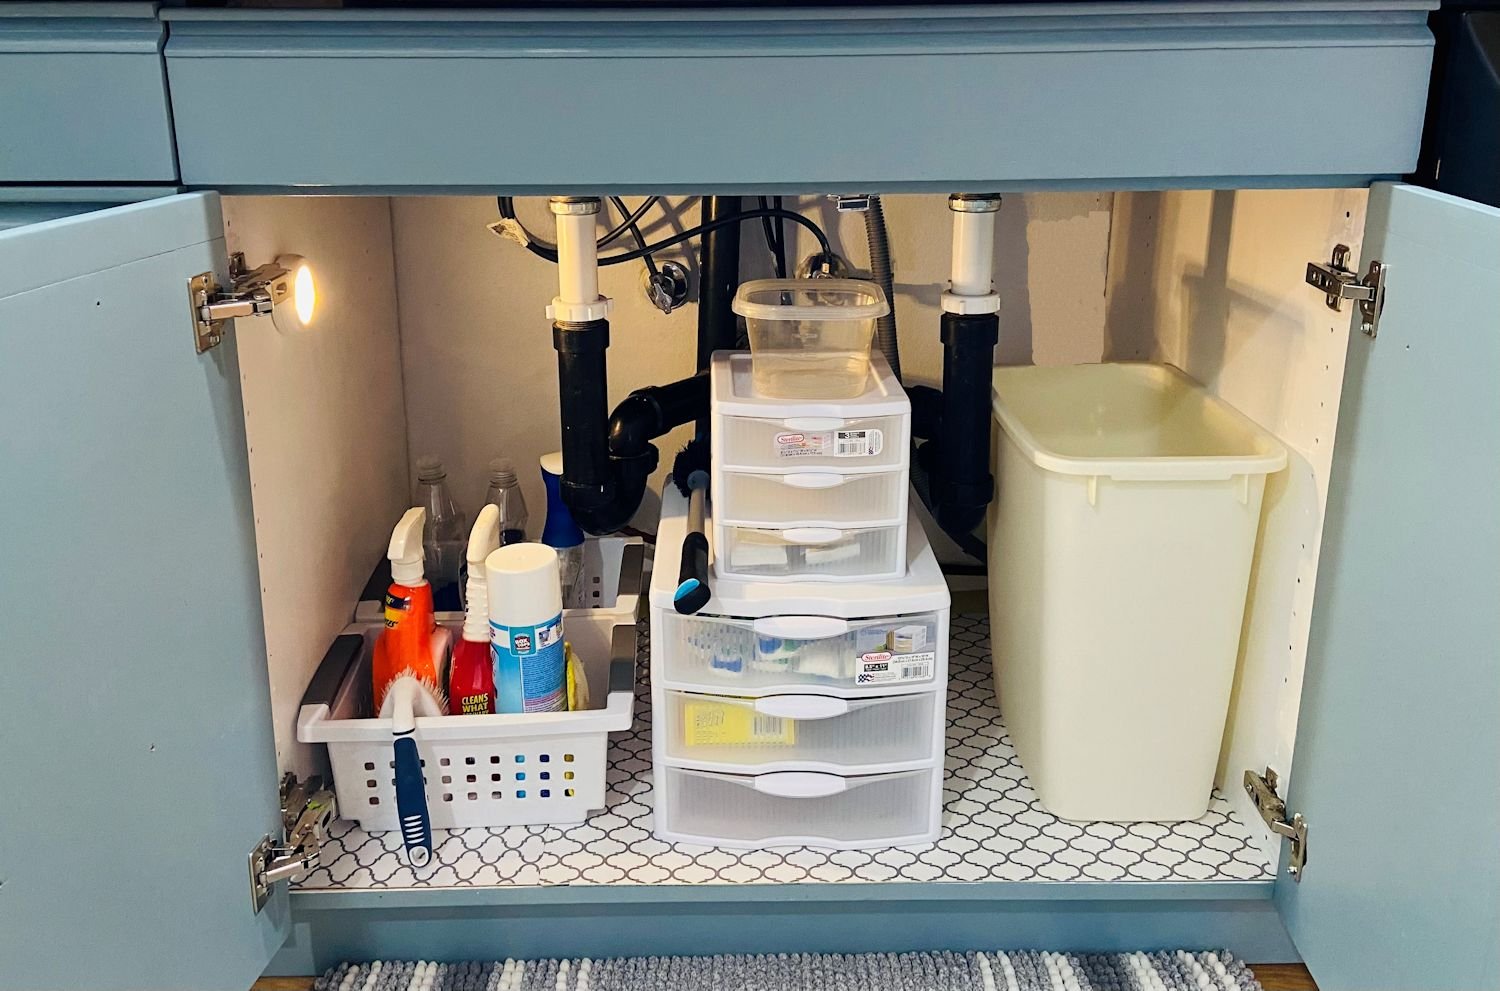
With a bit of paint, some electric work, an added shelf, and re-organizing with the help of new storage containers, I created the perfect space in my new “tiny laundry.” And the best part? I no longer have a huge laundry room to clean! Plus I am not able to “accumulate.”
The entire room (the room that contains the laundry closet) was overhauled - you can see that process in other posts.
Laundry Make-over Supplies
Click links to check Amazon prices. Affiliate links are green.
Wall hooks for brooms and mops
Clothes hangers matching hangers create a tidy look
Decorative baskets there are so many adorable bins and baskets to choose from
Small artificial plant make your laundry closet a happy place
Other Project Supplies
General Wall Painting Supplies tape, sandpaper, paint brushes, stir sticks, paint can opener, screw driver for removing outlet covers and hardware
Putty Knife for patching walls
Dry wall joint compound for patching walls
shop vacuum also have a broom and dust pan handy – things can get messy
Work gloves your hands need protection if pulling out flooring, old shelving, baseboards
Before the make-over, the closet laundry had accordion doors. I HATE accordion doors because of the potential for damaged fingers. Those had to go first thing - no pinching fingers for me!
The photo also shows the flooring partially removed. You can see that awful project here.
You can see a cord hanging from the ceiling on the left side of the photo. There was a light near the ceiling of the closet, and it plugged into an outlet behind the washing machine. The cord hung down in my way. When the project was totally finished, I had a professional electrician change that set-up. He installed a new outlet in the wall on the left side of the closet for the light to plug into, and he installed a switch for turning on the light. Much nicer. Quick and easy fix.
As with all of our projects, we were renovating many areas at the same time. At this point, our sparkly ceiling had been removed, the walls and ceiling were painted, and the floors were being removed - all while I fixed up the laundry closet. You can see the decorative shelf in the third photo below. I am short, so this shelf is very handy for items I frequently use.
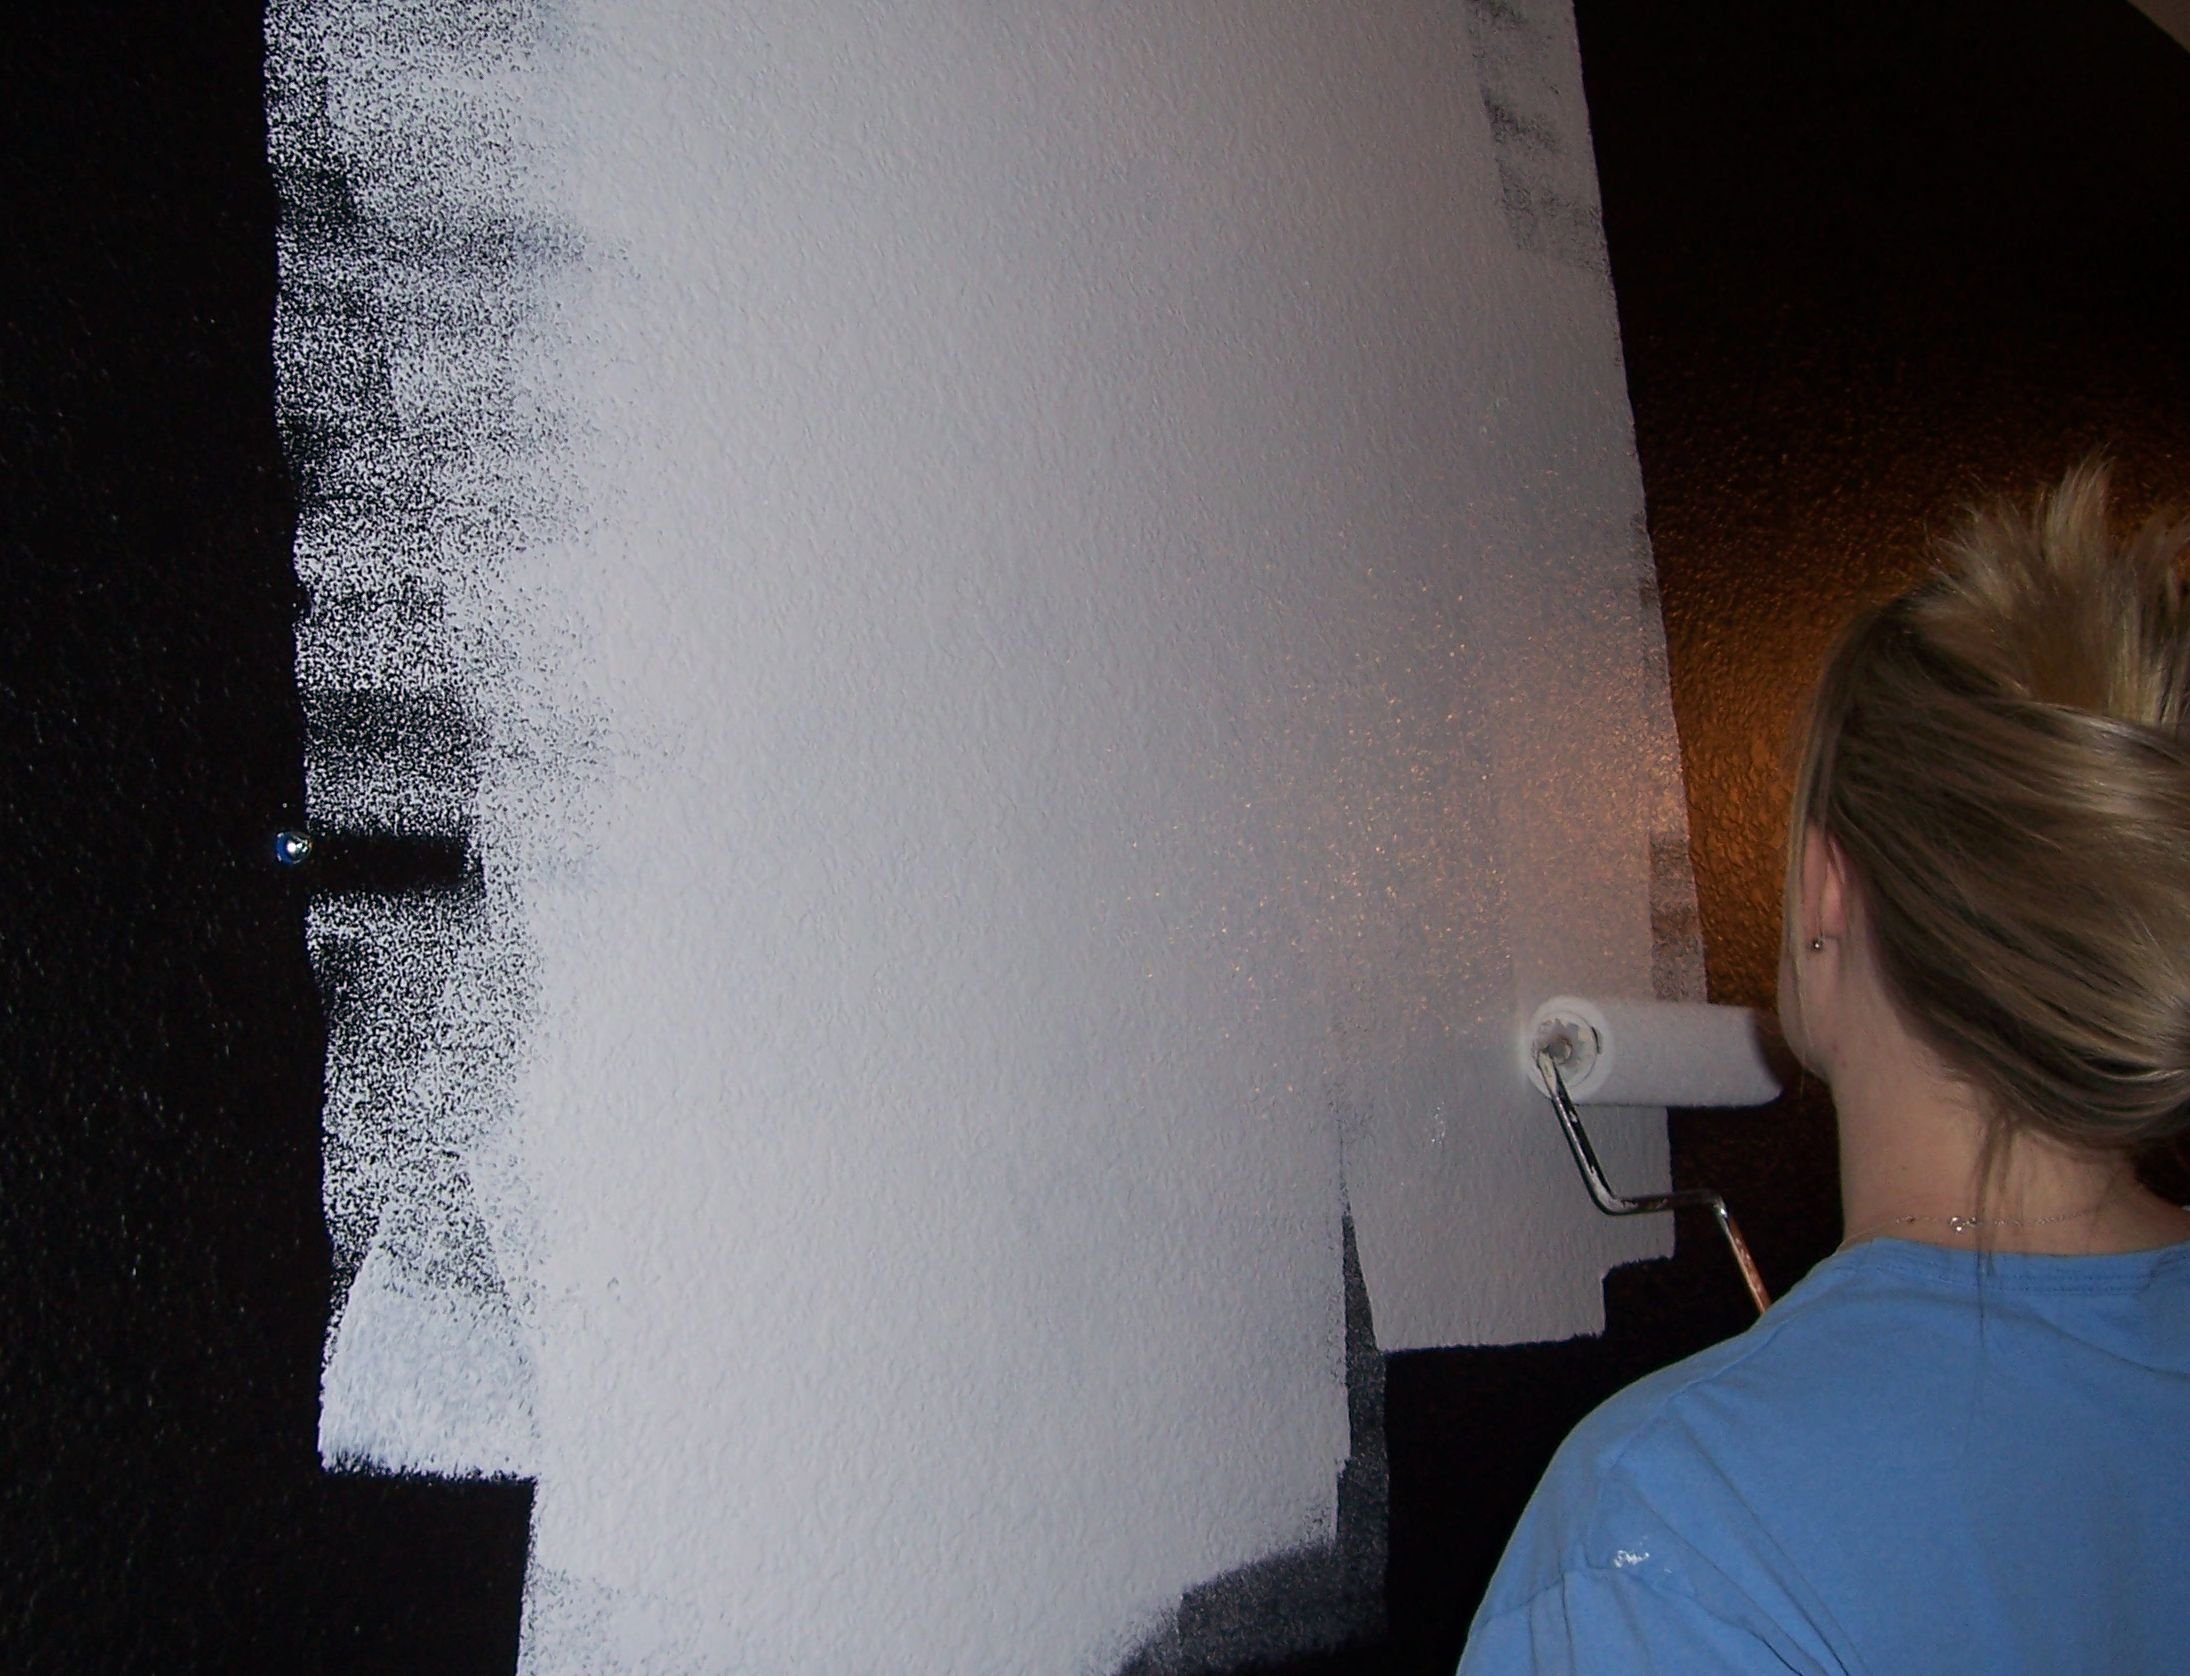
After the doors were off, I cleaned and painted the shelves and interior of the closet. Just the painting alone created a cleaner, brighter feeling.
The following photo shows shows my husband removing the flooring that was under the washer and dryer.
We had to move things to work on an area, then move them back. Later, when floors were installed, we had to remove everything again. It is very unhandy to live in a house you are renovating! But - it all worked out in the end.
Besides the odd electric cord, there was a cloth wrapped around the faucet, and a strange storage bin on the wall. It was plastic and did not add any charm :-) Both were removed. We had never noticed a leak, but they must have had the rag there for some reason. We called in a plumber to check things out. He inspected the set-up, tightened the faucet a bit, and assured us that all was well. Always have potential leaks inspected by a professional.
Once the shelves and walls were painted, I bought bins and containers for organizing my laundry items. It was light and bright! There was a small hole in the wall on the left of the washer that still needed to be repaired (and the electrician and plumber had not yet done their work in the photo below).
The floor was installed after I had completed painting the laundry closet. Once the floors were in, my husband installed the baseboard (after I found the time to get the baseboards painted).
We also added a decorative shelf to hold little odds and ends. The plant adds “life” to the area.
A bar was added for drying clothes. I also love the storage bar with hooks for dust mop, broom, etc.
Once the closet laundry was completed, we added a curtain. I love it! When wee ones are around, I don’t have to worry about pinched fingers. I have a light, bright, cheery laundry area, and the laundry closet blends nicely into the room.
We LOVE our bright, beautiful, new laundry area!
PROJECT SAFETY TIP: Always bring in professional plumbers and electricians.
An Added Tip For Keeping Soap Residue Off Your Clothes
We were having a LOT of problems with our laundry not getting clean. Don’t tell me I need a new machine - this machine was fairly new when we bought the house a few years ago. We used washing machine cleaner approximately once per month, but “stuff” was still coming out onto our clothing. Plus, every time we used the washing machine cleaner, we had a lot of debris to clean out of the tub. It looked like little bits of seaweed. I have seen YouTube videos that explain that this is soap residue that has built up outside the drum. It eventually gets onto the laundry in the machine. Personally, I don’t believe there is a magic way of getting clothes clean with little water. I would give anything to have an OLD machine. Just my opinion.
Anyway, since I couldn’t get my hands on an old machine, I needed to solve this problem. I asked a friend (plumber) what she recommended. She told me about beyond laundry sheets. I had been using a liquid detergent.
I don’t know if it’s coincidence or what, but things are much better now. No more “seaweed” being deposited onto my clothes.
If you click on the links and buy from Amazon, we might make a small fee. I am providing it because I use this product (the product photo was taken in my kitchen) and I am very happy with it. I can’t guarantee this will solve your problem. I can only tell you that it has helped me.
Beyond Laundry Sheets I use one sheet in a full load. I also often toss in some powdered OxyClean.
Read my latest article to help get motivated :-)
Give yourself the gift of freedom. Exchange the endless tidying up of your home for hiking, sewing, crafting - or following your own true passions.
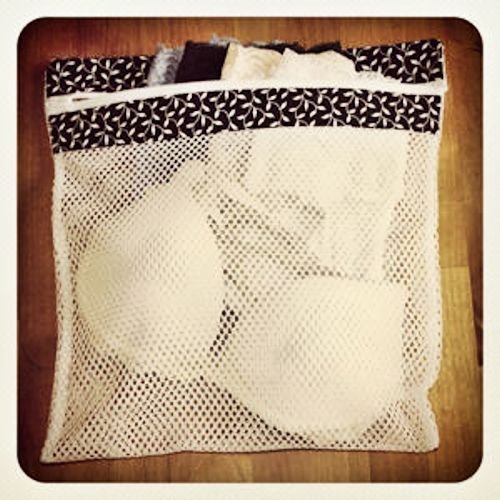
Make your own lingerie bags! Easy pattern - great for beginners.
Featured Projects


Protect your wood deck from the elements with proper prep and quality stain. Proper maintenance enhances the life span of a wood deck. Protect from snow, rain, freezing ice, hot sun.