Whitewash Fireplace
Part 1 of Fireplace Makeover
whitewash old bricks
Disclosure: This site contains affiliate links. As an Amazon Associate, I earn from qualifying purchases. Clicking on links, and purchasing products, may result in the seller paying us compensation at no extra cost to you. Affiliate links are in green.
Also see:
Lifestyle Blog
Fireplace Projects
Wood Projects
Paint Projects
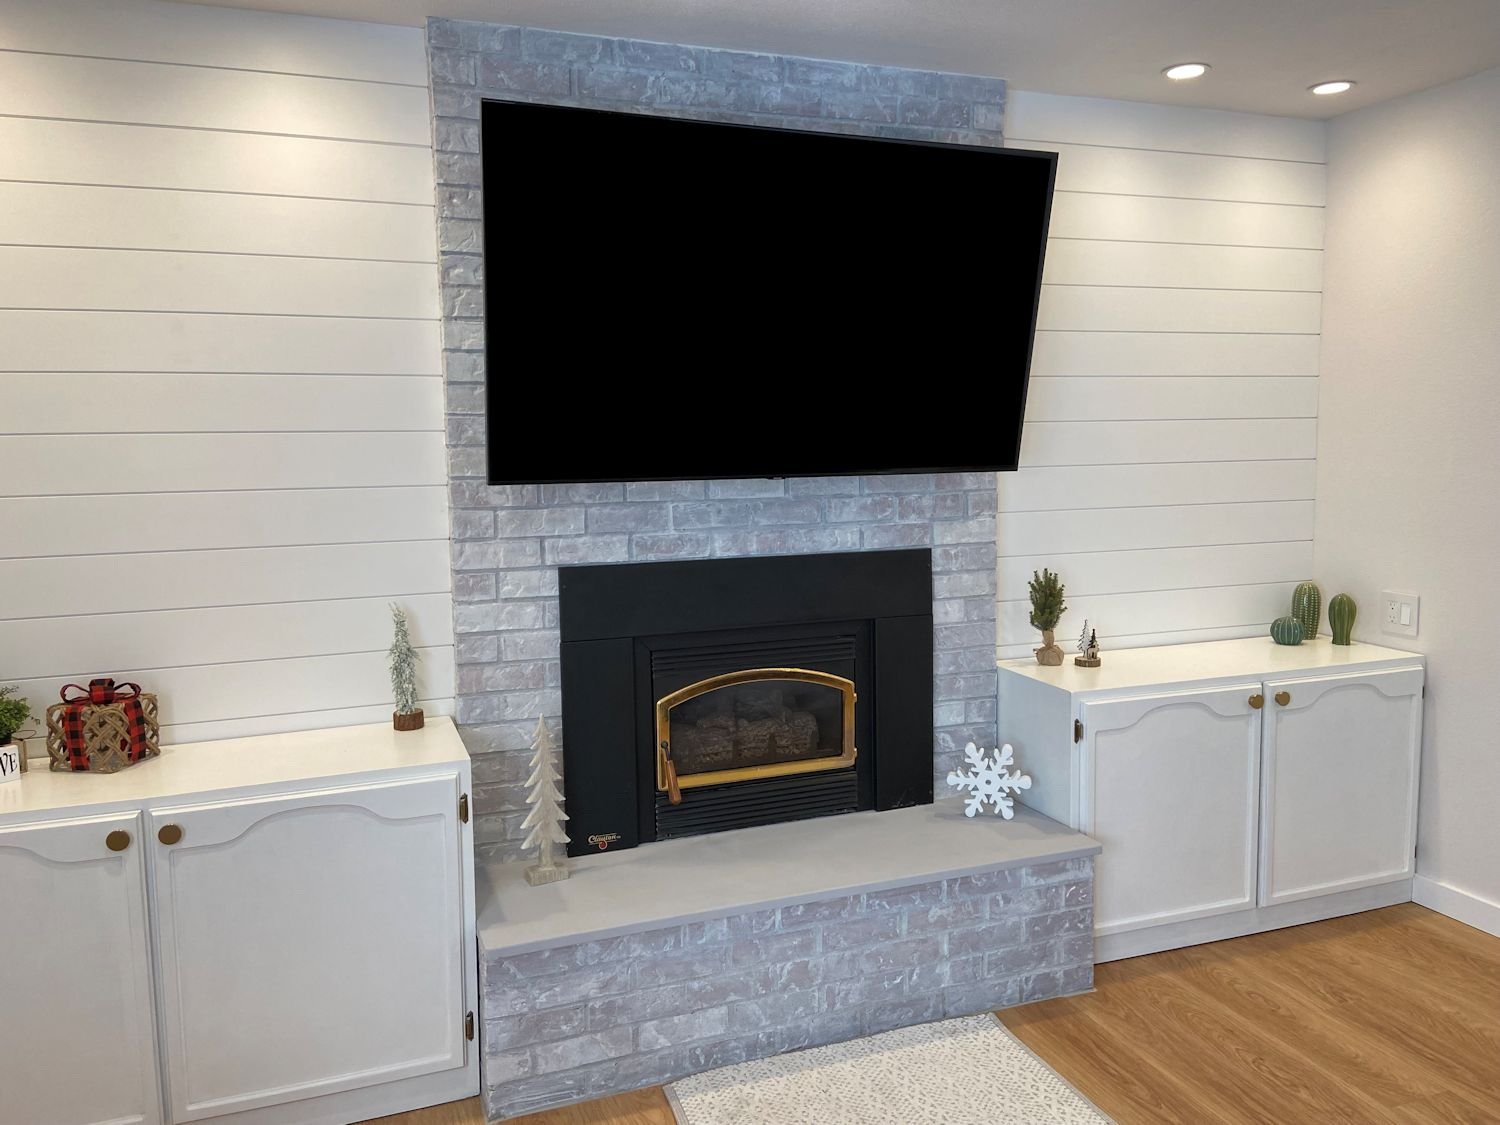
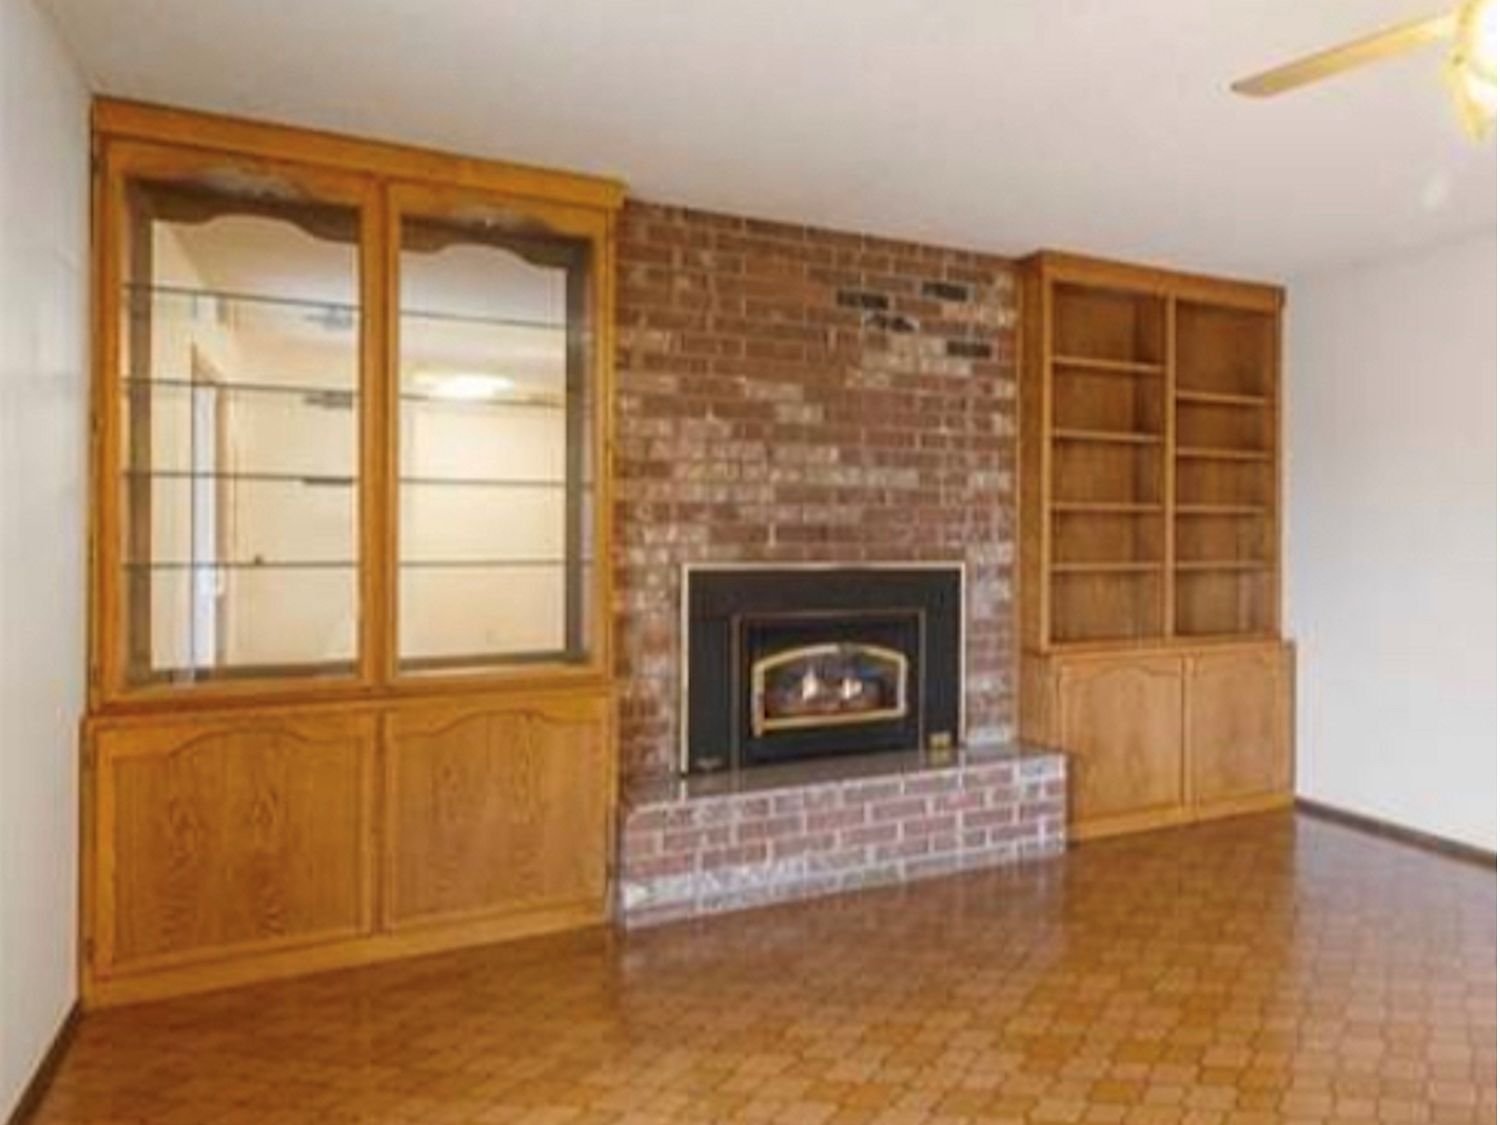
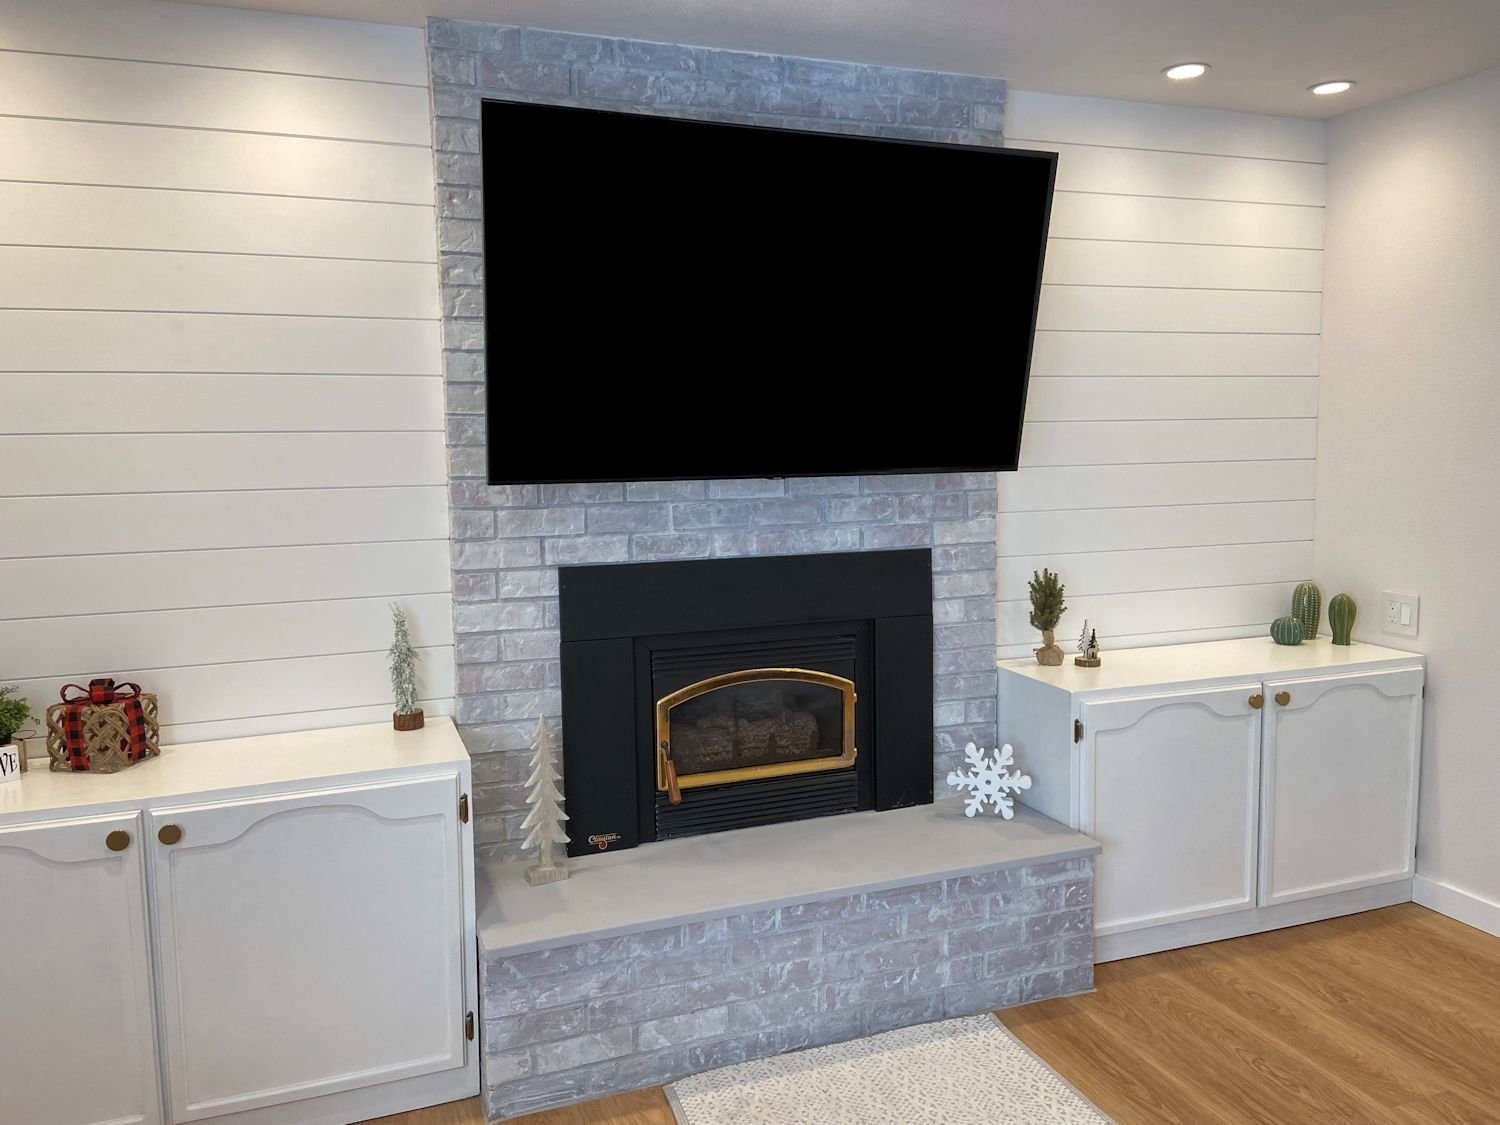
I was happy to have a fireplace, after moving from the desert Southwest to the Pacific Northwest. However, “this old house” had not been updated since the 70’s. We decided to whitewash the old brick, remove the upper shelves over the cabinets, and paint the lower cabinets. We then added shiplap to the walls. After the holidays, we will install shelves and a new mantle.
Before working on the fireplace, we removed the old sparkly ceiling, pulled up the linoleum and subfloor, and had a professional electrician install a new ceiling fan and can lights (always hire professionals for electrical work).
We hired professionals to install our new floors for this house, because the entire house needed to be done. We laid floors ourselves in our previous house. You can read about painting and floor installation in the following articles.
FIREPLACE PROJECT:
Part One: Whitewash The Fireplace
Part Five: Build Shelves & Mantle (coming soon)
ALSO SEE: other areas or our remodel
Install Baseboards (coming soon)
Go for it! Do as much of the work yourself as you can. You will gain confidence and feel empowered through independence. Hire professionals where necessary (such as plumbing or electrical work); otherwise save money and learn new skills by doing the work yourself.
Whitewash Fireplace
SUPPLIES - Whitewashing Kit
Giani Brick Transformations Kit - Whitewashing
I ordered the kit that included paint, and all supplies needed. I was very happy with how easy it was to use, and the beautiful results.
The contents included:
16 oz. Brick Transformations Whitewash Paint
(3x) Giani Ultra Low Lint Wiping Rags
Mixing Container
Plastic Drop Cloth
Painter’s Tape
2” Paint Brush
Stir Stick
Detailed Written Instruction
SUPPLIES - General Cleaning & Painting Supplies
cleaning brush and cloth - the brick must be cleaned before painting (a thorough vacuuming and wipe-down with damp cloth was enough for my fireplace)
Step stool I am a short female and definitely needed a stool
Shop vacuum - have a broom and dust pan handy as well
Painter's Tape - if you need to protect any edges from paintINSTRUCTIONS
Vacuum loose dirt, cobwebs and any other debris on the bricks. Wipe clean with a damp cloth.
Follow directions that come with the kit. It was very easy - the more paint you put down, the higher the opacity (meaning it is less transparent). I wanted to see the brick through the white paint, so I did not put it down very heavy. However, a bit of variation looked quite nice, so I quickly calmed down. I was a bit nervous in the beginning, I admit. My son-in-law was with me and helped me get started. He had never done it before either, but jumped right in. I chose a side and area that would not later show to practice on. Easy!
REMEMBER - getting over the fear of trying something new is the hardest part. My son-in-law was a HUGE help with that part. He had never done it before either, but grabbed the can, read the instructions, and got me started.
CLICK THE PHOTOS FOR LARGER IMAGE
Once the fireplace was complete, we were able to paint the hearth. What a beautiful transformation!
More Fireplace Projects
Lifestyle Blog
It’s all about enjoying life in a perfect balance.
Organize, minimize, simplify, DIY. Free up time and money for hiking, biking, art, enjoying nature - or doing the things you love.


Easy, portable DIY firepit made from reclaimed landscape bricks. Create memories with family and friends.