Repair and Paint Shed
Step 1 Shed Makeover: Repair & Paint
Quick & Easy - adds beauty to a landscape.
Disclosure: This site contains affiliate links. As an Amazon Associate, I earn from qualifying purchases. Clicking on links, and purchasing products, may result in the seller paying us compensation at no extra cost to you. Affiliate links are in green.
Remodel The Old Shed
Step 1: Repair & Paint
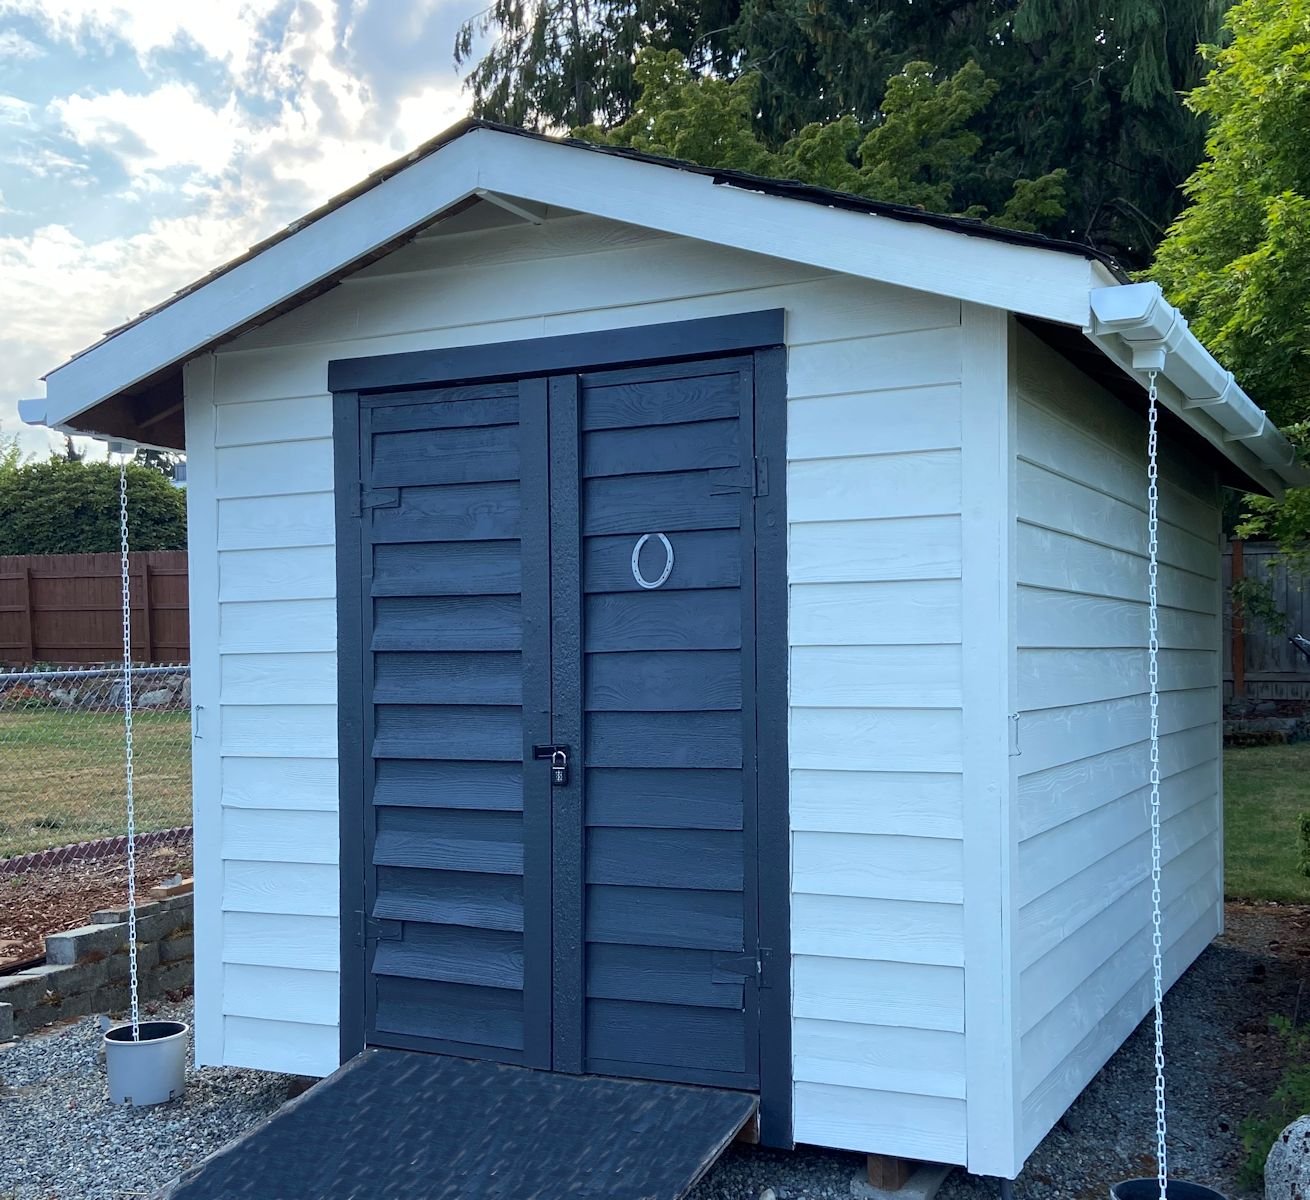
Finished shed with new deck ramp.
Such a HUGE improvement!
Also see:
Lifestyle Blog
Deck Projects
Painting Projects
Garden Projects
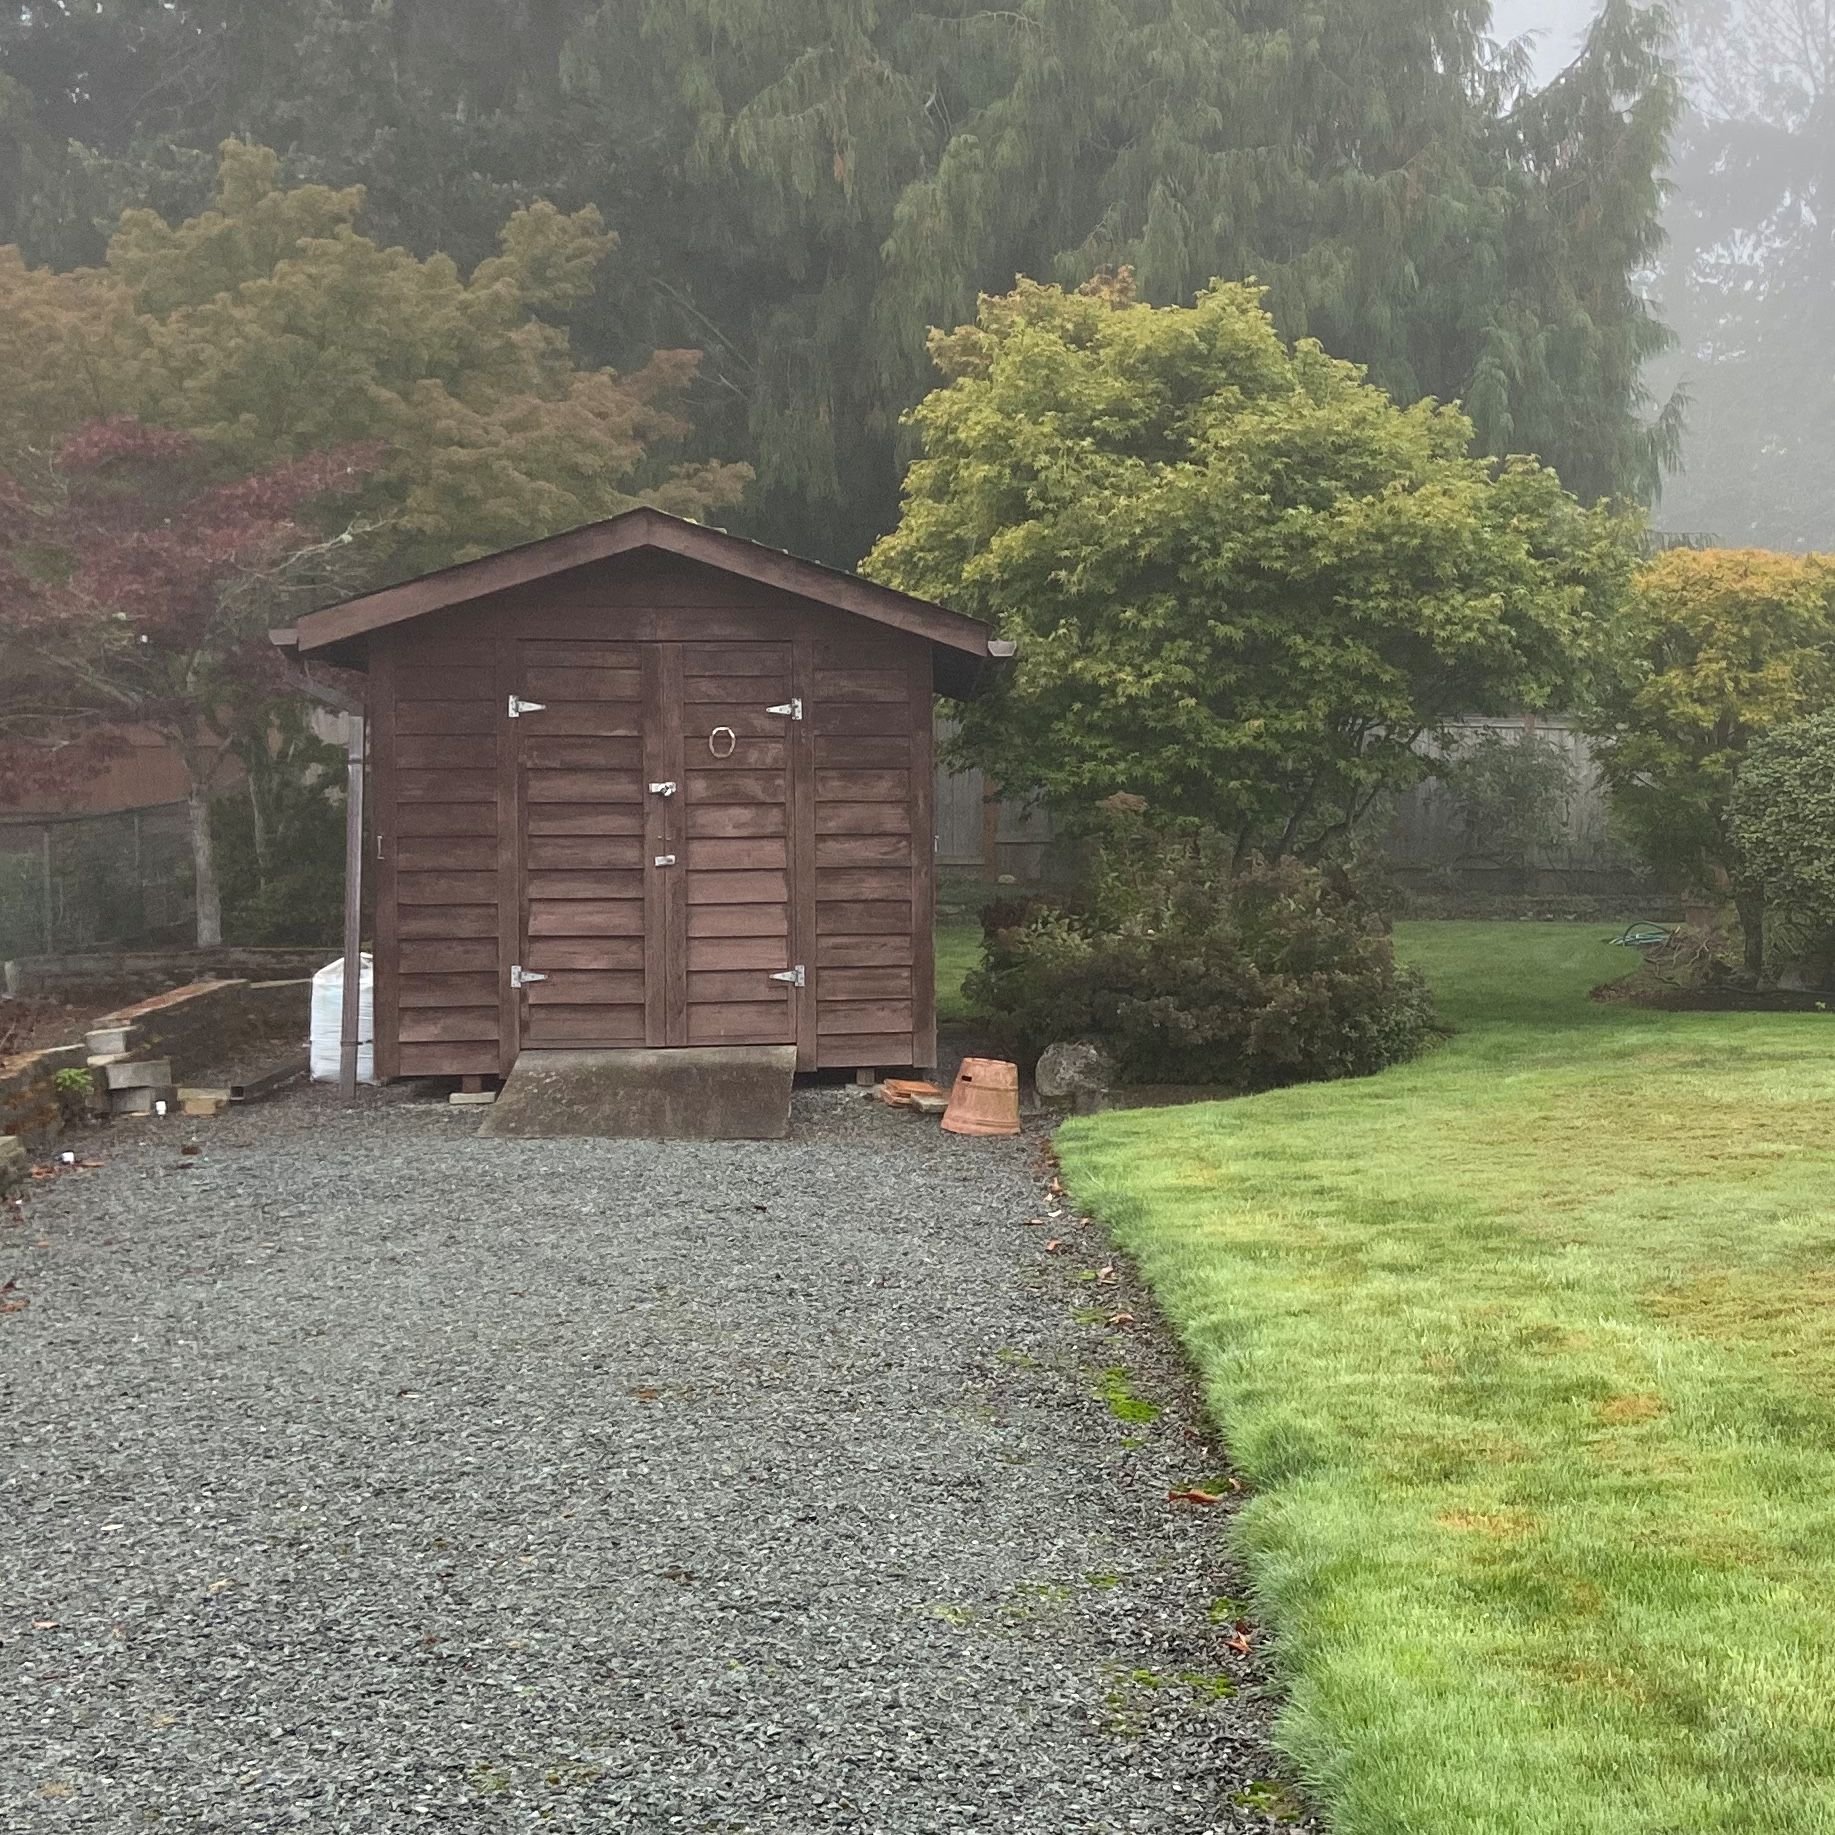
I loved our house when we first saw it, especially with its view of Mount Rainier. However the shed was in bad need of a make-over. The structure was fine - it just needed an update and some repairs to siding. I am the painter in the family, so I knew I had a job waiting for me. I love it! It went from shabby and run down, to a nice piece in the yard.
oh my! much to be done!
SUPPLIES
Project Supplies
Click the links to check prices on Amazon. Affiliate links are green.
Hedge Trimmer - optional – for cutting close shrubs back from the shed
Pressure Washer you can also use a yard hose, but the pressure washer does a better job – use a brush as needed as wellSand Paper to sand rough areas of siding as needed
Paint Scrapers for removing loose paint
Rake for raking debris away from shed
Step stool I am a short female and definitely needed a stool
painter's drop cloth to place over shrubs near the shed
Wood siding if needed
Exterior paint in main color and contrast color - I used exterior water based paint, so clean-up was easy. See photo below. We chose Dove White by Benjamin Moore. The contrast color was the same charcoal we added as trim to the house. I recommend tying in the color of the shed to your house. Our house is a beige type color, I had just painted the trim charcoal. The shed is out a ways from the house, so the white tied in just fine - with the charcoal trim.
General Carpentry Supplies
Orbital or detail sander optional but nice to have
Wood filler for any necessary repair
hammer & nails
General Painting Supplies
Various paint brushes in sizes of your choice
kitchen garbage bags with draw string for storing paint tray during breaks
baby wipes works well for quick clean-up
Resealable Plastic Bags (such as zip-lock) for storing brushes when not in use
Clean & Inspect Shed
Brush off loose dirt., then power wash the shed. Let the wood thoroughly dry.
Check for loose or damaged siding boards.
Replace Siding Where Needed
Siding is not difficult to replace. Siding boards are a “wedge” shape. The skinny edge goes up UNDERNEATH the siding piece above.
For our shed, not all siding needed to be replaced. Fortunately, only two boards were bad.
1. Remove bad boards
Use a crowbar if necessary to remove the bad boards. You need to loosen the board, then pull it out from beneath the board that is just above it. Because it is wedged up under the board above, that board might need to be loosened a bit.
The photo below shows the bad siding pieces removed.
2. Install New Siding
The following photo shows a piece of siding on its side. Notice the wedge shape.
Measure and cut the new siding piece. Use the old board as a template, or take new measurements.
Prime & paint the new siding before installation.
Nail each new siding piece in place.
Patch, Sand, Caulk & Paint Shed
Sand where necessary. If new boards were applied, and you have not already primed them, apply an exterior primer.
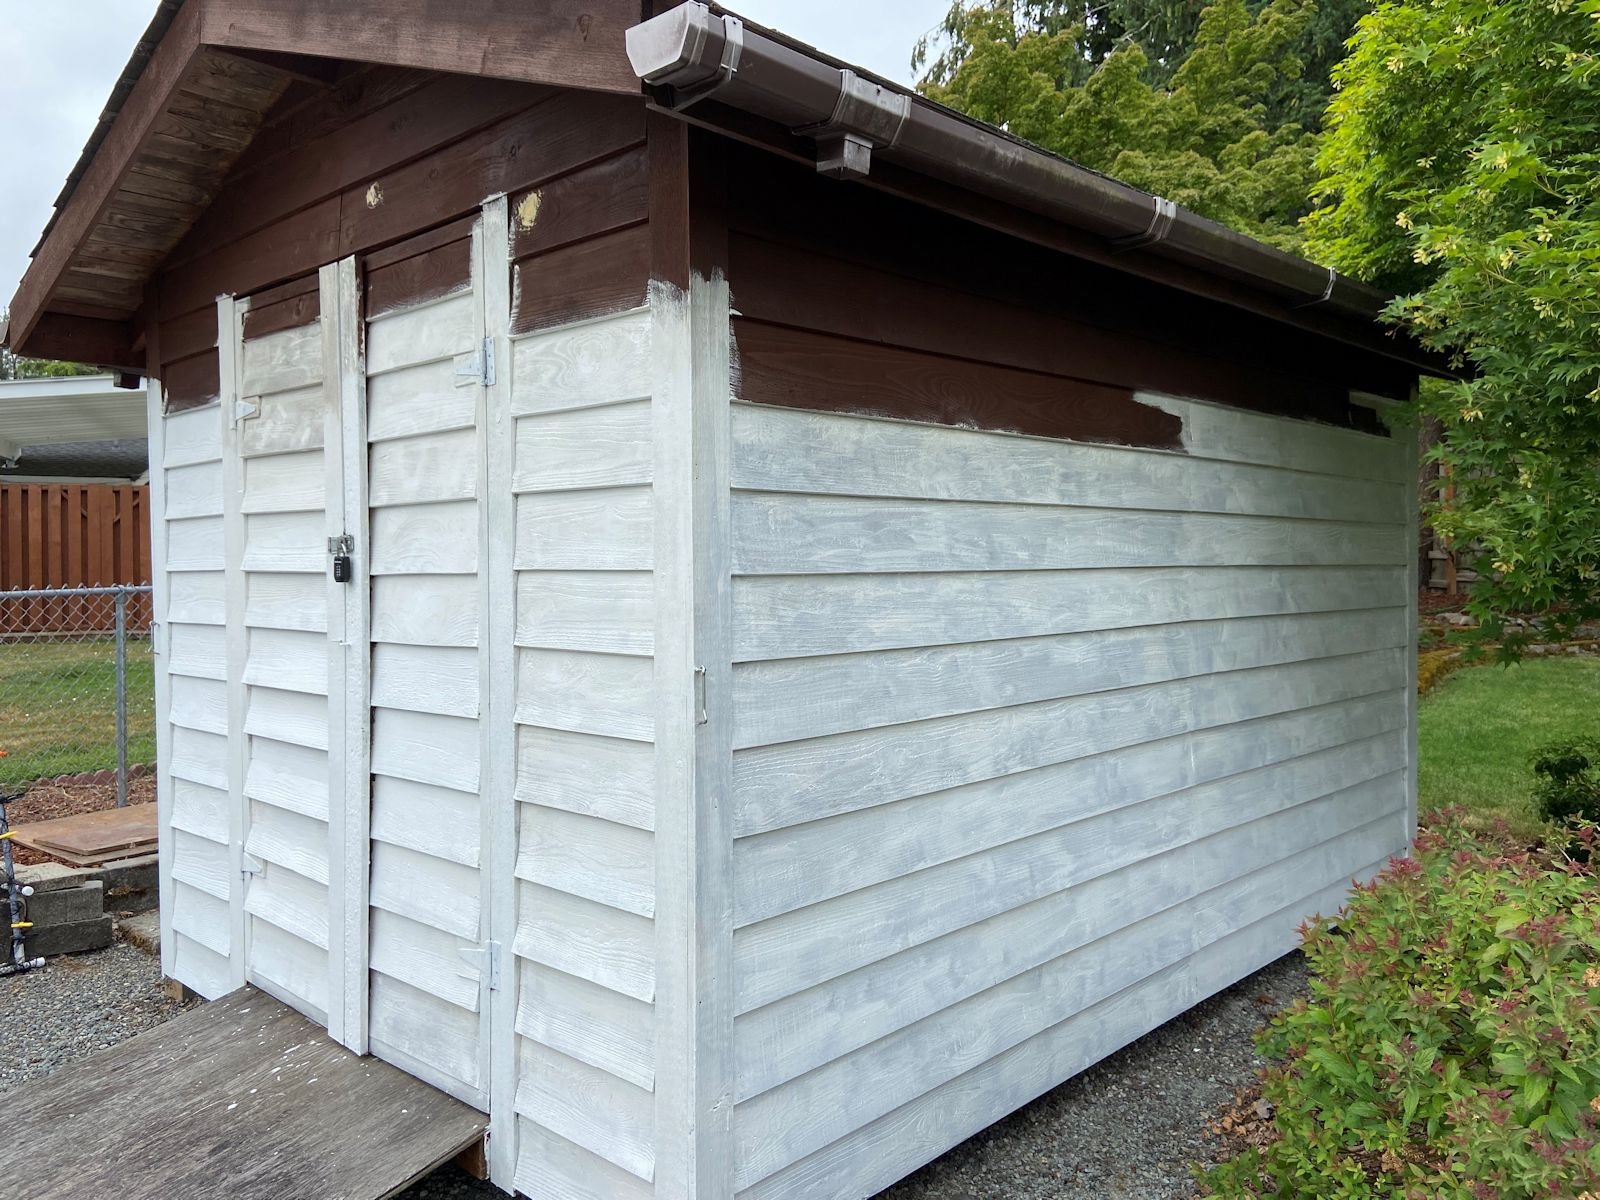
Working a section at a time, paint the entire shed. I found that only one coat was necessary in most places. After a few days of drying, I went back and painted again where needed.
Check Gutters
Gutters and downspouts: check for gutter quality. Ours were fine - they just needed to be painted. I used the same white paint that I had used on the shed. My husband removed the downspouts (they looked BAD), and hung a chain as a downspout. Plants will be added to the pots. Much better!
NOTE: my husband first used a spray paint on the plastic gutters, but it peeled off after only one winter. The following summer, I scraped off all loose paint and re-painted with the same exterior paint I used on the siding;- the can of paint is shown above. That did the job. It has lasted through a couple harsh winters now.
CLICK THE PHOTOS FOR LARGER IMAGE
What’s Next?
The next step for our shed was to build a beautiful wood ramp. That job is now finished and posted! All that is needed is a bit of landscaping in front of the shed. In the following photo, the plants were “added” by graphics to give an idea of what it can look like.
Go to: Build A Shed Ramp
Lifestyle Blog
It’s all about enjoying life. Self empowerment through DIY.


Our traditional Fattigman Day tradition. Swedish cookie making instructions with printable recipe.