Front Door Makeover
Disclosure: This site contains affiliate links. As an Amazon Associate, I earn from qualifying purchases. Clicking on links, and purchasing products, may result in the seller paying us compensation at no extra cost to you. Affiliate links are in green.
Also see:
lifestyle blog
Home Decor Projects
Exterior Projects
Painting Projects
Our house was a beige tone, and the door and house door trim were white. Definitely nothing interesting. The first thing we did on the outside of the house, after moving in, was to paint all of the house trim charcoal. That helped a lot. However, the door itself was still white, and I knew it needed something.
Color is needed!
PAINT: TYPE & COLOR CHOICE
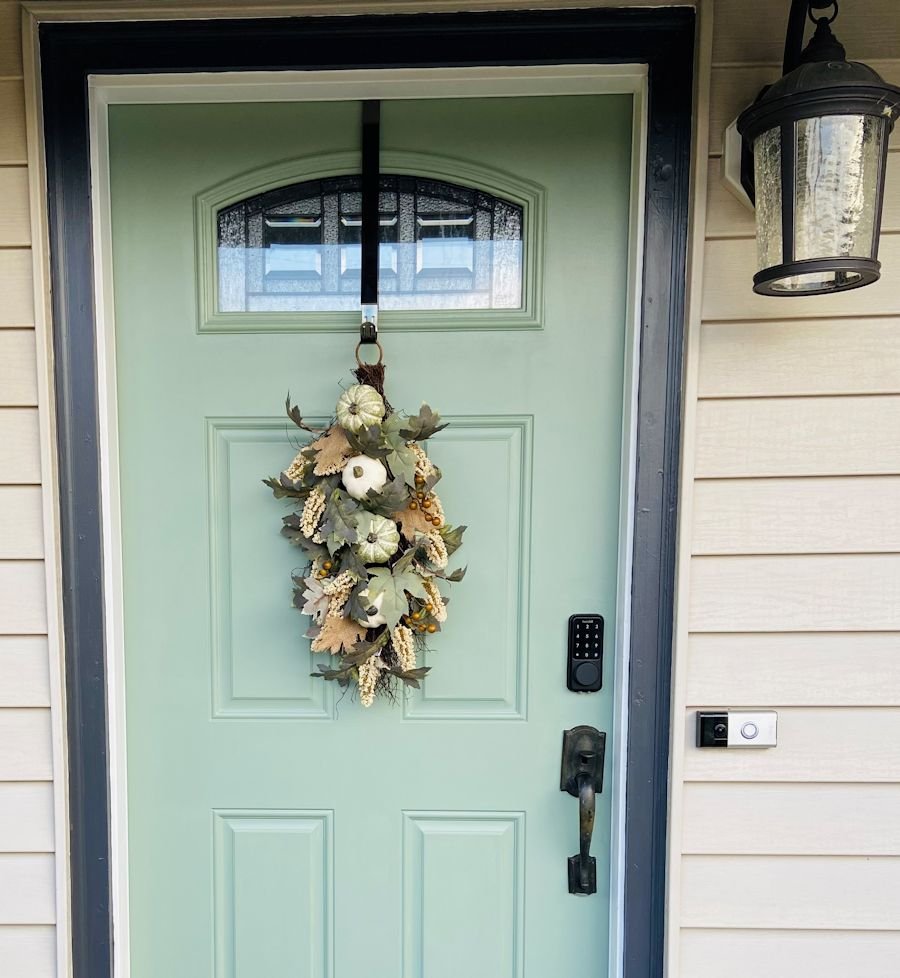
We live in the Pacific Northwest. I love the beautiful greenery of nature, and wanted to tie it into the door. However, I did not want a door that was “too green.” My daughter came to the rescue - she has a great eye for color. She chose a green that was ever so slightly to the blue.
Our color choice: Grenadier Pond by Benjamin Moore.
This is the exterior side of the door; we chose Exterior latex paint.
Perfect! And it also looks good inside the house when the door is open. Think about the statement you want your door to make. Subtle? Bold? When the door is open, how will it look inside your home?
SUPPLIES - general painting supplies
SAFETY NOTICE
REMEMBER TO FOLLOW ALL DIRECTIONS AND SAFETY PRECAUTIONS listed on product labels. Work in a well ventilated area. Use a dust mask and eye protection for all cleaning and sanding. Use gloves when using cleaners such as TSP. We did not use that for this project, but I often use it to clean walls before painting.
Click links to check Amazon prices. Green links are affiliate links.
painter's drop cloth (old towels will do – I use old towels to protect areas from paint splatter and drips
paint rollers and trays - I used rollers rather than brushes so as not to have brush marks
shop vacuum - if needed to clean dirt off door
TSP or other good cleaner / degreaser
kitchen garbage bags with draw string for storing paint tray during breaks
baby wipes works well for quick clean-up
Sand Paper to sand off rust as needed
Resealable Plastic Bags (such as zip-lock) for storing brushes when not in use
Disposable Gloves definitely recommended when using the oil base paints
mineral spirits for cleanup if using oil base paints
cloth for skin clea-up I used Disposable Cosmetic Pads
Rubber Mallet or hammer (for pounding down the paint can top when done painting)
INSTRUCTIONS
Clean The Door
Clean and dry the door. I used a vacuum with the brush attachment to clean off loose dirt. Gently wipe clean with a damp cloth. Let dry before painting.
Sand The Wood (or any rough spots if it is metal)
Sand any rough areas. Use caulk (exterior caulk) or wood patch as necessary to fill where needed. We had a metal door, so this was not necessary.
Use a tack cloth to remove any dust caused from sanding.
Tape / Remove Hardware
Tape off windows. Remove hardware if possible - or tape around it.
Apply Paint
I prefer hand brushing rather than spray, so I did not remove the door itself. I used a good quality brush to apply the paint. If you are using a light color paint over a dark color, I recommend painting the door white first. Then apply the new, lighter color. If you did extensive sanding and patching, you may also need to apply a primer before painting with the final color.
Dry / Re-apply
Let the paint thoroughly dry between coats. Sand as necessary with fine grit sandpaper (220 or so). Look for any drips - they will need to be sanded off. Apply a second coat where necessary. I did not need to apply a second coat over the entire door; I re-applied only in a few places.
Great New Look
We love the new door! I feel it offers a nice transition from the exterior to the interior, and the color looks good inside when the door is open.
Click photo for larger view.
The final touch was to replace the light. It needed to be replaced because it was not working properly, which turned out ok because I love the new look!
Related Projects
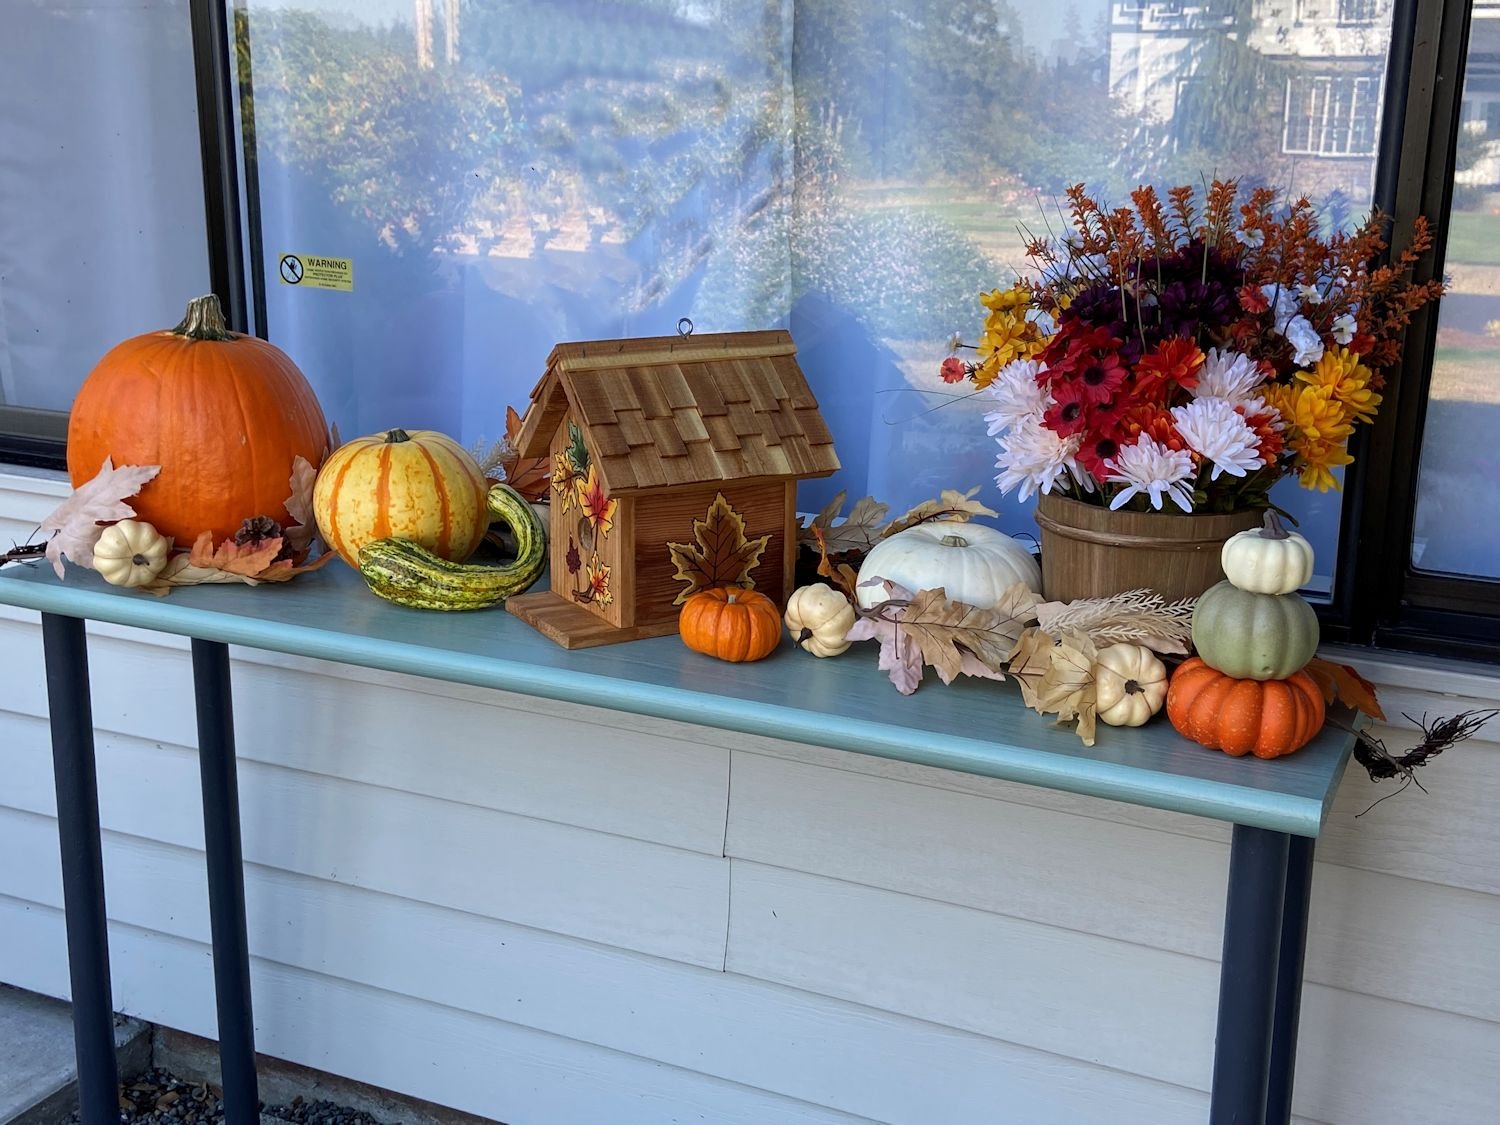
Exterior Table
Make a color coordinated exterior table.
DIY Custom House Address Sign
Create your own address sign. Mountain pattern provided.
Featured Projects


