Puppy & Pals Quilt
Disclosure: This site contains affiliate links. As an Amazon Associate, I earn from qualifying purchases. Clicking on links, and purchasing products, may result in the seller paying us compensation - at no extra cost to you. Affiliate links are in green.
Puppies & Friends
This animal lover’s quilt features a puppy and his cat friends. Fish and bones create a playful atmosphere for these pals. Practice points while making squares, triangles and rectangles.
From snuggly flannels to bright spring cottons, use your scraps to create unique looks.
Quilt Size
36.5” high x 37.5” wide
Block Sizes
Each individual cat block measures 12.5" high x 12" wide
Each individual fish block measures 12.5" high x 12" wide
Each individual bone block measures 12.5" high x 14.5" wide
The puppy block measures 12.5" high x 14.5" wide
Quilt Assembly
This lesson covers assembling and finishing the quilt. You will first need to create the quilt blocks. You can create 4 cats, one dog, 2 fish, and 2 bones (as in title photo), or replace the bones and dog for more fish and cats. Play around with it; mix and match.
Keep in mind that the cat and fish blocks are not as wide as the dog and bone blocks (see above “block sizes”). They are all the same hiight. Adjust your quilt size accordingly (quilt backing and batting).
DIRECTIONS
All seams are 1/4”
Pre-wash, dry & press fabric before using
Your fabric will shrink, so pre-wash, dry and press before using if you plan to wash your project in the future.
Iron between each step. Read through all directions completely before beginning.
1. Create Blocks
SUPPLIES
Cutting Tools
I recommend the following tools for cutting. I use these tools for most projects. They allow for easy, precise cutting.
rotary cutter
cutting mat
large sewing ruler
General Sewing Supplies
thread to match fabric background
sewing scissors
pins (I use quilting pins)
Fabric
Quantities allow for some shrinkage.
CAT FABRIC (four cats)
3/4 yard fabric for cat body and tail
two 3.5” squares of contrast fabric for tail tip (I used the off-white bone fabric for the cat tail tips)
PUPPY FABRIC (one puppy)
1/3 yard fabric for puppy body
Ear and Tail: one 3.5” square, one 2.5” square, and one 3” x 5” rectangle (I used a nice dark gray/black blend)
BONE FABRIC (two bones)
1/2 yard bone fabric
FISH FABRIC (two fishes)
1/3 yard fish fabric
BACKGROUND FABRIC (this is enough for all blocks)
1 yard of background fabric (aqua blend in my quilt)
Go to the following pages for instructions on creating each block.
2. Create Rows Of Blocks
The quilt consists of 9 blocks. 4 cat blocks, two fish blocks, two bone blocks, and a puppy block.
Start by stitching together rows of blocks as shown in the following diagram.
Row 1: Cat on top, fish in the center, cat on the bottom
Row 2: Bone on top, puppy in the center, bone on the bottom
Row 3: Repeat of row 1
NOTE: My upper left cat and lower right cat have the tail tip facing the same way. My upper right cat and lower left cat have the tail tip facing the opposite way as the first set. I also faced my fish in opposite directions. The bones are mirror images as well. Play around when you make your blocks. Experiment and have fun.
3. Stitch The Rows Together
Once you have created the three rows, stitch the rows together.
You will now have a completed quilt top.
4. Assemble Layers & Add Binding
For instructions on layering quilt top, batting and backing, and adding binding to your quilt, go to: Quilt Lesson: Assemble & Bind
You can hold your layers together by machine quilting, hand quilting, or tying. This is a small quilt, so it does not require full quilting. I finished my quilt by tying. You could also “stitch in the ditch” around each block.
More Animal & Pet Projects
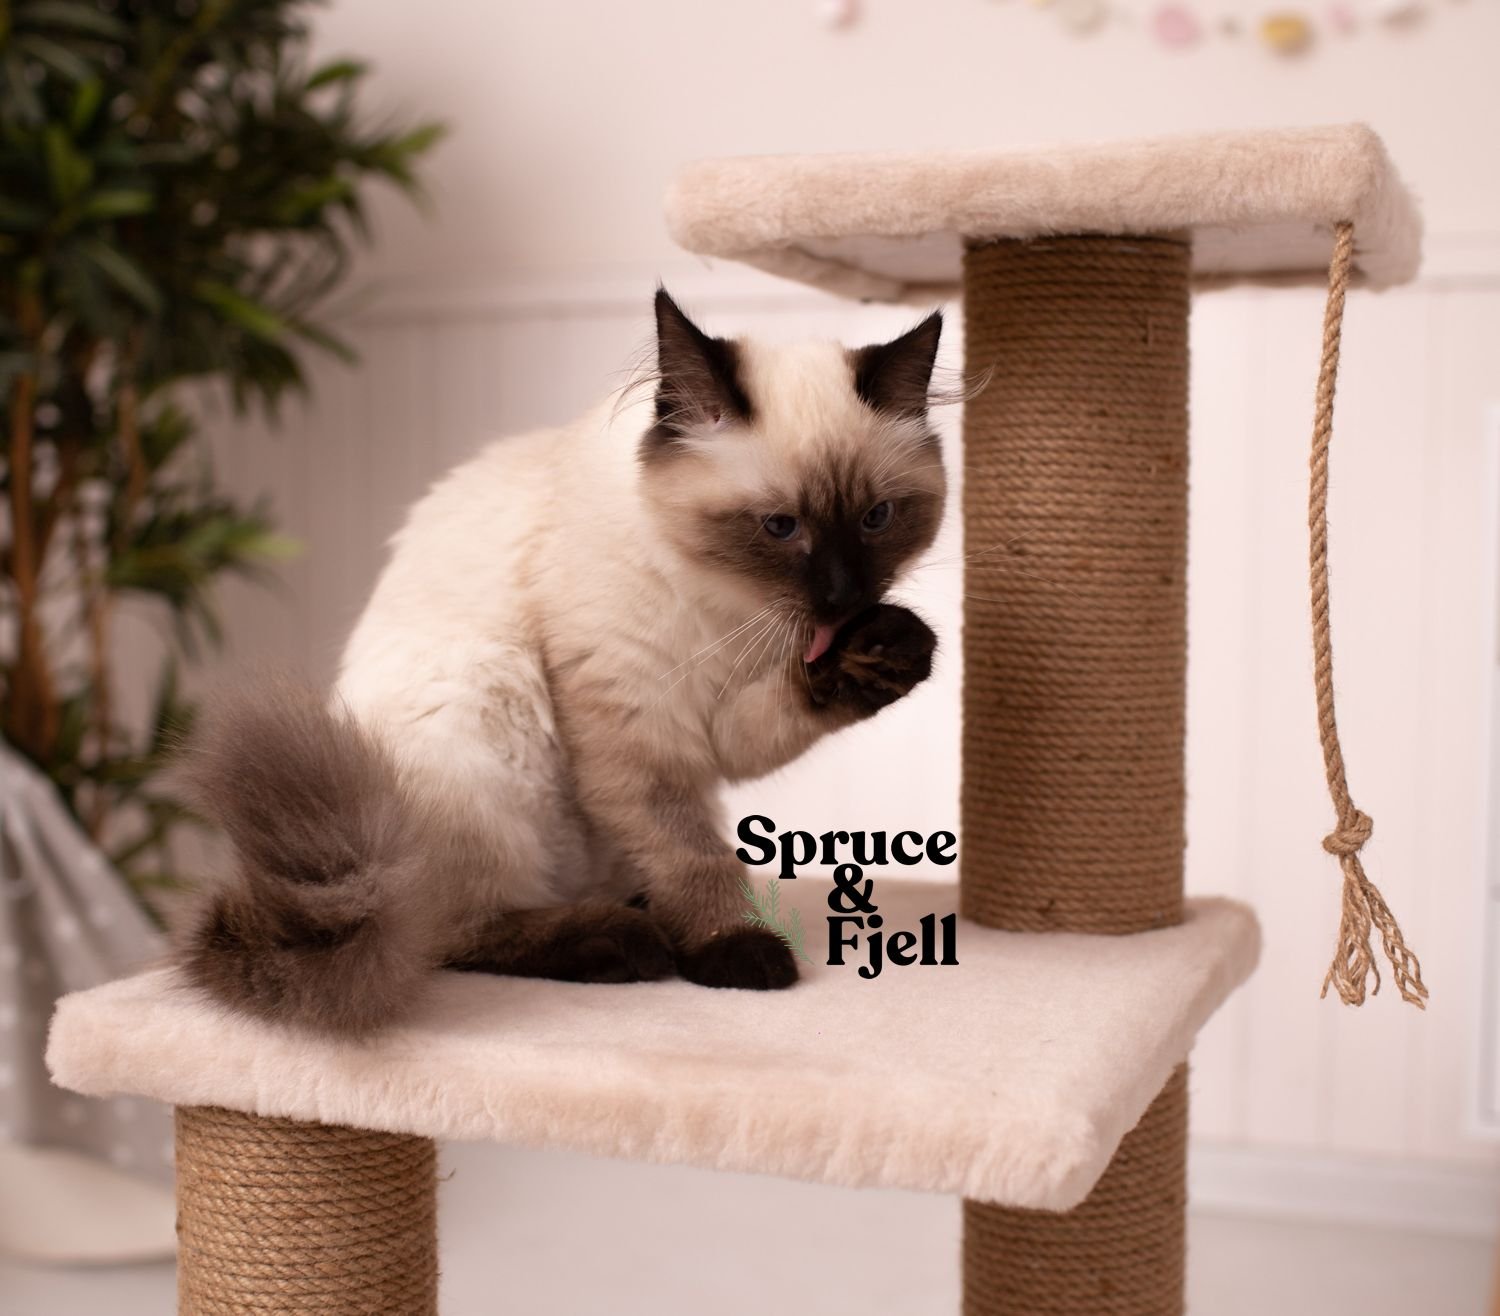
Don’t toss the cat tree - replace the rope!
Make an adorable cat pillow for baby’s room.
Articles & Tips


Our traditional Fattigman Day tradition. Swedish cookie making instructions with printable recipe.