Shaped Baby Burp Cloth
Special Note: This pattern is one of my oldest - originally on my previous site. Enjoy! Christina Sherrod, designer
Disclosure: This site contains affiliate links. As an Amazon Associate, I earn from qualifying purchases. Clicking on links, and purchasing products, may result in the seller paying us compensation - at no extra cost to you. Affiliate links are in green.
Nicely Shaped Burp Cloth
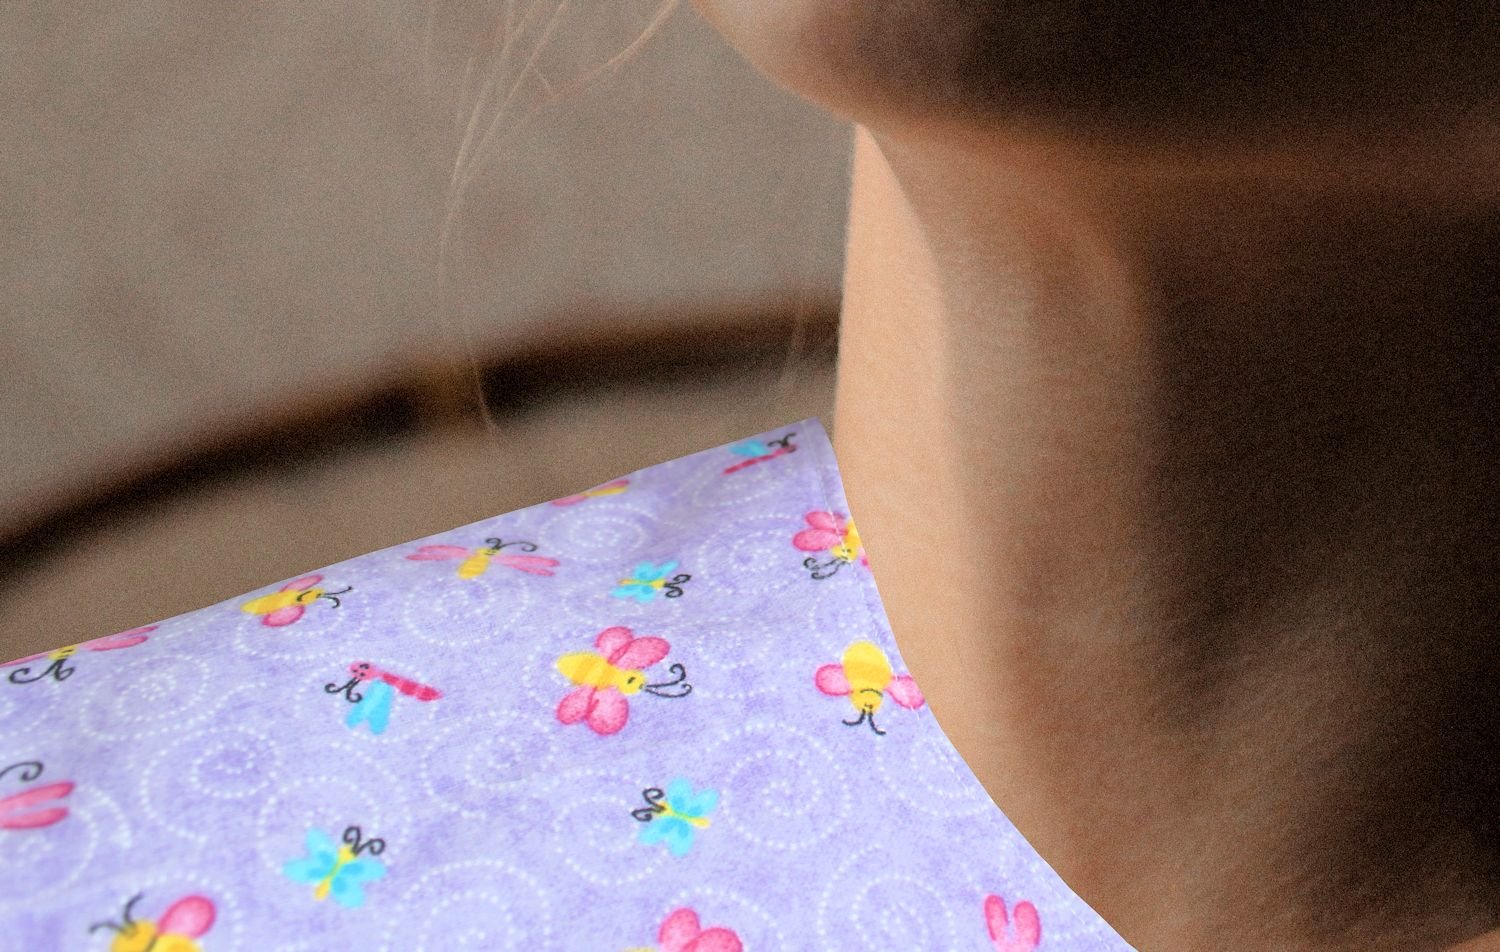
I designed this baby burp cloth to fit nicely around neck and shoulder. I have made several. They are so quick and easy to make!
soft cotton flannel or muslin
Using only 1/4 yard of 45" fabric, this burp cloth is just what every parent or grandparent needs. It fits nicely around the neck - no bunching up. If your fabric is less than 45" wide, use 1/2 yard or make the burp cloth shorter (the length of the burp cloth is equal to the width of the fabric).
You need a full 9”, so you may need to start with more than 1/4 yard (cotton fabric shrinks). OR make the burp cloth a bit narrower.
Create a snuggly place for your favorite baby by using a soft flannel or muslin. It is important that the fabric be washable, have good absorption quality, and be soft enough for a baby’s skin.
NOTE about cotton muslin: cotton muslin is popular for baby items, but requires several layers because it is a much looser weave than good quality cotton. Plan on using 6 layers of thin muslin to create a burp pad. Good quality cotton flannel requires only 2 layers (front and back).
Our directions are for flannel. Follow the same directions, except use 6 layers if using thin muslin.
SUPPLIES
Fabric
Use cozy cotton flannel or soft layers of cotton muslin (see note above about muslin). Washable, soft fabrics are best for babies. Pre-wash fabrics.
1/4 yard of 45" width cotton flannel. If your fabric is not 45" wide, you will need 1/2 yard (or you can make the cloth slightly shorter). The width of the fabric will determine the length of the burp cloth. If you wish to have a longer cloth, purchase 1/2 yard and create the front and back in two sections.
General Sewing Supplies
thread to match fabric background
sewing scissors
pins (I use quilting pins)
Pattern Pieces
My patterns download as pdf files.
DIRECTIONS
All seams are 1/4”
Pre-wash, dry & press fabric before using
Your fabric will shrink, so pre-wash, dry and press before using. If you are using muslin, it is probably quite wrinkled from the wash. Steam press it to remove wrinkles.
Pattern Lay-out & Cutting Directions
Cut out your pattern pieces and tape them together as shown below.
Fold the fabric over from one end (fold over a short end) just far enough to fit the pattern onto the double layer.
Align the top of the pattern with the folded edge of the fabric as shown (place “fold” end of pattern on the fold). Make sure you can also place the pattern piece again on the fabric. You will need two pieces - one for top and one for bottom. Pin the pattern into place and cut out the fabric.
With the remaining strip of fabric, fold a short end over again - enough to create a double layer large enough for the pattern. Place the pattern on the fold as you did with the first cut. Cut out the second piece of fabric.
NOTE: the second piece is for the back side of the burp cloth. It can be contrast fabric or the same fabric as the top piece.
Sewing Instructions
Place your pieces right sides together. Pin the pieces together. Using a ¼" seam allowance, stitch around the outer edge, right sides together, leaving most of one short edge open for turning.
Turn right side out. Press under the unstitched edges ¼". Topstitch around the entire outer edge approximately 1/8" from the edge.
Related Patterns
Fully illustrated embroidery stitch glossary. Embroider your burp cloth.
Make an adorable cat pillow for baby’s room.
Articles & Tips


Our traditional Fattigman Day tradition. Swedish cookie making instructions with printable recipe.