Shamrock Applique
sewing -> home decor
applique for pillows, cushions, quilts, clothing
free shamrock applique pattern
I used my shamrock pattern on shirts and a pillow front. You could also use on a quilt block - or any fabric item.
Disclosure: This site contains affiliate links. As an Amazon Associate, I earn from qualifying purchases. Clicking on links, and purchasing products, may result in the seller paying us compensation - at no extra cost to you. Affiliate links are in green.
Great “beginner” sewing project. Practice straight stitching.
Also see:
Notes From The Workroom & Trail
Holiday
Furniture Projects
Crafts
Shamrock Applique
My applique lesson will teach you how to adhere an applique piece to a fabric item (such as shirt or pillow front) using fusible web. Refer to that project for instructions on creating and placing applique fabric pieces.
Follow the transfer web (fusible adhesive) instructions for the specific fusible web you are using to adhere the fusible web to the wrong side of your shamrock fabric.
Use my pattern to draw the the shamrock onto the paper side of the fusible web.
Supplies
Adjust amounts for your project - these amounts were for my lounge cushion cover.
Project Supplies
green fabric the size you need for your shamrock
fusible web the size you need for your shamrock
Stabilizer (for applique - use tear-away or dissolvable if applique is to be used on clothing)
Applique Thread
Pattern (pdf file):
General Sewing Supplies
sewing scissors
quilting pins
large sewing ruler
fabric marking pencils
seam ripper
rotary cutter and mat (optional but nice)
Pillow Pattern
I provide several free pillow patterns.
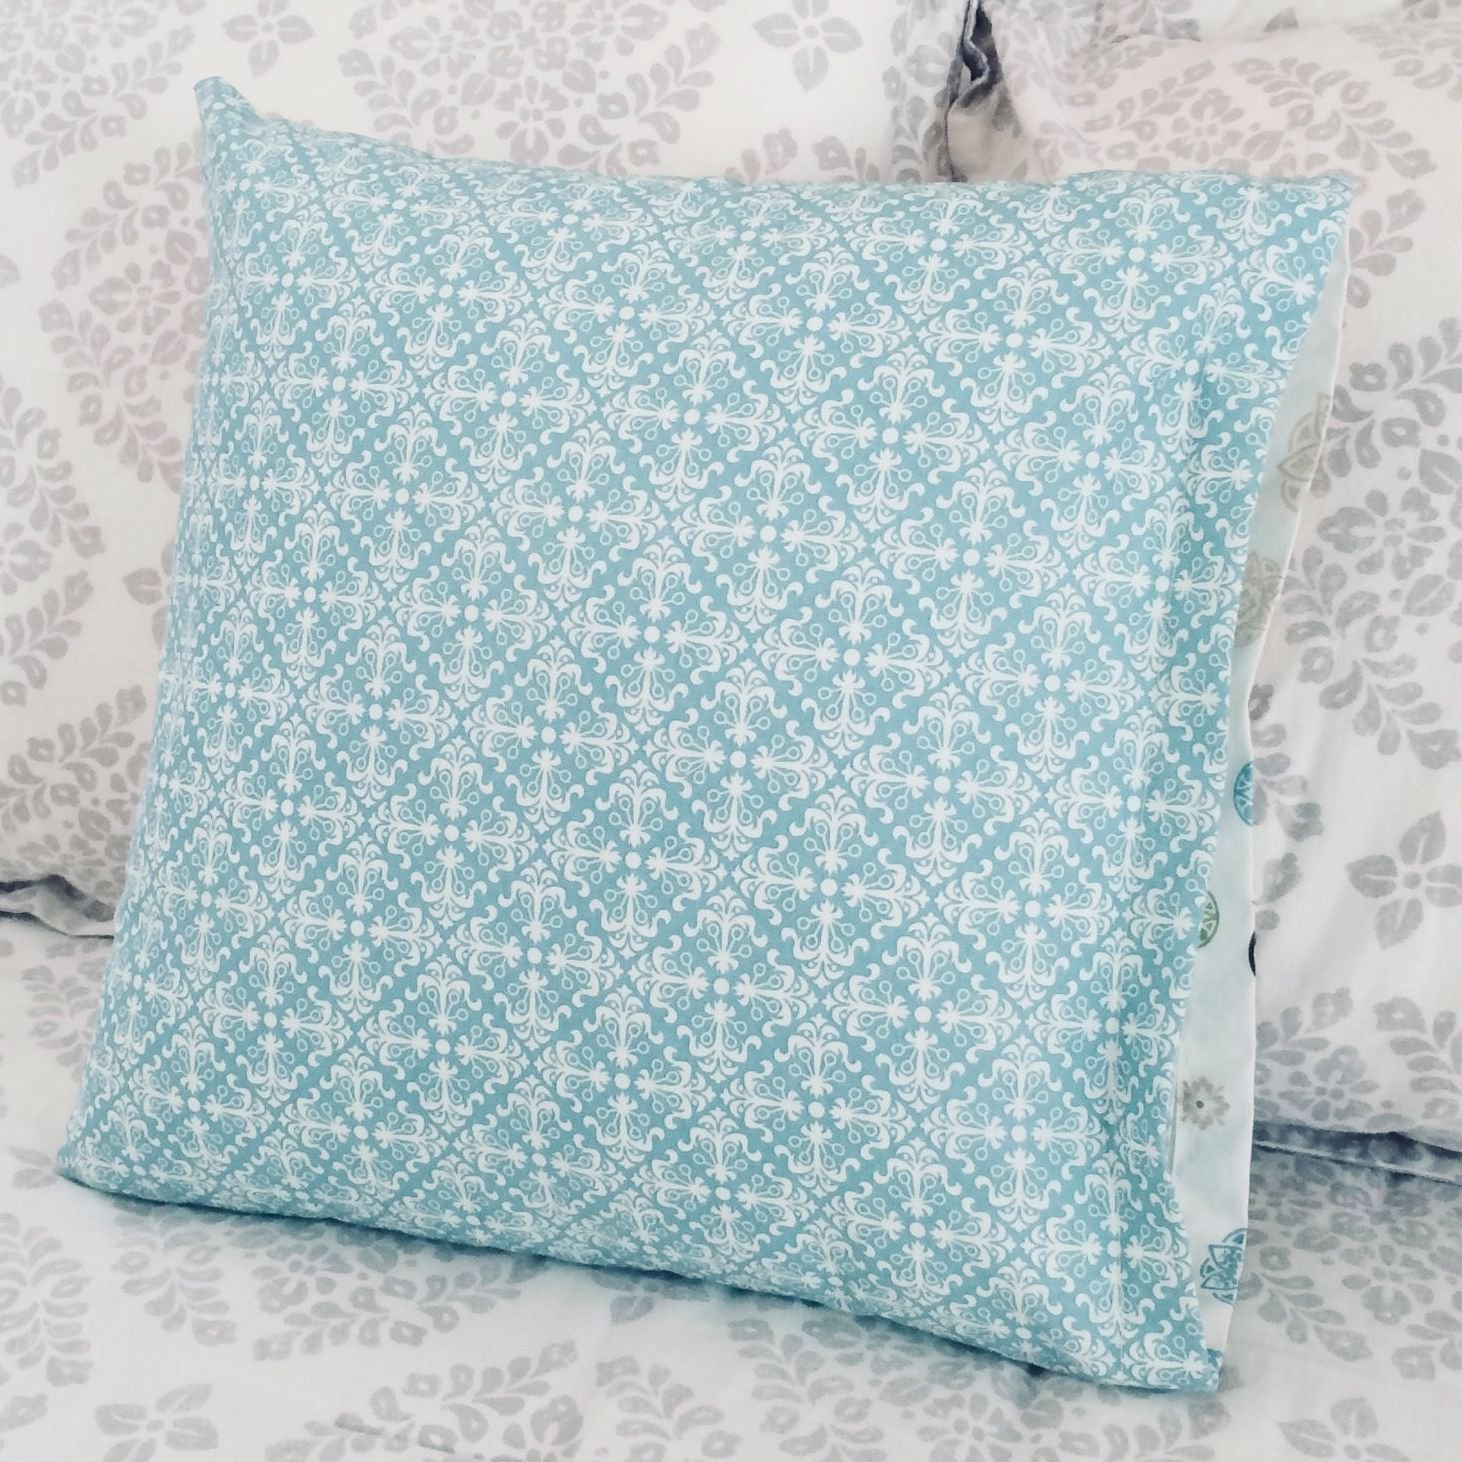
My decorative pocket pillow has a pocket on one end that one end of the pillow is tucked into. The pillow is hidden when the pillow is viewed from the side.
My envelope back pillow has a back opening, with with overlapped edges. It can be made as a square pillow.
My basic square pillow pattern is the same as the envelope back, but with decorative ties.
All patterns are quite easy, and can be made any size. I made the envelope back pillow to fit a standard pillow for use as a small dog bed. A square pillow follows the same directions; adjust for the shape of pillow you are making.
Once you have made your pillow cover, you can adhere the shamrock to the front of the pillow.
Click the pillow image to go to the pattern directions.
DIRECTIONS
Create Pattern - Check Lay-out
Print my pattern, or draw your own shamrock, onto the paper side of the fusible web. NOTE: this is the BACK side, so the shamrock will be reverse when on the front of the pillow, shirt, etc.
Check the size against your pillow front. Use a copier to enlarge or shrink to fit your needs.
I enlarged my pattern quite a bit to fit my pillow front.
Once you have the applique drawn in the correct size (on the fusible web), cut out the shamrock. Follow directions on your fusible web to adhere the shamrock to the pillow front.
Stitch Outer Edge Of Shamrock - optional
Use an applique stitch (narrow satin stitch) around the outer edge of the shamrock. Use stabilizer on the wrong side of the pillow cover front. If placing the applique on thinner fabric, use tear-away or dissolvable stabilizer. The stabilizer will allow your machine to create a nice, even satin stitch. Without stabilizer, fabric tends to bunch up, and the finished product will not be nearly as nice.
As an alternative, you can use fabric paint around the outer edge of the applique piece. It helps hold the applique and helps prevent fraying. Always hand wash and line dry an item that has fabric paint. I used fabric paint on the shirt applique shown in the photos below.
Spring & Summer Sewing
Special Occasion Projects


Learn the Ohio Star quilt block while making this Independence Day placemat with watermelon applique. Included: instructions for solid center block.