Easy Bead Earrings
Fabulous first project - learn and practice the basics of earring making. Quick & easy holiday project!
Super Easy Beaded Earrings
Use your favorite colors, or choose holiday colors! These easy-to-make earrings have a very low per pair cost - your cost will depend on type of beads used. They are so fun to make, you'll want to make several. Coordinate with clothing, or use holiday colors.
Disclosure: This site contains affiliate links. As an Amazon Associate, I earn from qualifying purchases. Clicking on links, and purchasing products, may result in the seller paying us compensation - at no extra cost to you. Affiliate links are in green.
Size
The size of your earrings will depend on the size and quantity of the beads used.
SUPPLIES
NOTE: Use sterling silver for head pins and ear wires, if possible. I recommend purchasing your supplies from a reputable bead supply store. Cheaper pins and wires tend to break after being bent a few times, and are more difficult to work with.
Head Pins: These are straight pins with a small flat head, made for earrings. Beads are fed onto this pin. My pins came in a bag of 100 (enough for 50 pairs of earrings).
Ear Wires: Choose a style you like. I bought a bag with enough for 10 pairs of earrings.
Beads: Choose your own colors and styles, but be sure the holes are small - just large enough to fit over the head pin. The beads shown on the earrings at the top of the page came in a bag. Beads range in price, of course, depending on quality and type. Hand blown glass beads, for example, would be much more expensive than plastic beads.
Wire Cutter: A good wire cutting tool is a must. It is used to cut the head pin to the correct length.
Wire Twisting Tool: I prefer the style that has round ends (rather than with one flat edge); use whatever style you are comfortable with. The wire is bent around this tool.
Directions
I apologize for the quality of the photos. This is an older project from our previous site. We will re-make the project and add new photos in the future. We wanted to include it now, because it is a popular project.
1. String Beads
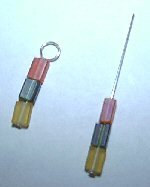
Place the beads onto the head pin as shown in the following photo. The ear wires are lying on the table behind the head pin / beads. The flat "head" of the pin will hold the beads on the pin. Continue adding beads until you have the desired earring length. Repeat with the second earring.
2. Cut The Head Pin Wire
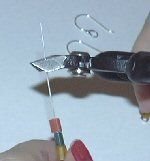
After your beads are on the head pin, cut off the excess head pin wire, leaving enough to curl around a couple of times. The second photo below shows cut and uncut head pin wires.
3. Twist Head Pin Wire
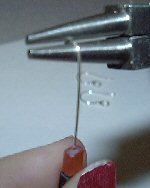
Using your wire twisting tool, twist the straight wire into a small circle. This works best by gripping the wire at the top, curling it over once, then repositioning the tool and curling it again, etc. Do this a few times until the wire is curled up into a small circle. NOTE: See step 4 for photos of different sizes of the circle. The size you make depends on your own taste. The second photo shows curled and uncurled head pin wires.
4. Open The Ear Wire
Using your wire twisting tool, gently open the end of the ear wire (the end where the earring attaches). Pry it out a bit so that you can slip the circle end of the head pin through it. Repeat with the second ear wire.
5. Finish The Earring
Slip the curled end of the earring's head pin through the ear wire. Use the wire twising tool to tighten the opening of the ear wire around the earring head pin.
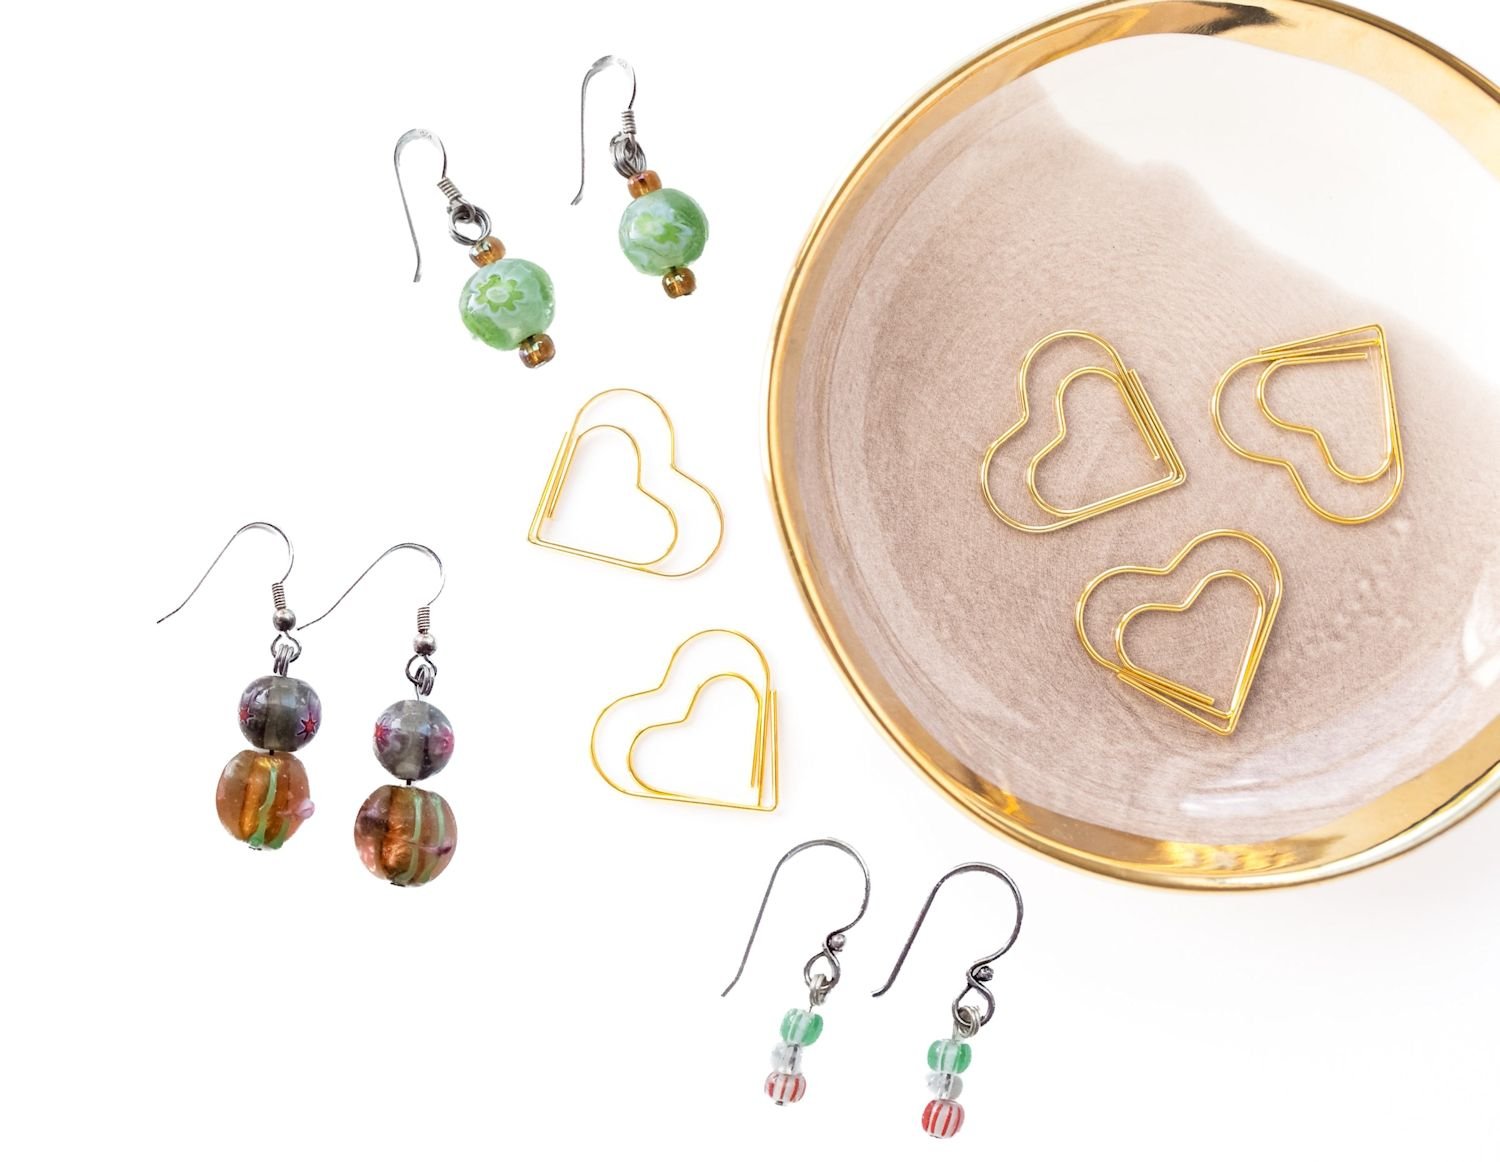
NOTE: In the earrings on the right, one pair was made with a very small circle on the head pin, and the other was made with a larger circle (not twisting the wire as tightly - see step 3).
Holiday Earrings
The following pair of earrings was a quick and easy Christmas project. Use colors and designs for any holiday!














Super easy star studded earrings. Use special occasion charms.