Speed Piece Crib Quilt
Disclosure: This site contains affiliate links. As an Amazon Associate, I earn from qualifying purchases. Clicking on links, and purchasing products, may result in the seller paying us compensation - at no extra cost to you. Affiliate links are in green.
Also see:
Follow Our Adventures
Easy Sewing Patterns
Quilt Patterns
Baby Patterns
Mile A Minute Quilting
Using the "mile a minute" technique of creating a checkerboard, you can truly whip up this crib quilt in no time. Learn how to speed piece quilt blocks while making this crib quilt. Just stitch strips together, cut them apart, rearrange and re-stitch. Voila! Attach your border, layer, quilt and you are done!
NOTE: My quilt above is a variation of this method. For fabric #2, I used two different prints (orange circle flower with blue leaves print, and bird print). The construction method is the same as I describe on this page except that I alternated the two fabric #2 prints.
Simply add to borders to increase length or width.
Size
42” x 54”. NOTE: the size includes 3” borders.
This quilt uses only two fabrics. By stitching strips of the two fabrics together, then cutting them apart, rearranging and restitching, a checkerboard pattern is quickly made. The pink and blue polka dot fabric diagram shows the overall layout. They are not gorgeous fabrics for this project, but they show the technique well. These fabrics will used in this tutorial. The actual fabrics used are shown in the above title.
Seams are all 1/4"
Mile A Minute Baby Quilt
SUPPLIES
1 yard 45" width fabric 1 (we show as pink polka dot)
1 yard 45" width fabric 2 (we show as periwinkle polka dot)
crib size batting (42" x 54"
backing fabric (42" X 54")
border fabric (top and bottom: 3.5" x 42"; two sides: 3.5" x 48")*
Binding fabric
Other
thread to match background of fabric
large sewing ruler
rotary cutter with cutting mat
pins
PRE-WASH, DRY, & PRESS FABRIC BEFORE USING
Your fabric will shrink, so pre-wash, dry and press before using.
CUTTING INSTRUCTIONS
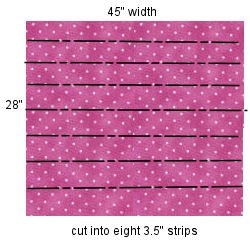
1. Cut color 1 and color 2 into strips that measure 3.5" x w.o.f. (width of fabric)
You now have 8 strips of each color. Each strip measures 3.5" x 42" (must be at least 42" long)
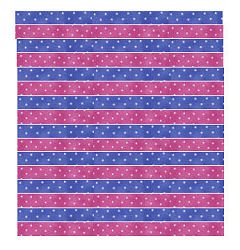
2. Stitch rows of fabric right sides together, alternating color. Press seams open.
3. Cut into strips that measure 3.5" wide.
cut stitched rows into 3.5” strips
4. Turn every other row around so that you form a checkerboard pattern. Stitch rows right sides together. Press seams open.
5. Add 3" borders to all sides.
6. Add batting, backing and binding. Quilt as desired.
These go so fast, you can make several!










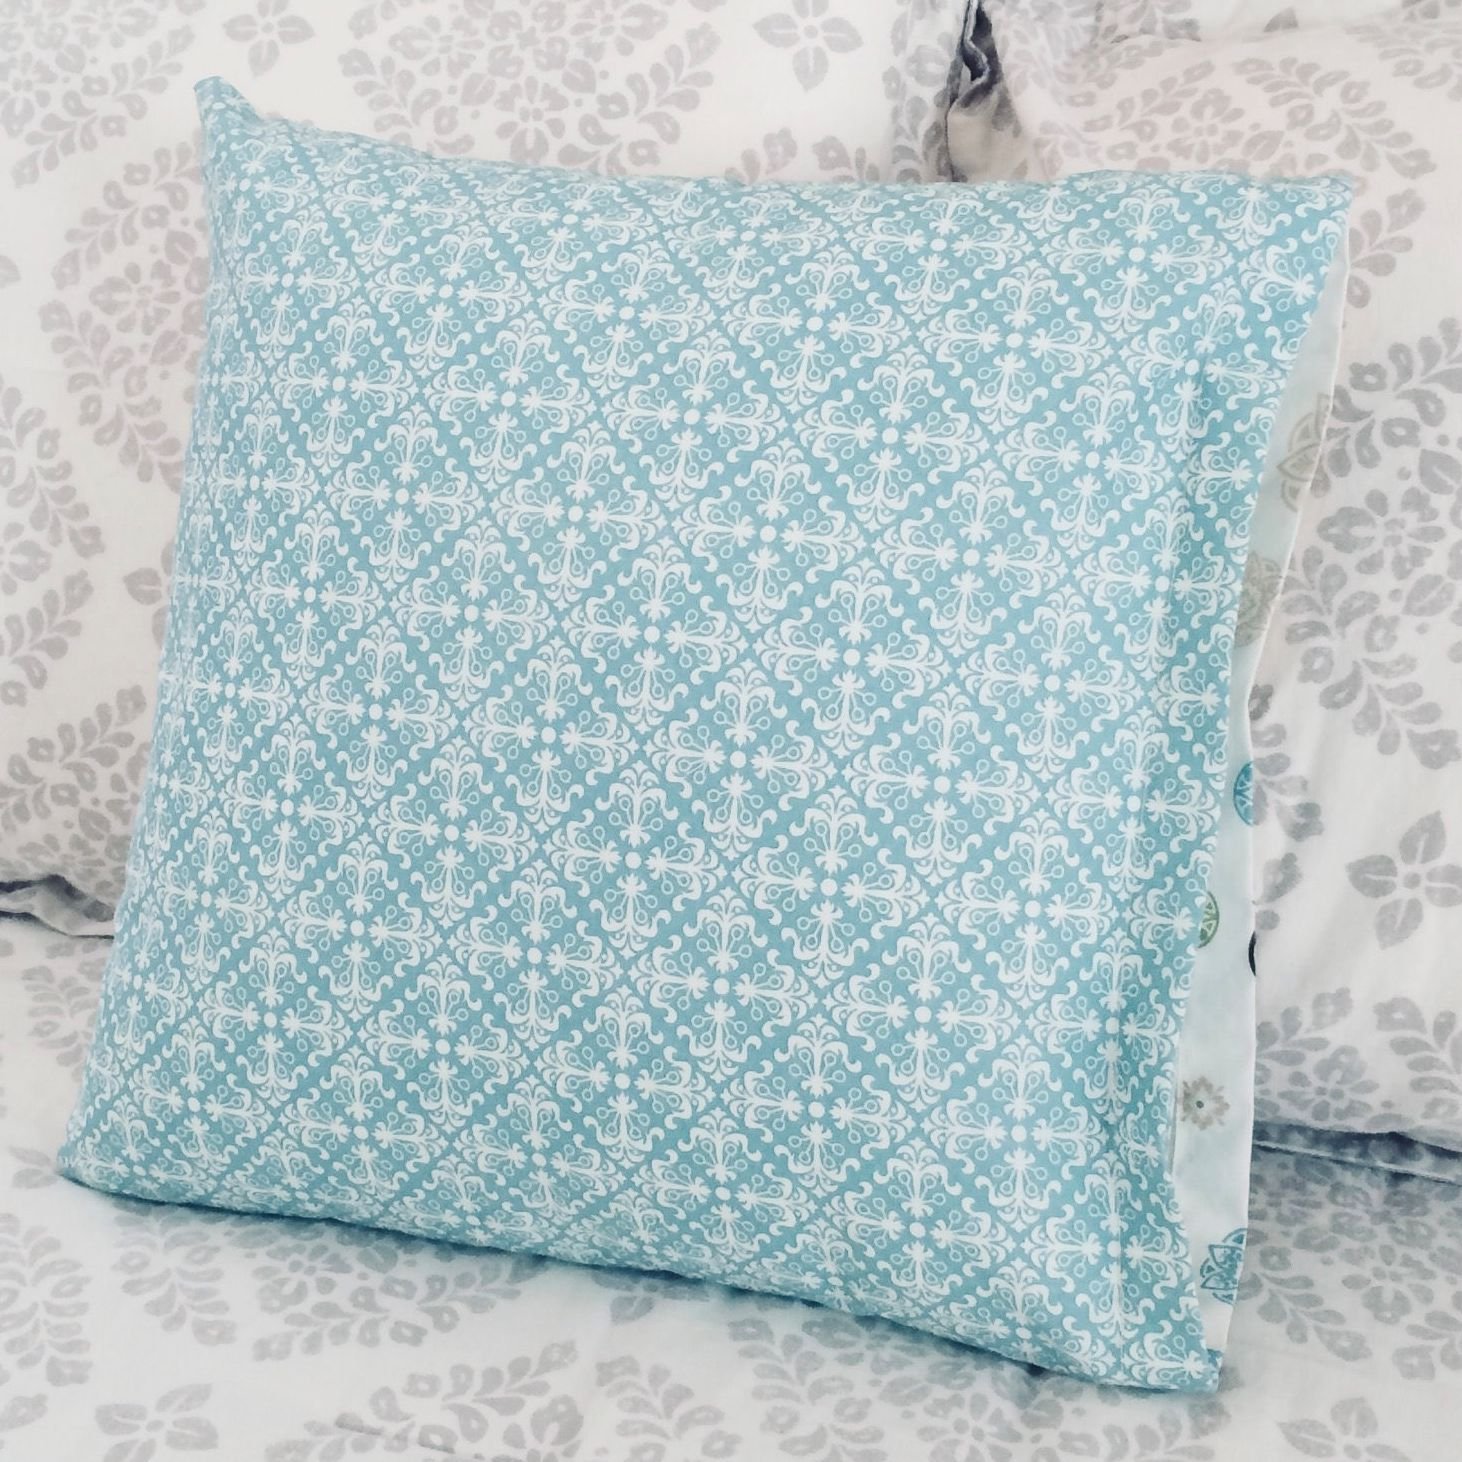
Nicely constructed pillowcase with contrast cuff and piping trim. Cuff is nicely finished on the inside. Free sewing pattern with directions for standard, queen and king.