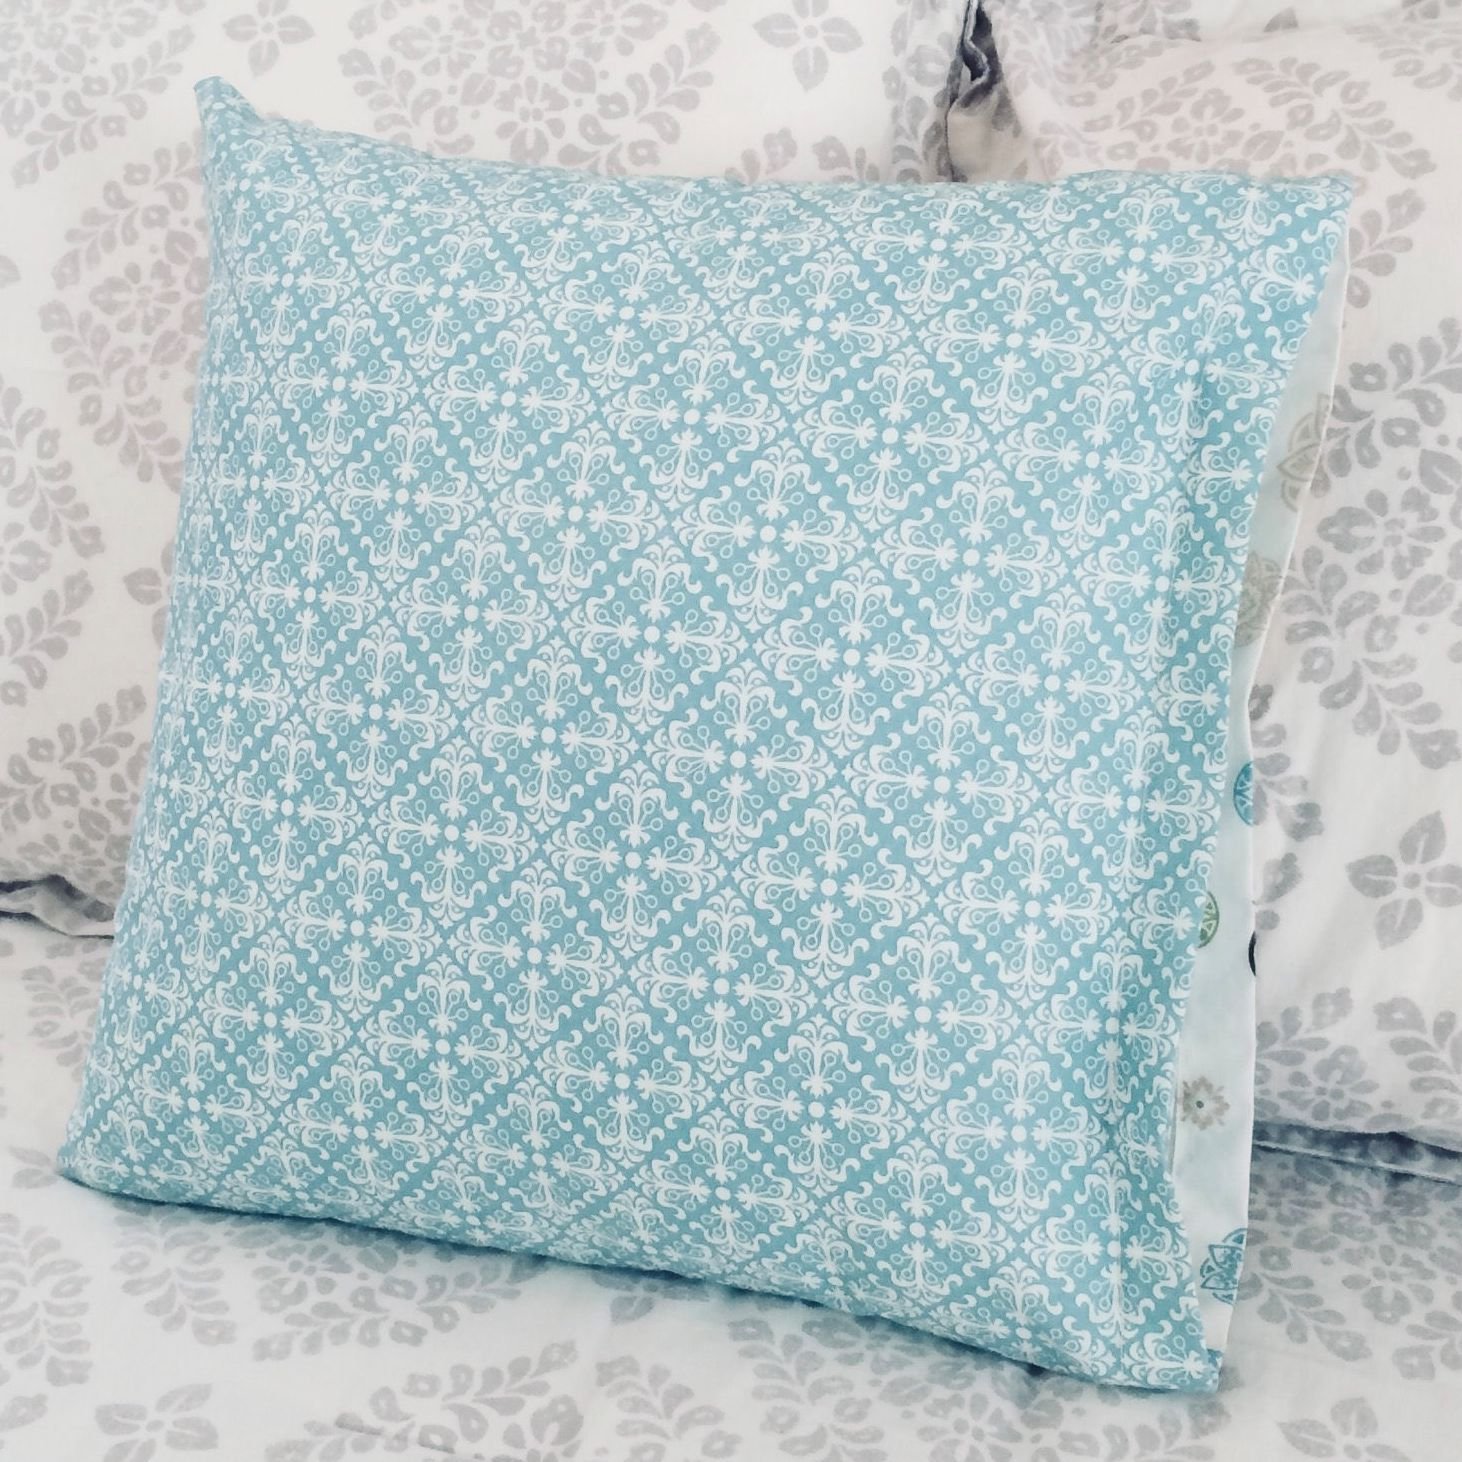
Pillowcase Pattern: contrast cuff & piping trim
This pattern comes from our former site, CraftAndFabricLinks. Same owners - new site.
Disclosure: This site contains affiliate links. As an Amazon Associate, I earn from qualifying purchases. Clicking on links, and purchasing products, may result in the seller paying us compensation - at no extra cost to you. Affiliate links are in green.
Also see:
Lifestyle Blog
Crafts
Pillow & Pillowcase Patterns
Sewing Lessons
contrast cuff and piping trim
Pillowcase With Attached Cuff (contrast hem) & Piping
I will teach you how to make a pillowcase & cuff correctly, plus add piping (shown in red above). This means the attached hem (cuff) is nicely finished - inside the hem. Less expensive, store-bought pillowcases, have seam allowances that can be inside the pillowcase on the hem.
This is a fabulous method for attaching a cuff and adding trim. For this project, I refer to the contrast hem piece as a cuff. That's basically what it is. This is the same method that I use when attaching a contrast cuff to a pajama pant leg. Don't miss my Pajama Series.
If you are not familiar with basic construction, refer to my easy, beginner Pillowcase Pattern. I provide dimensions for standard, queen and king.
Finished Pillowcase Sizes
Standard Case: 21" x 32"
Queen case: 21" x 36"
King Case: 21" x 42"
These will cover pillows nicely, with plenty of room. We are assuming the following pillow measurements:
Standard: 20" x 26"; Queen: 20" x 30"; King: 20" x 36"
Pillowcase Size vs Pillow Size
Refer to: Basic Pillowcase Pattern for information on pillow size vs. pillowcase dimensions.
SUPPLIES REQUIRED
CUTTING TOOLS
I recommend using a Rotary Cutter, Cutting Mat and Sewing Ruler . I use these tools for most sewing projects. They allow for easy, precise cutting.
FABRIC
The following amounts are needed for ONE STANDARD PILLOWCASE. Adjust the amounts for queen and king. For example, for a standard case, I know that the finished length will be 32”. My finished cuff will be 3”. Therefore, the length of my main piece must be 29” (29 + 3 = 32). Allowing for seam allowance, I add 1/2” to the length of the main piece, and to the width of the cuff. Follow this example for queen and king cases.
STANDARD CASE
Main Piece: 29.5” x 42.5”
Contrast Piece: 6.5” x 42.5” (I used solid black in the black/white/red pillowcase above, and gray stripe in the other case shown in this lesson).
Piping: One strip 1.25” x 42.5” (I used red in the one pillowcase, aqua in the pillowcase in the title of this lesson, and yellow in the example below)
BUY EXTRA & PREWASH FABRIC: You will need the full amounts, so buy a bit extra fabric. Wash and dry the fabric before use.
Thread (to match background)
Sewing Supplies: scissors, quilting pins, large sewing ruler, fabric marking pencils, seam ripper
hint: quilting pins are easier to use than regular pins; a tupperware box works well as a supply box.
Note: all seams are 1/4 inch. Always iron between steps.
NOTE: If you do not have wide enough fabric to fold into a pillowcase, you can use two pieces of fabric. Each piece should be 21.5" wide.
OTHER SUPPLIES NEEDED - my “must haves”
straight quilting pins (optional) quilting pins are larger than regular pins, so are easier to see
spring action fabric scissors regular and micro tip – I use both; the spring action is a huge assistance when doing a lot of cutting
thread most of my thread is on large serger cones – very economical
I always have a roll of butcher paper on hand for pattern making. It is economical and easy to use.
DIRECTIONS
Note: all seams are 1/4 inch. Always iron between steps.
Create Piping
1. Fold trim piece in half length-wise, wrong sides together. Press. NOTE: in the title photo the trim piece is aqua - this yellow trim was from a different pillowcase.
Create Cuff (contrast hem area)
2. Lay the piping piece (shown in gray in the following image) on the RIGHT SIDE of the contrast cuff piece, aligning the raw edges of the trim to one 43” side of the contrast end piece. Stitch 1/4” from the edge. Use a quilting foot if possible (it stitches 1/4” from edge). The trim piece (gray) is now attached to the right side of the cuff piece (gray stripe). I highlighted the stitch line in red.
NOTE: I have made several of these cases. The title image shows the trim in aqua. I have also used gray, yellow, and red for other cases.
Turn Under Hem Of Cuff
3. Flip the piping trim up away from the cuff. Press. Turn under the piping edge to the WRONG SIDE of the cuff. Press. The photo below shows the wrong side of the pillowcase. The cuff is now finished on one side with the trim.
Stitch Main Pillowcase Piece
4. Fold main pillowcase piece in half, lengthwise, RIGHT SIDES TOGETHER. Stitch across one short end and the open long side that is opposite the fold. I enhanced the stitch line in the following photo. Press. Turn right side out. Press.
Create Cuff (contrast hem area)
5. Turn the pillowcase right side out. Press. Lay the cuff out right side up. Fold the left side over the right side, RIGHT SIDES TOGETHER. Lay the folded cuff next to the open end of the pillowcase (the cuff is inside out). Place a pin where the seam of the cuff needs to be, so the width of the cuff matches the width of the pillowcase. If you have stitched and cut the pieces accurately, the cuff and main case should be the same width, but I double check before I stitch the cuff. Stitch the cuff seam (marked by pin in the photo below), right sides together. Press.
NOTE: This step is to show you where the cuff seam needs to be made. We are not yet stitching the cuff to the pillowcase body.
Stitch Cuff To Pillowcase
6. TURN MAIN PIECE (PILLOWCASE) WRONG SIDE OUT. TURN THE CUFF PIECE WRONG SIDE OUT. Pin unfinished edge of the cuff to the unfinished edge of the main piece, aligning raw edges. Stitch all the way around, using a 1/14” seam allowance.
The following photo shows my black print case with black cuff and yellow trim. I have enhanced the stitch line in red.
Open the cuff. Turn under the trim to the wrong side of the cuff (if not already done), and press well.
The following photo shows the case being pressed. The pillowcase has been turned right side out. Note that the cuff part of the pillowcase is wrong side out. Both the seam allowance from the trim and the allowance from the cuff are pressed toward the cuff.
Finish The Cuff
7. Turn pillowcase right side out. You will notice that the inside is nicely finished, but there is a seam showing on the right side of the pillowcase (the seam that attaches the contrast piece to the main piece).
Fold the cuff to the RIGHT SIDE of the pillowcase, creating a hem on the outside of the case. Turn it up far enough so that the hem edge completely covers the raw seam. Topstitch into place, stitching close to seam that attaches the piping trim to the cuff. Stitch around again closer to the folded edge of the trim. There are NO raw seams showing at this point.
Quality
Your pillowcase is now finished nicely inside the cuff, meaning there is no seam allowance showing inside the cuff.
Custom PJ’s
I made myself a pair of comfy pajamas that are color coordinated with another new pillowcase that I made. I used the same method for attaching the cuff to the pants as I used for this pillowcase project. Try it! Don't miss our pajama pants series! Learn how to draft a pattern that fits, sew the pajamas, and add a cuff.
Pillow Patterns
Lifestyle Blog


Nicely constructed pillowcase with contrast cuff and piping trim. Cuff is nicely finished on the inside. Free sewing pattern with directions for standard, queen and king.