Cactus Garden Rock Painting
This pattern comes from our previous site, CraftAndFabricLinks. Same owners - new site.
Disclosure: This site contains affiliate links. As an Amazon Associate, I earn from qualifying purchases. Clicking on links, and purchasing products, may result in the seller paying us compensation - at no extra cost to you. Affiliate links are in green.
Also see:
Follow Our Adventures
Craft Projects
Floral Projects
Yard Projects
Why Create A Cactus Garden
I created this project when I lived in the desert Southwest. Most people think of the desert as a place without much color. That is not the case, however. Sunsets are breathtakingly beautiful, and flowers are some of the brightest and most vibrant anywhere. I always loved the colors of the desert. When I moved to the Pacific Northwest, I gave my “potted cactus” to a friend. Now, I need to make another for myself! I can add cheer to my patio during dark winters.
SUPPLIES
Rocks
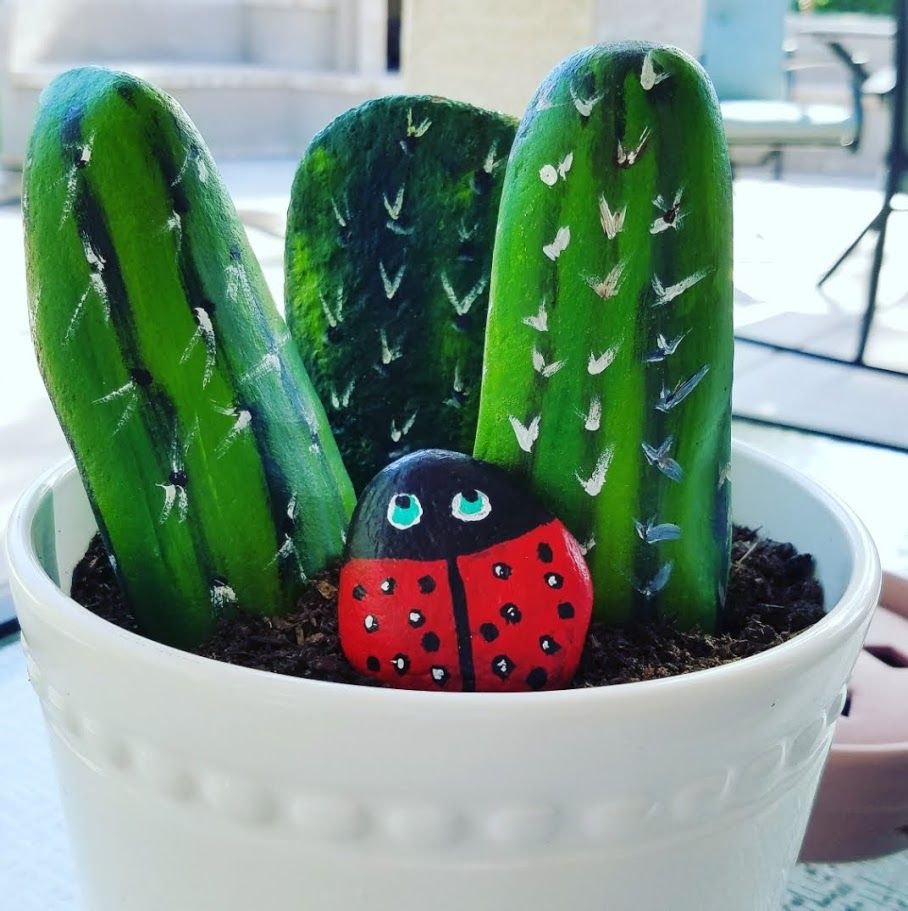
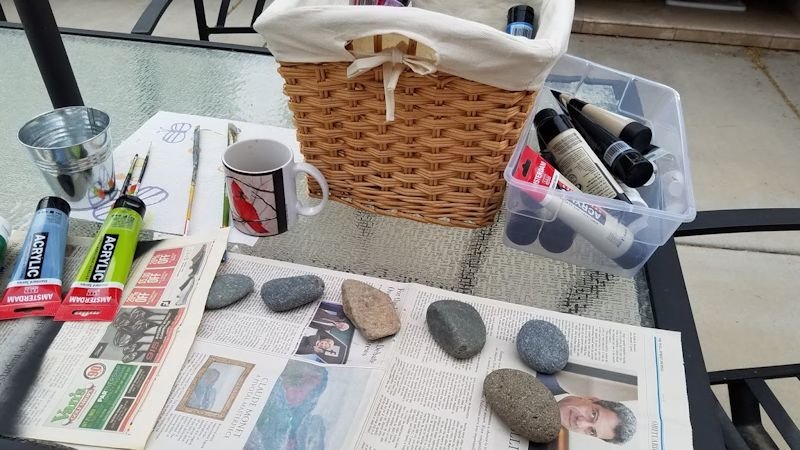
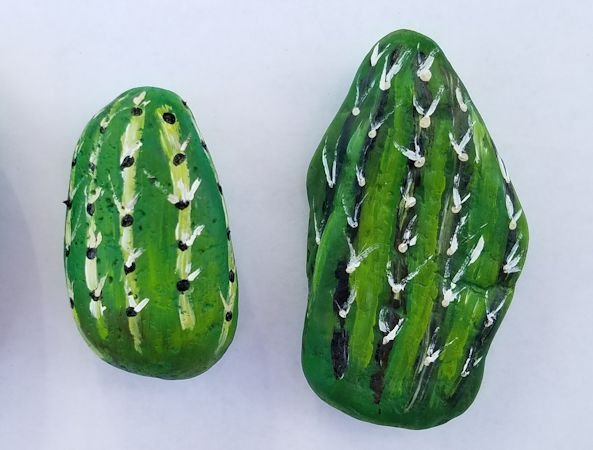
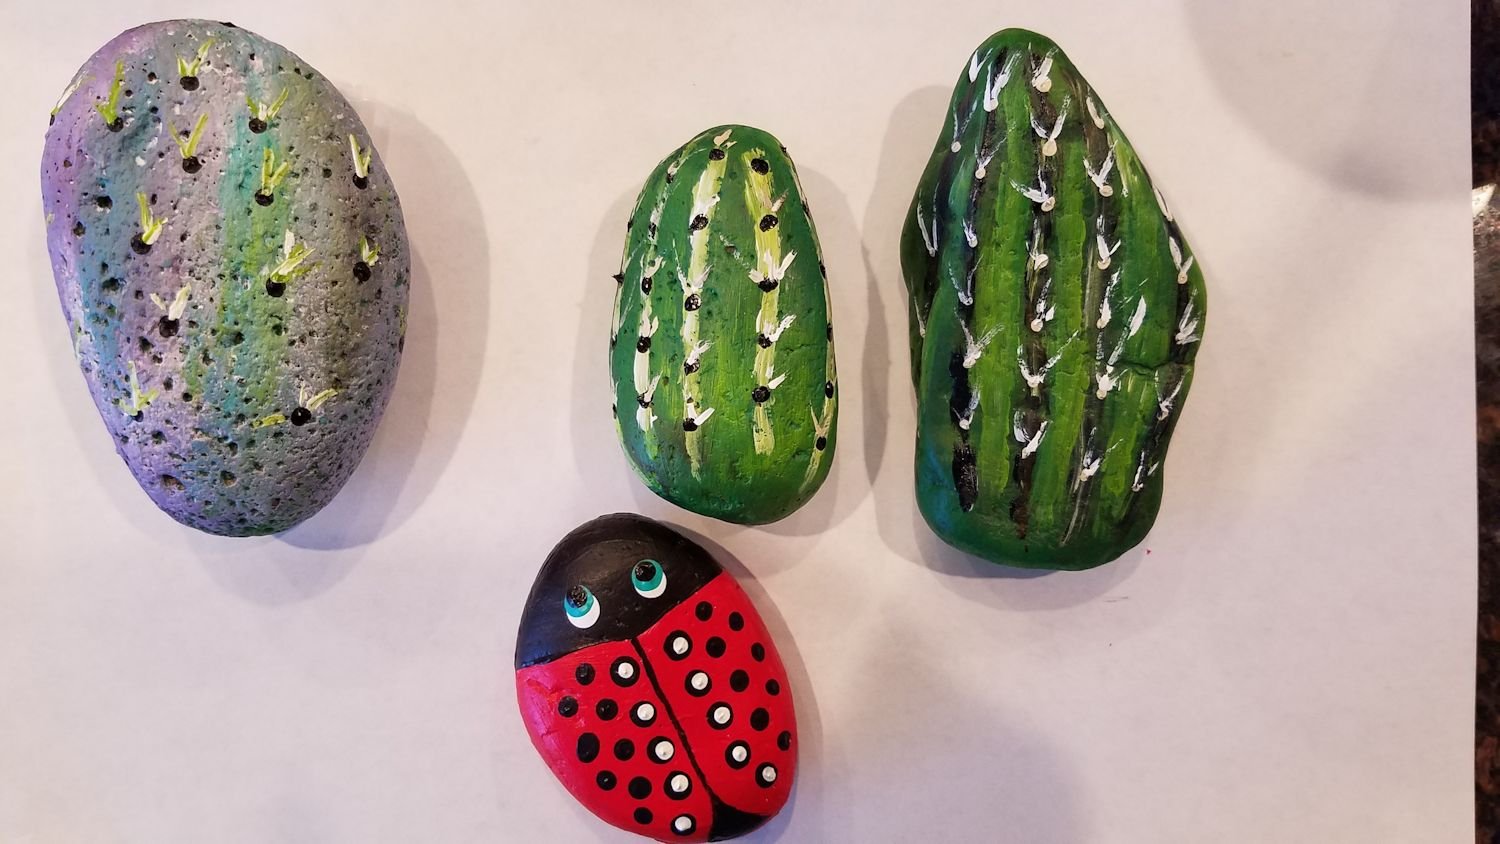
Choose rocks that can be painted in the shapes of cacti. I found these rocks in my yard and near my house. I chose a variety of shapes.
Wash the rocks, using a brush. Make sure all debris has been removed. Let dry.
Other Supplies
brushes in various sizes (I use a variety of flat brushes, plus an outliner, which is a fine tip brush)
paper towel
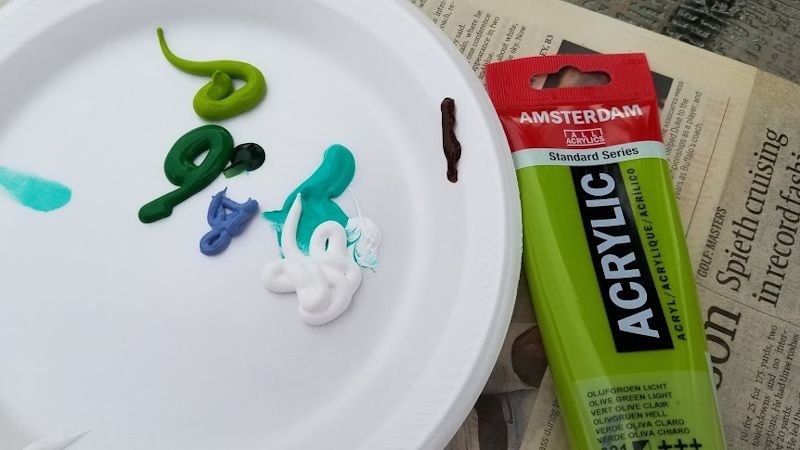
acrylic paints: FolkArt, Americano, other brands of craft paints or artist quality paints such as Liquitex, Amsterdam or Grumbacher. Any of these work well.
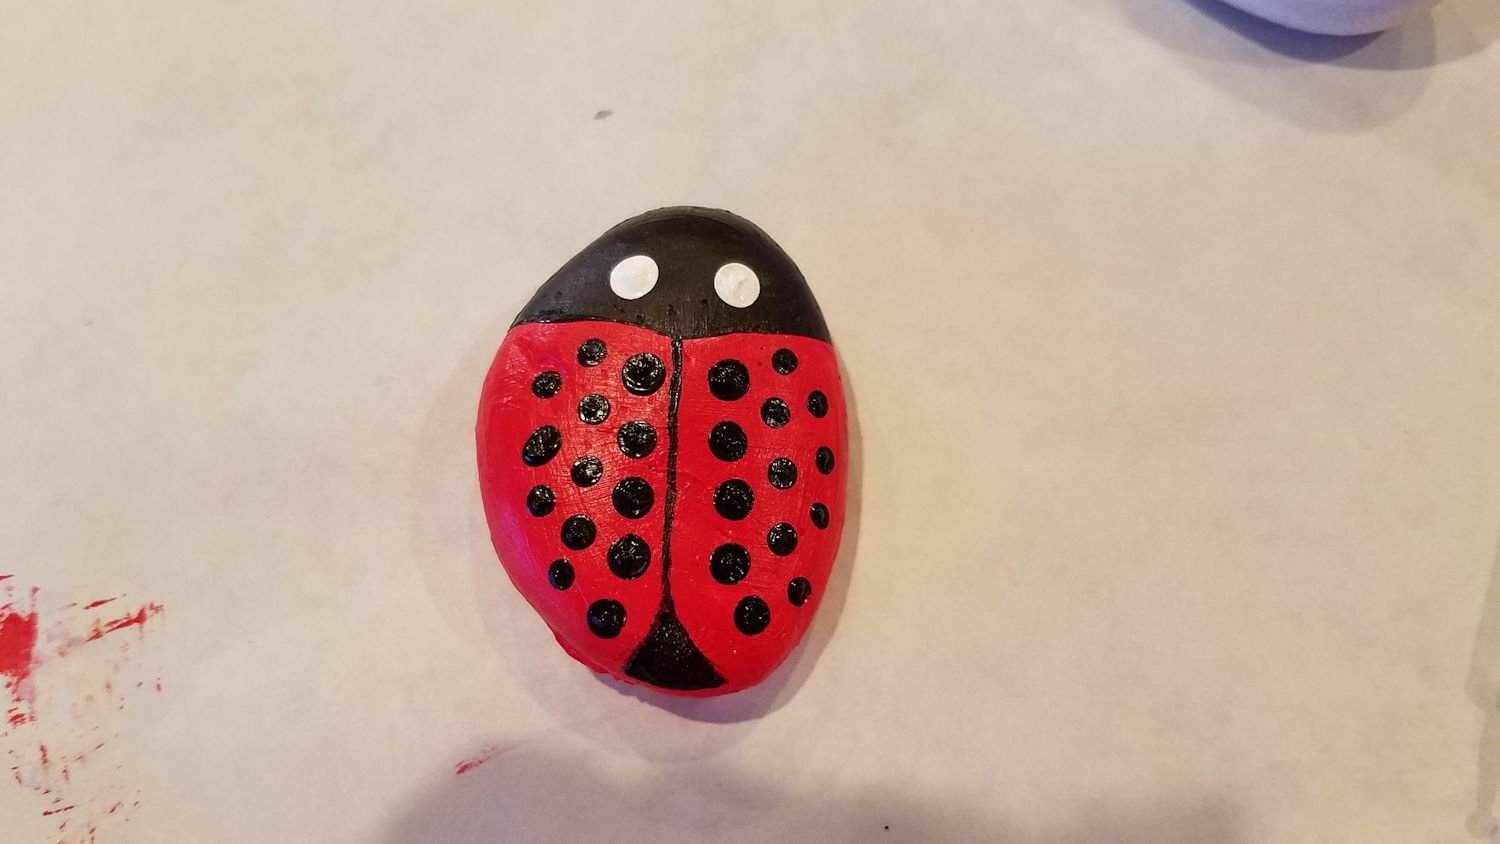
dotting tools for making small circles: a flat end of a crochet hook also works well. I used the dotting tool for my ladybug dots and eyes.
NOTE: I also used dotting tools for my Christmas Wood Round Ornaments
OR, instead of paint, use: Waterproof Paint Pens
cup of water
dotting tools for making small circles for eyes (or use your finer brush)
Rustoleum 2X Gloss Clear - to provide protective coating that is appropriate for exterior use - or Gamvar Varnish for interior use (varnish is optional, but especially needed for exterior use)
paper plate with a polished surface (foam type plates) to hold and mix paint (a fancy artist’s palette is not necessary)
INSTRUCTIONS
Lay Out All Your Supplies
I set up everything on my outdoor patio table. It was a lovely spring day, and I wanted to enjoy the wonderful temperature.
Apply First Coat
Put down a good base coat.
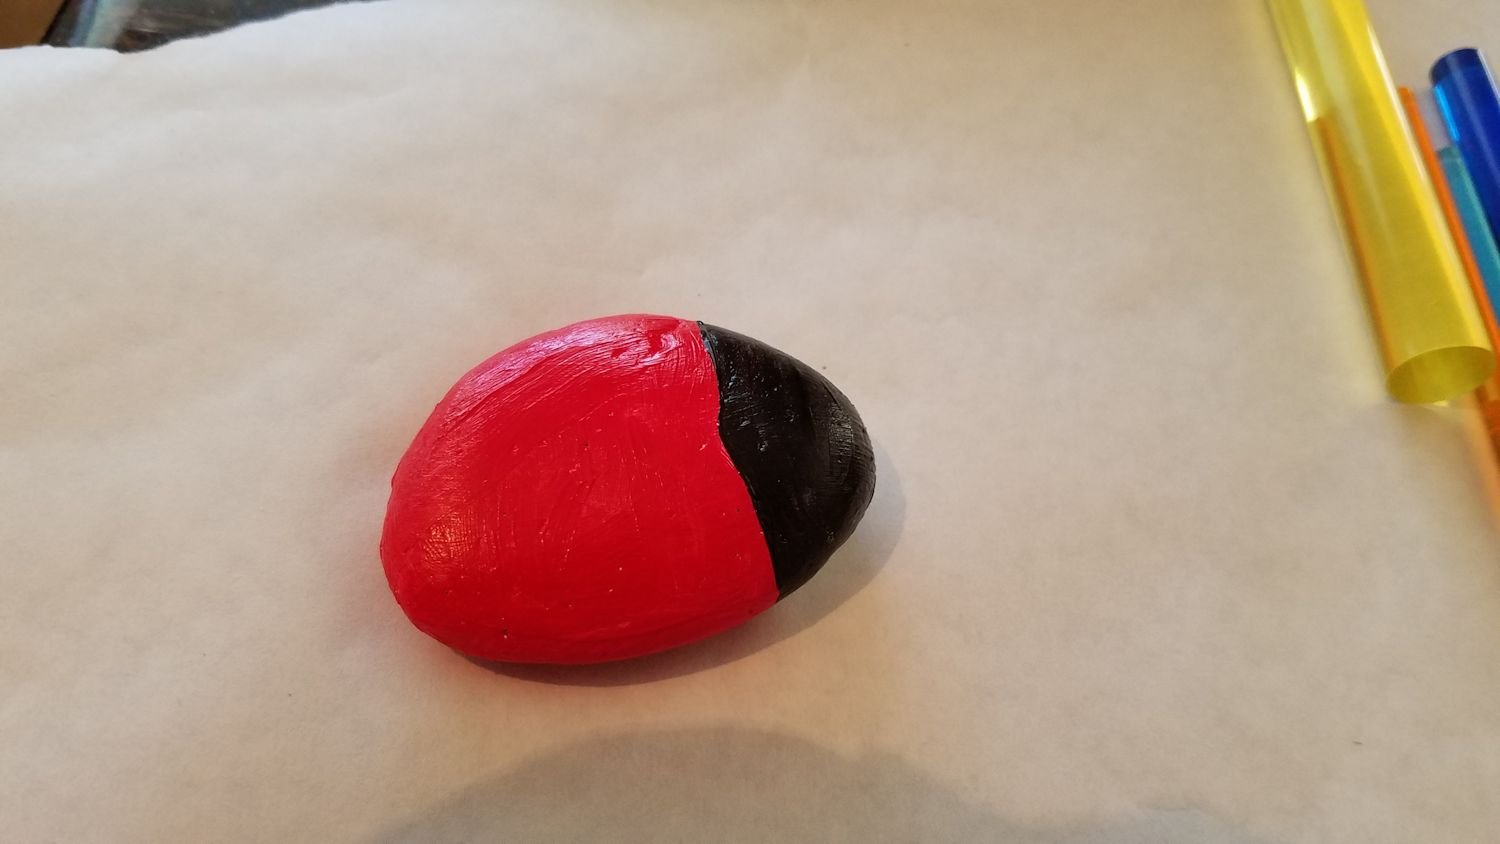
I used a mixture of greens. I did not undercoat my cactus rocks with gesso or any type of primer on this project, but I do recommend using a primer such as gesso. You can put down a coat of white paint first if you wish. I did that with my ladybug rock.
Add More Coats Of Paint
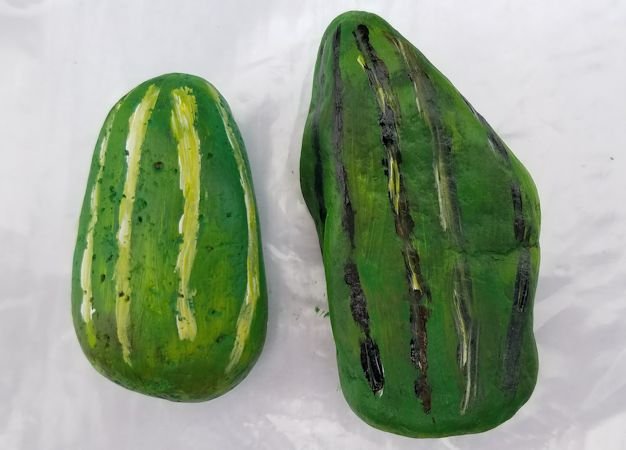
I mixed a few greens to create a variegated color pattern. After the rocks were covered with a couple coats, I added the "lines" that would contain the "needles".
Each coat does not have to cover the entire rock. I added color tones here and there for interesting effect.
The dark lines were Payne's Gray, not black. Payne's Gray is a very dark blue-black. I usually use it in my paintings in place of black because black is a bit harsh. Any dark "off black" would work.
Add Details
With a finer brush, paint on faces and other detail.
Apply Protective Coating
Apply a coat of Rustoleum 2X Gloss Clear if your rocks will be placed outdoors, or use Gamvar or your favorite varnish for interior use.








Use a line drawing and photos to paint a watercolor of your Toyota Tacoma truck - or any vehicle. Step by step directions.