Floral Basket
Colorful Fall Basket
Rustic basket, greenery, and dried or artificial flowers create a colorful fall arrangement. Change colors for any season.
Disclosure: This site contains affiliate links. As an Amazon Associate, I earn from qualifying purchases. Clicking on links, and purchasing products, may result in the seller paying us compensation - at no extra cost to you. Affiliate links are in green.
Also see:
Tips From The Workroom
Home Decor Crafts
Patio & Yard Projects
Easy DIY Furniture
Use Indoors Or Outside
We designed the fall basket floral piece to be used indoors or outside. By adding rocks to the bottom, it can be weighted for outdoor use (it won’t blow away). I love it on my new sideboard exterior table. I also love it on my living room wood round end table (shown above).
I took the following photo in the morning sun - just outside my living room window. Gorgeous!
Fall Basket Bouquet
Dried natural florals, artificial florals, or fresh cut greenery and florals and berries would work in this arrangement, because we use floral foam. All of our pieces were dried or artificial, so our foam was for holding the floral pieces only. If you are using fresh florals, you would need to add water to the foam, and line the basket with plastic.
For further protection outdoors, a coat of exterior varathane varnish would protect the basket. My basket will be indoors, or on an exterior, sheltered (under my eves) table. During storms, I can bring it inside.
Inspiration
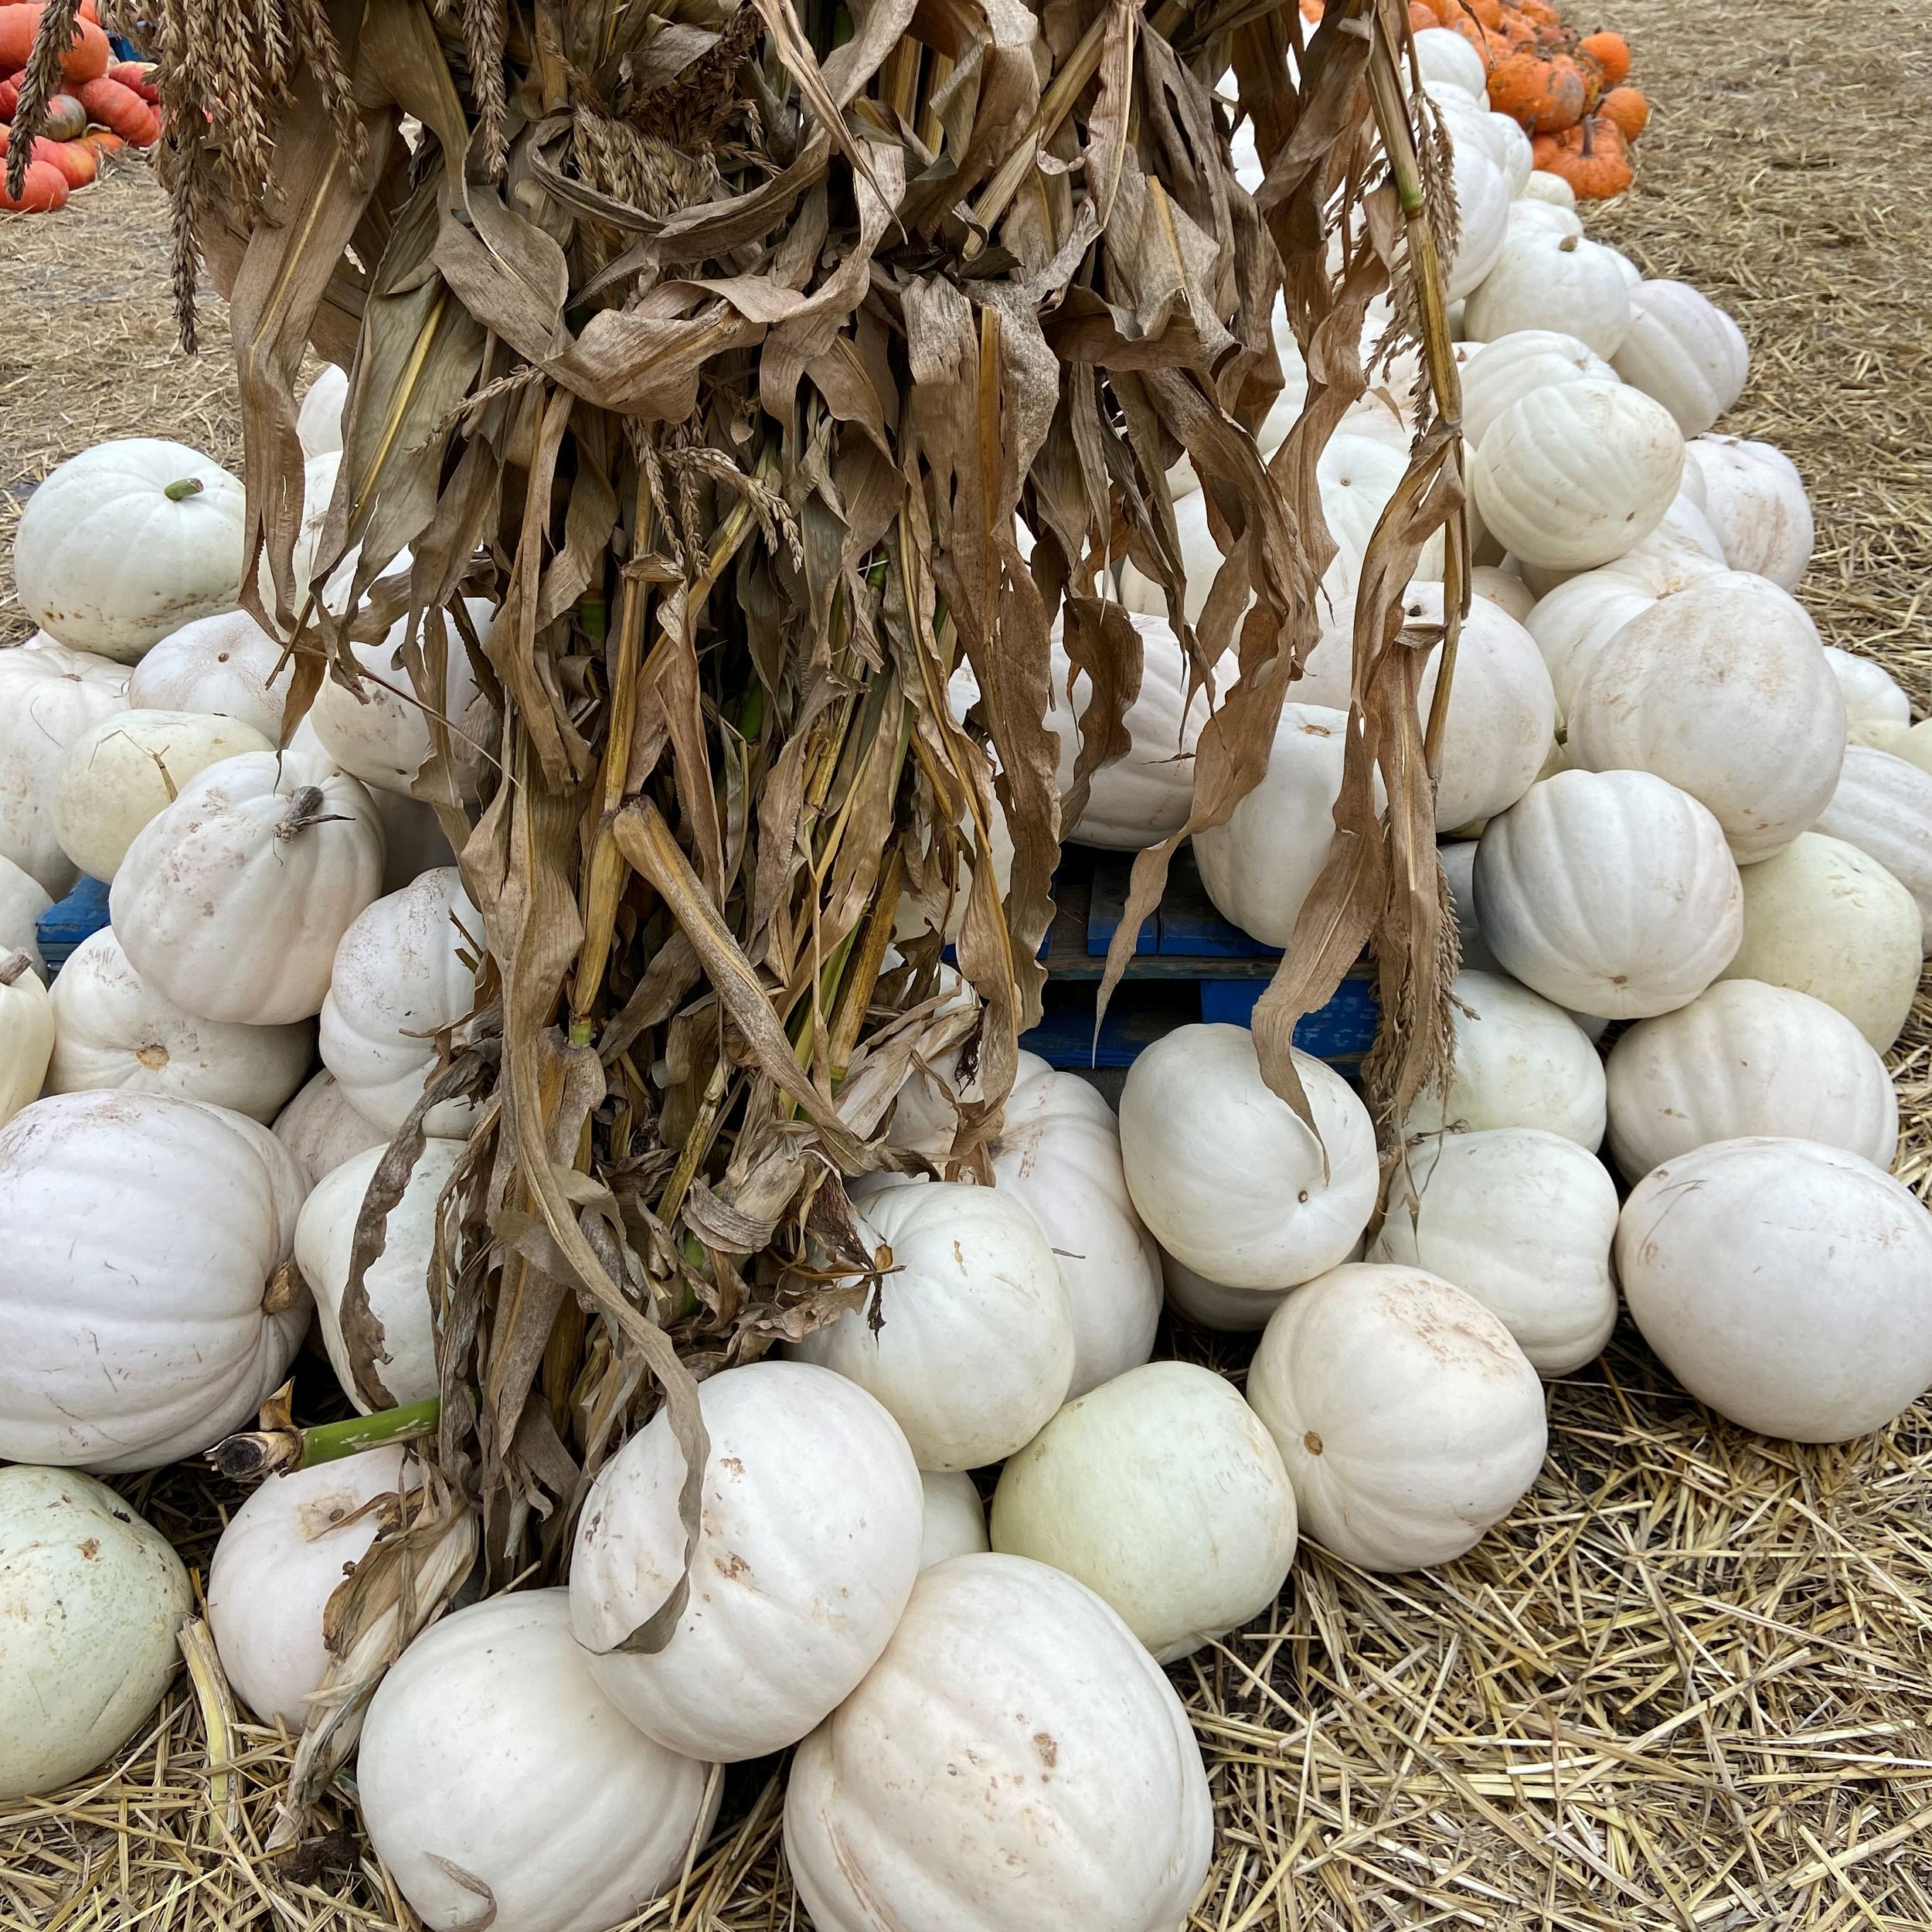
I find inspiration in nature - a trip to my local park, a hike in the mountains, a drive past nearby farms, or a visit to a local pumpkin patch. Fall beauty is everywhere in the Northwest. I brought the colors of nature to my floral basket.
Disclosure: This site contains affiliate links. Clicking on links, and purchasing products, may result in the seller paying us compensation - at no extra cost to you. We link to products we have used in our projects, or that we feel would be helpful to you. Affiliate links are in green.
SUPPLIES
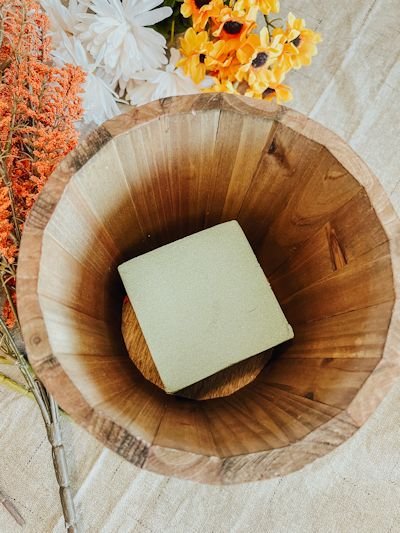
Floral Foam - we chose a package of two blocks
Wood Basket
Pruners (if using fresh botanicals)
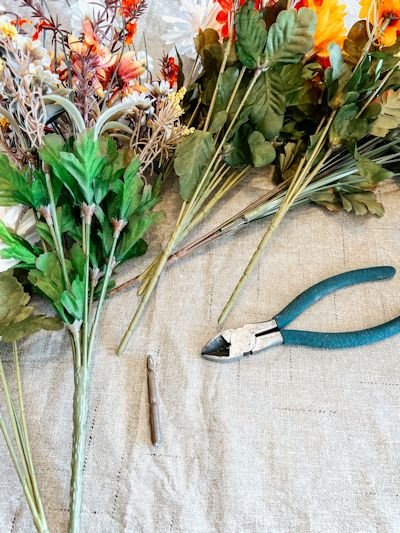
Floral Wire Cutters (if using artificial florals)
Sharp Knife (for cutting foam)
Protective Cloth - to protect your work space.
INSTRUCTIONS
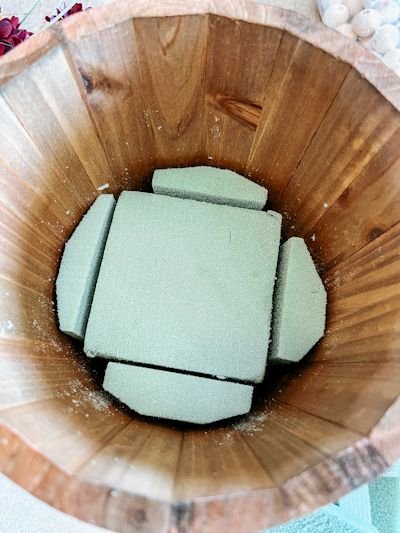
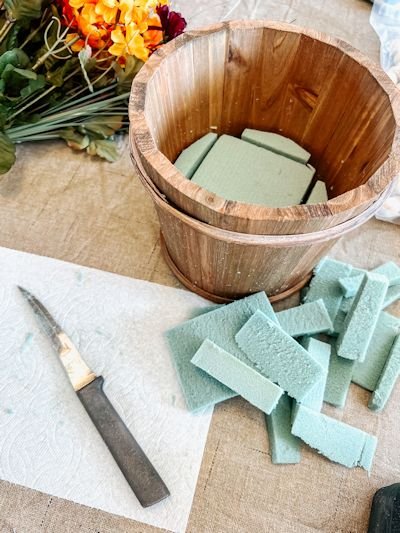
1. Place the floral foam in the bottom of the basket to get an idea of size. If the foam is too small to fit the basket, use the sharp knife to cut small pieces to fill in. If it is too large, use the knife to trim away excess. The foam should completely fill the bottom of the basket.
2. Begin placing the florals into the basket. Place all of them, without inserting them into the foam yet, to get a feel for how you want the arrangement to look.
3. Once you are fairly certain of the style you are after, cut stems and place the floral pieces into the basket.
4. If using the basket outdoors, place gravel into the basket to add weight. The basket should be in a sheltered area unless it has been treated for exterior use (exterior polyurethane on the basket).
I love the floral basket on my front table!
Easy to build! I used a wood shelf, and pre-made legs.





I turned a fallen tree disaster into a beautiful evergreen bouquet for my front porch. Easy! Use holiday items from your stash.