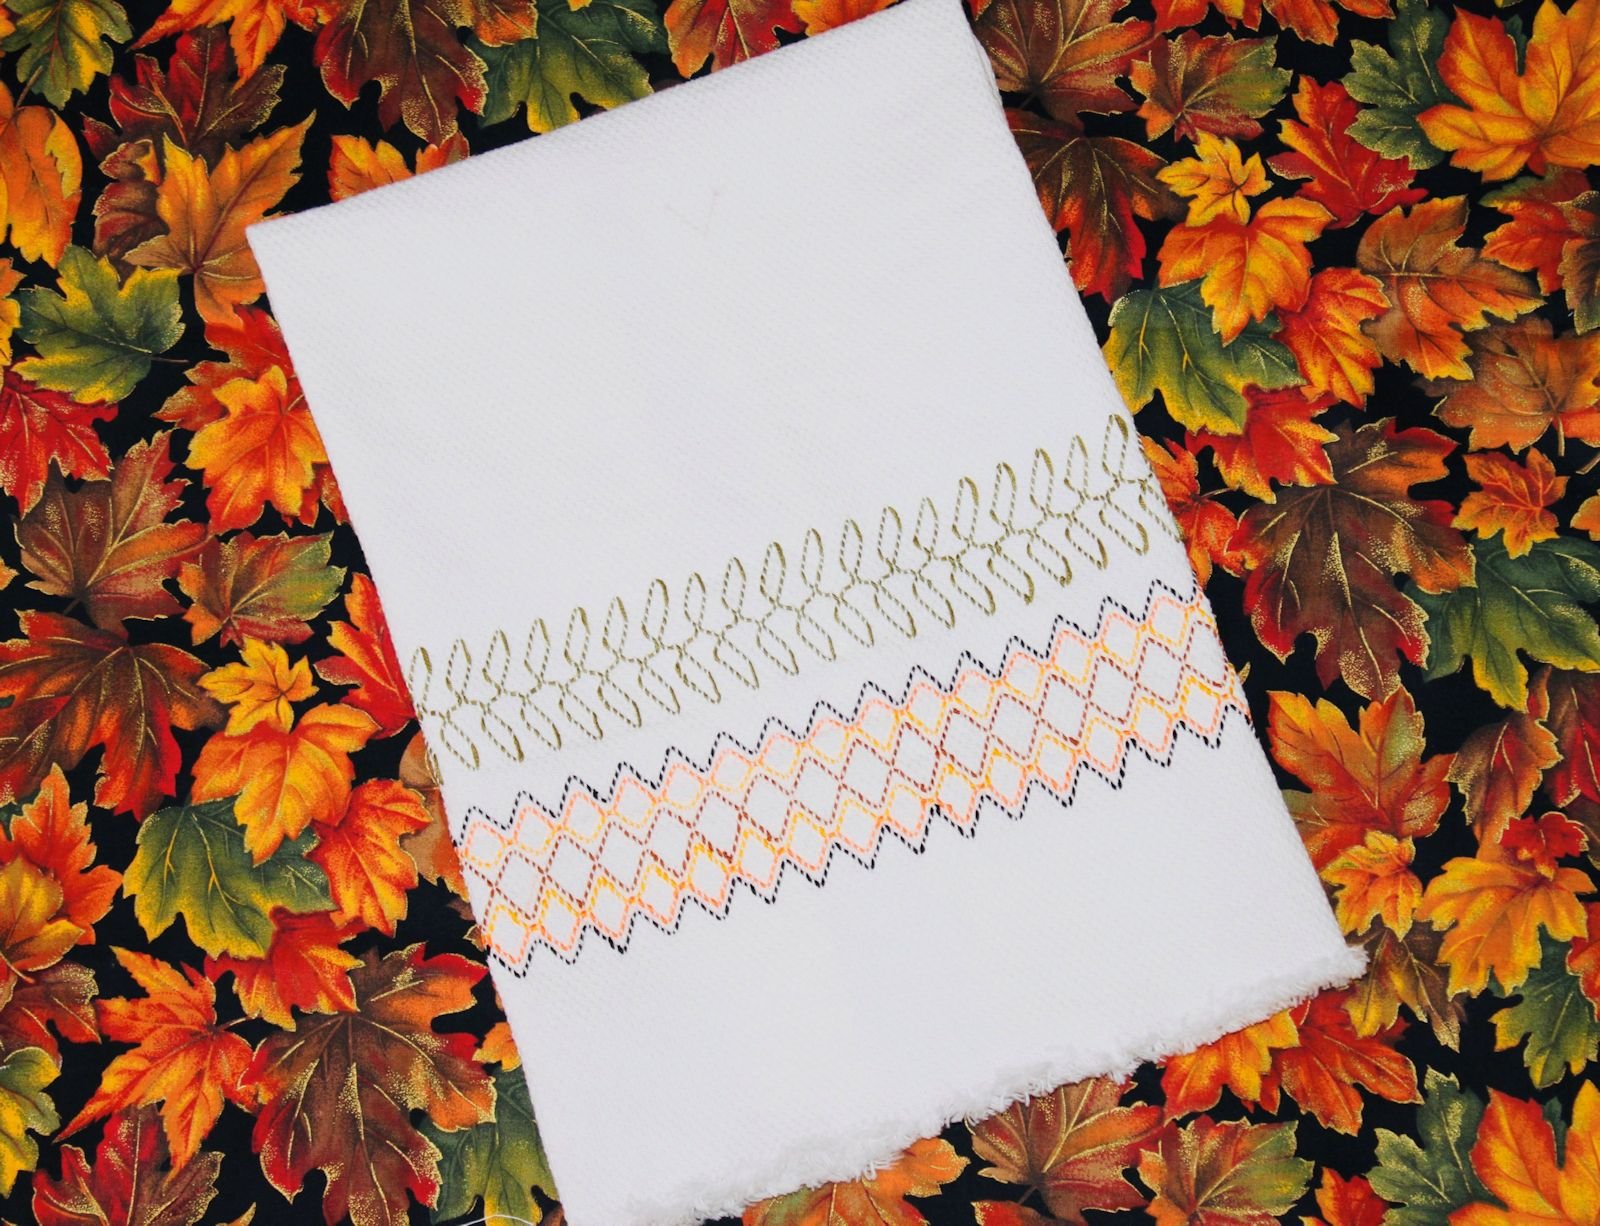
Crazy Quilt

DIY Projects -> sewing -> quilting
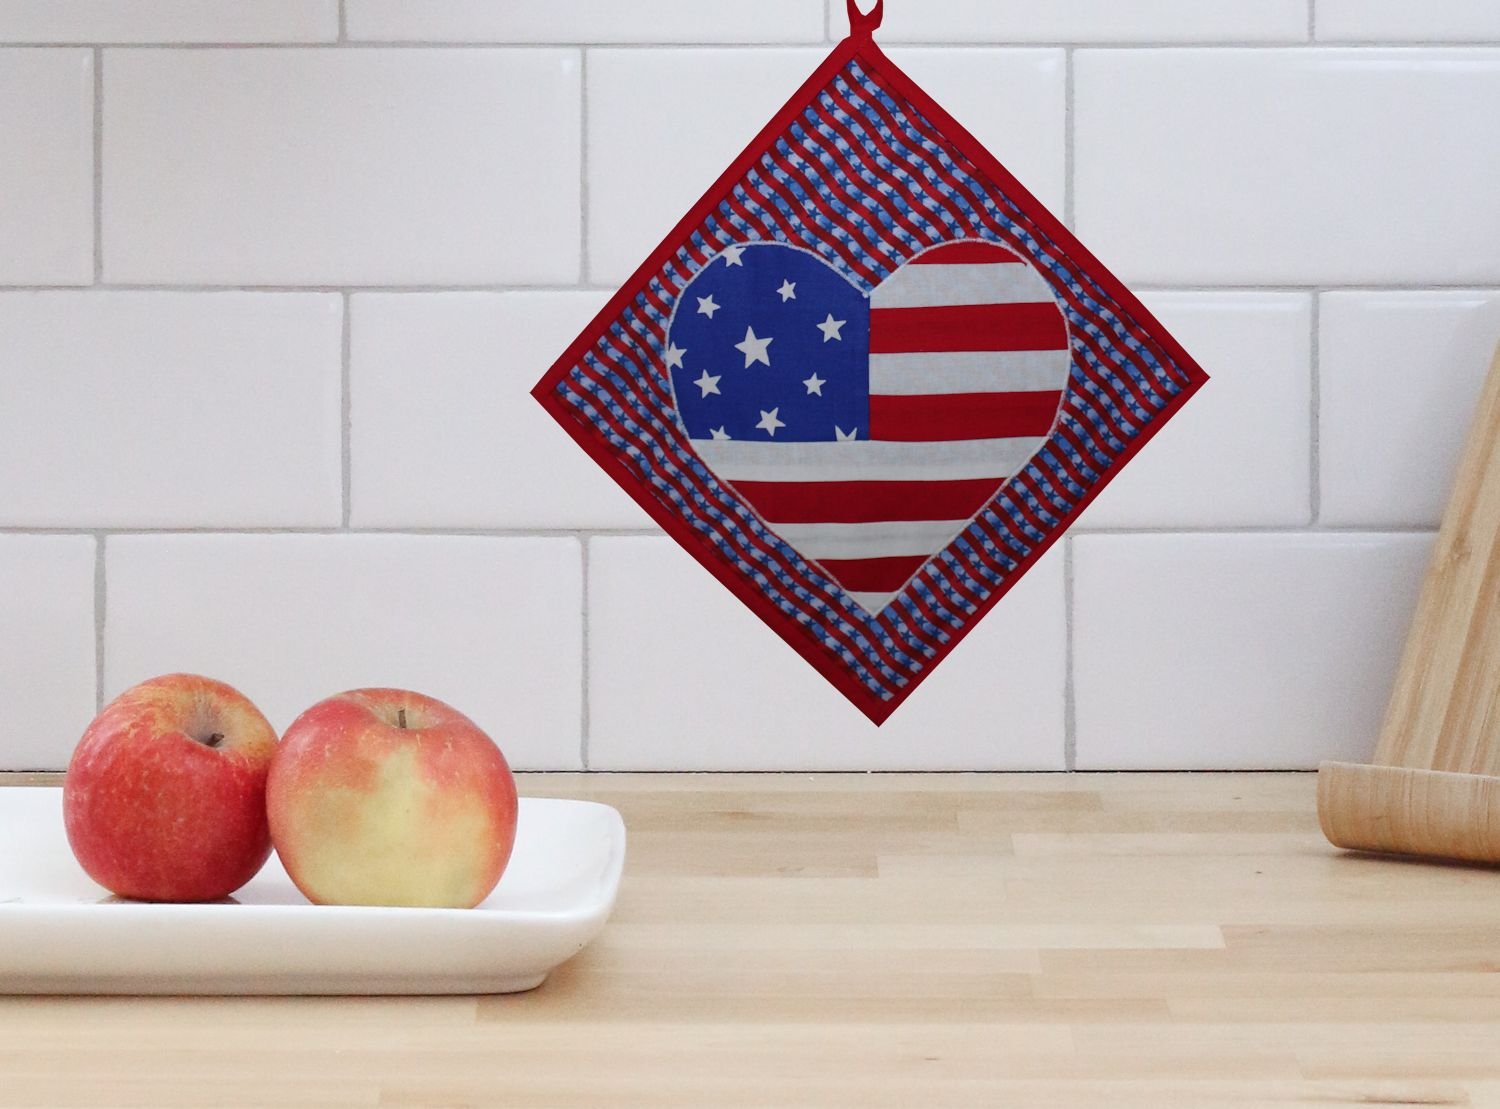
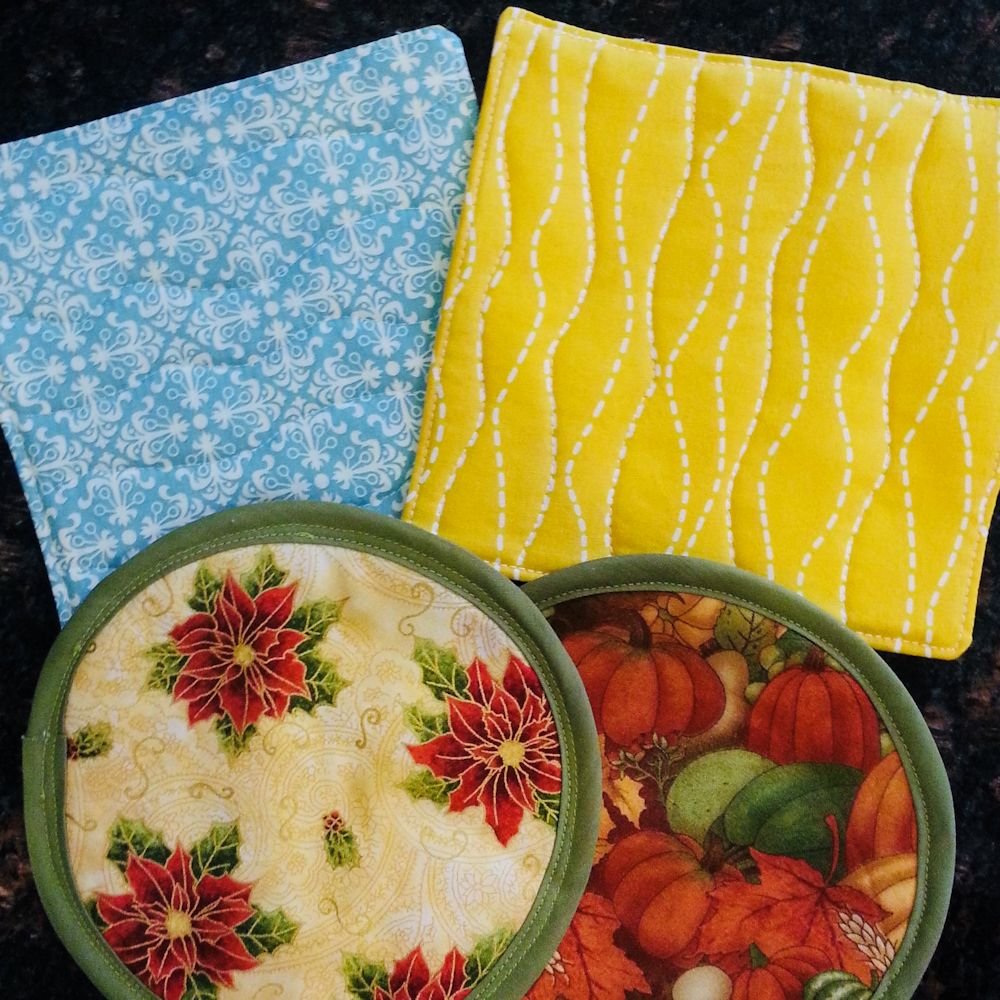
Hot Pad or Quilt Block
crazy quilting is a great way to use up scraps
finished block measures 8.5” x 8.5”
originally on our previous site: CraftAndFabricLinks.com
Disclosure: This site contains affiliate links. As an Amazon Associate, I earn from qualifying purchases. Clicking on links, and purchasing products, may result in the seller paying us compensation - at no extra cost to you. Affiliate links are in green.
Also see:
Notes From The Workroom & Trail
Quilt Lessons
Embroidery Lessons
Kitchen
What Is Crazy Quilting?

embellished crazy quilt block
Crazy quilting starts with one square of muslin fabric and one small scrap of quilt fabric. The first small scrap is stitched to the muslin.
A second piece is stitched on, then a third, and on until the square is covered.
Pieces are of various shapes and sizes (they need to have straight sides).
Embroidery is often added over the seams as embellishment. This can be done by hand or machine.
It is called “crazy” because you do not have to start with any particular plan or pattern, though patterns are available.
I have made crazy quilt blocks for use as hot pads.
Crazy Quilt Block Size - hot pad, pot holder, or quilt block
Finished size: 8.5” x 8.5”
All seams are 1/4".
NOTE: Adjust measurements to enlarge or shrink your block size.
Hot Pad
Special supplies for hot pad:
If you are using the block to create a hot pad, you will need Insul-Bright and Therma Flec. These materials provide insulation and heat resistance. You will also need backing, batting, and binding to finish the hot pad.
One 8.5” x 8.5” square of Insul-Bright hot pad insulation
binding: approximately 40” of 1.5” wide fabric (longer if you are adding a hanging loop)
One 8.5” x 8.5” square of backing fabric or “Therma Flec” heat resistant cloth (silver fabric to use on the side that comes into contact with the hot surface)
Two squares of 8.5” x 8.5” cotton batting
Supplies - 1 crazy quilt block
4-5 strips of fabric, each measuring approximately 4” x 12”
One 8.5” x 8.5” square of white cotton fabric (or muslin) for the crazy quilt base layer
color coordinated thread or decorative thread for machine embroidery (I like the variegated threads, “Cotton Blendables“ by Sulky), OR hand embroidery thread or floss
various embellishments such as yarn, lace, buttons, ribbon, etc.
Other Sewing Supplies
thread to match background of fabric (stitching the pieces together)
large sewing ruler (optional but nice to have)
scissors or rotary cutter
pins
PRE-WASH AND DRY ALL FABRICS BEFORE USING
DIRECTIONS
use 1/4” seam allowance
Iron between each step. Read through all directions completely before beginning.
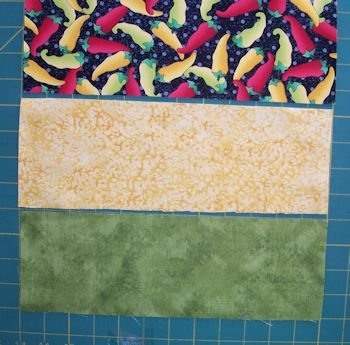
1. Lay out all strips of fabric. The following image shows 3 of the 4 fabrics I used.
2. Place the fabric strips in a stack and make three straight cuts at random angles. In the following photo, the cuts are made through all layers.

3. Place one fabric piece in the center of the muslin square. If you wish, you can baste this piece to the muslin, close to the edges of the fabric.

4. Place a second fabric piece right sides together over the first piece, aligning one edge. If you prefer, you can lay the second piece at a random angle, but be sure that when you stitch them together you will totally enclose the one side of the first piece. In other words, don’t leave muslin showing between the two sewn pieces.
Press seams open. Trim seam allowance to 1/4”.
I have enhanced stitching lines in RED.

piece 2 stitched, trimmed, and pressed
5. Place the third piece right sides together over the first and second pieces. The edges might not align perfectly - this is fine. Just be sure that there won’t be any gaps once the new piece is stitched.

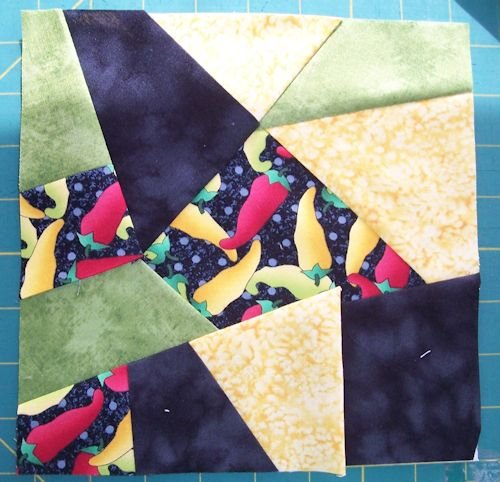
6 The following photo shows piece 4.

Repeat with more pieces until the entire muslin square is covered. Refer the the image below.
You can even stitch some pieces together BEFORE stitching them to the muslin. Experiment and have fun.
HINTS
Press between each step. Trim seams between each piece.
If you have a piece that contains an edge that will not be sewn into a seam, fold it under before stitching it into place. This way, it will not contain a raw edge. Refer teh the image below.

If you have a long edge to connect to, stitch a few pieces together and then attach them as one longer piece.
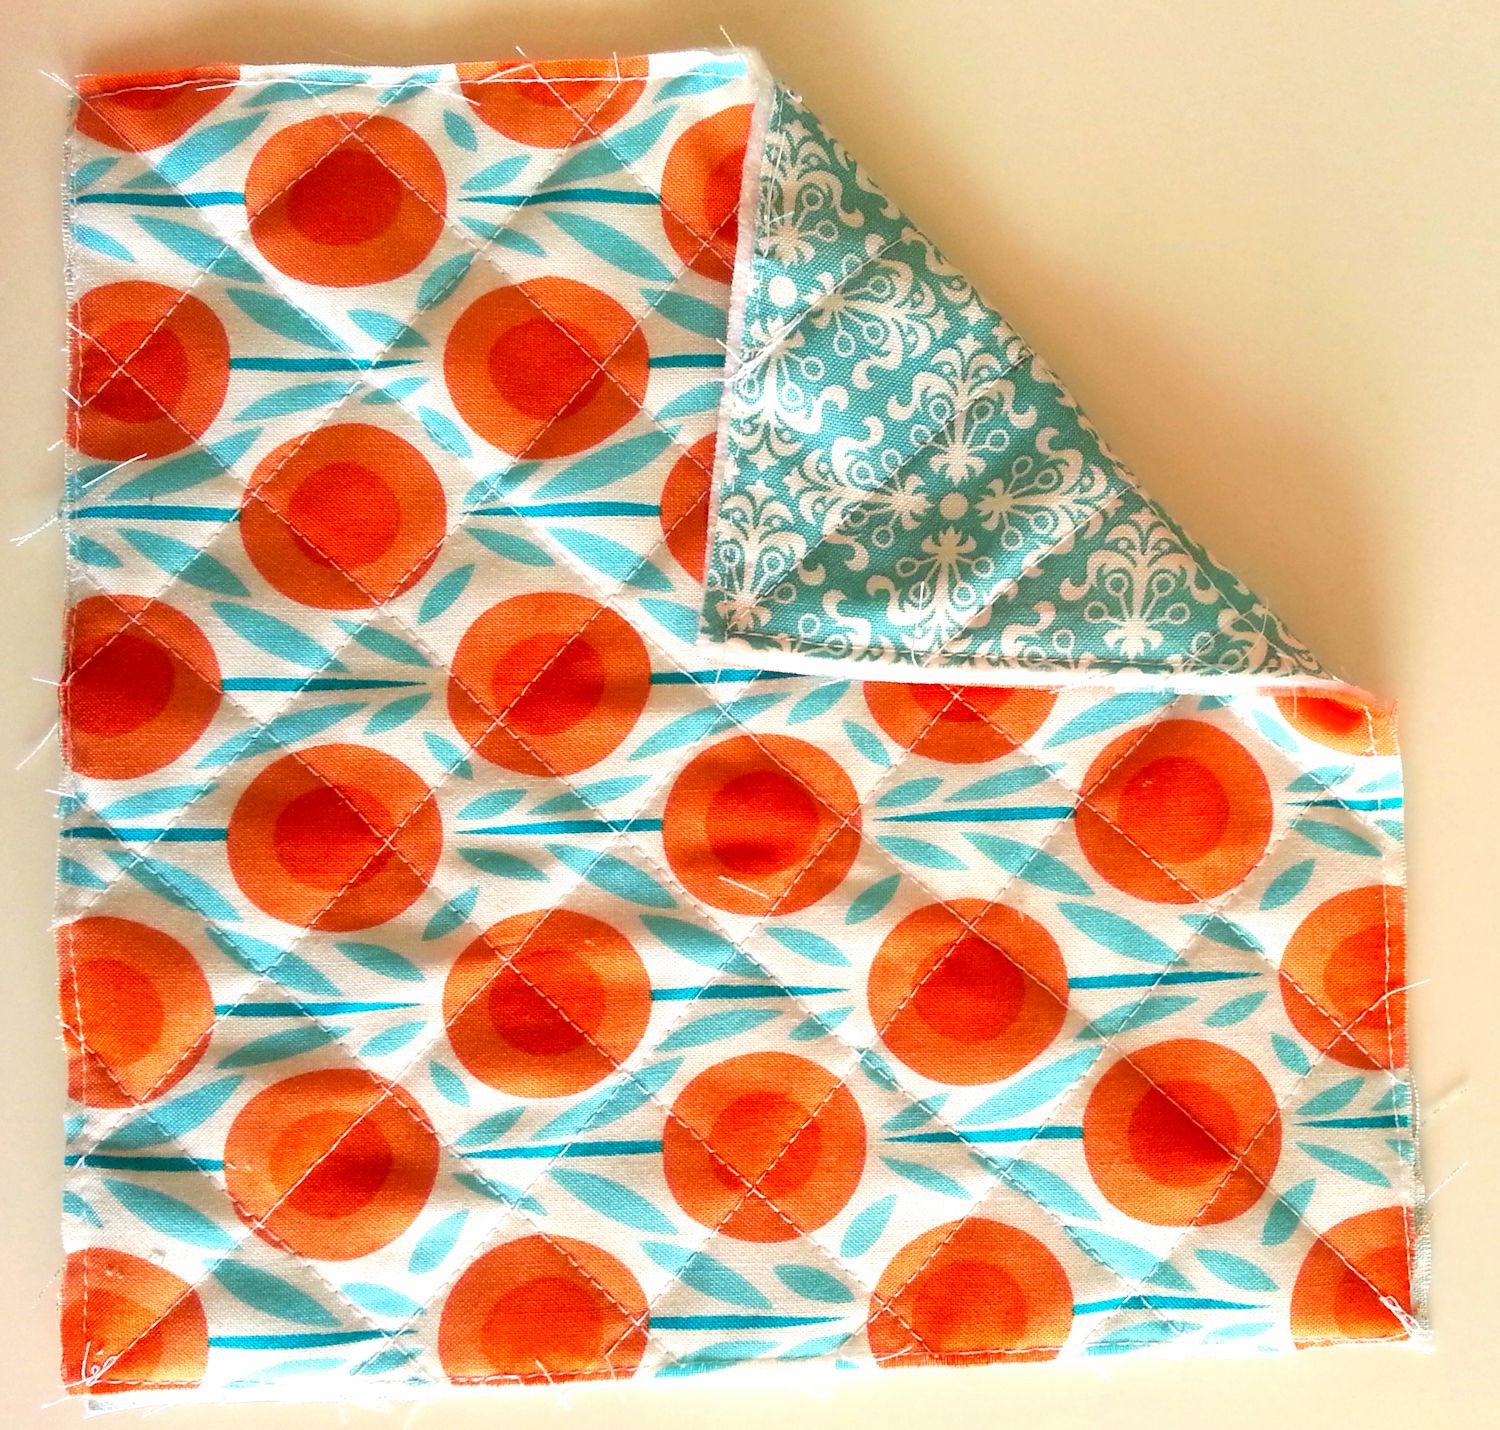
Finish Your Crazy Quilt Block
When the muslin piece is totally covered, turn to the back side of the block and trim off all edges. The block should measure 8.5” x 8.5”.
Baste around all edges, 1/8” from the edge, to secure the raw edges.
Embellish!
When the block is finished, embellish with machine embroidery, buttons, lace, hand embroidery, appliques, or other items. Besides being decorative, the stitching will attach any loose edges.

More Resources
Go to Spring Basket Hot Pad for instructions on finishing your hot pad or pot holder.
Go to Assemble And Bind Quilt for instructions on binding, layering, and backing a quilt.
Sewing Lessons


Kitchen Sewing


Set of 4 gift bags from one yard of fabric. Accessory or gift. 3 sizes plus a wine bag. Super easy - beginning sewing project.