Pajama Pant Create Pattern
Pajama Pant Series
Lesson 1: Create A Custom Pattern Based On Your Measurements
- then alter to customize
Disclosure: This site contains affiliate links. As an Amazon Associate, I earn from qualifying purchases. Clicking on links, and purchasing products, may result in the seller paying us compensation - at no extra cost to you. Affiliate links are in green.
Also see:
Follow Our Adventures
Easy Sewing Patterns
Clothing Patterns
Decor Projects
SUPPLIES
Check Amazon for prices. Affiliate links are green.
large clear sewing ruler I can't say enough about large rulers – you will use this for drawing long straight pattern lines
I always have a roll of butcher paper on hand for pattern making. It is economical and easy to use.
Create A Pattern That Fits!
For this lesson, you will need your measurements (as listed below in directions), and paper to draw a pattern onto. I use butcher paper (see “supplies” above) for drawing all of my patterns.
Learn how to create your own pattern that fits! By using your own measurements to draw a pattern, you will have a custom pattern that fits! Alter your "master pattern" to create crop pants, flare leg, low waist, high waist, larger or small waist or hip, ankle length, or shorts. Alter any way you wish! Easily change the size of the pattern. Add borders, a drawstring, embroidery or other details to make them uniquely yours.
Use this same pattern to create nice-flowing comfy casual or dress pants (such as from rayon or rayon-polyester).
We will teach you TWO methods for creating your own custom pattern, then teach you how to sew your fabulous new pants.
Lesson 1: Take measurements and draw a pattern based on measurements.
Lesson 2: Take an existing pair of pajama pants and turn them into a custom pattern.
Lesson 3: Sew your new pants!
Lesson 4: Add an adorable cuff to capri or full length pants.
Step by step, fully illustrated instructions.
Go to our free sewing book - currently still on our CraftAndFabricLinks site - to learn how to add pockets. We will be adding our free sewing book to this site eventually. Go to Sewing Lessons for more free lessons. Your new pattern can be turned into an entire wardrobe of pants and pajama pant patterns!
Pant Pattern Basic Information
A pair of pants is generally made with a center seam down the front, a center seam down the back, a side seam on each outer side and an inside seam (inseam) on the inside of each leg. That is how our pants will be constructed, so our pattern will be created in this style. The back waistline comes up a bit higher than the front. This creates a good fit and is why I make my own pj's. Store-bought pj's often cut the back too low and this creates a problem when bending over ("plumber pants"). When you make your own pattern, you can cut the front lower (low slung look) and the back higher for a nice fit. If you want both front and back lower - or higher, that is fine too - it's your choice. Customize the fit to your own taste. That’s the beauty of creating your own pattern.
Take Measurements
You need 4 main measurements to make a pajama pants pattern: waist, hip, inseam, crotch length and thigh. Take the measurements as described below and write down each one.
Waist: Measure your natural waist or measure around the area where you want your pant waist to be (usually a bit under the real waist).
Hip: Measure around the fullest part of the hip.
Inseam: Measure from the crotch to the inside of the ankle - or to where you want the pant leg to come to (ankle, mid calf if capri length, on floor etc.)
Crotch Length: Measure from center back waist, between legs, to center front waist - to be sure your pattern will come up high enough on the waist and allow room for your "seat" and "belly".
Thigh: Measure around the fullest part.
Draw A Pattern Using Your Measurements
As stated above, I use butcher paper for drawing out my patterns.
Create your pattern. Following the pattern example below, draw your pattern. See "altering your pattern" below for more instruction. You will need two pattern pieces: front and back. These pattern pieces will placed on a folded piece of fabric. When the fabric is cut, you will have two opposite fronts and two opposite backs (a right and left leg for front, and a right and left leg for back).
Refer to "Altering" below for directions on making changes to our basic pattern, to create a custom fit for you.
NOTE: The front and back will sewn together at the inseam and outer seam; therefore, these measurements MUST BE EQUAL. In my example, the outer seam of BOTH the front and back measure 40". The inseams measure 28". The back center seam measures 13.5" (vertically) and the front center seam measures 12" (vertically). As stated above, the back center seam rides higher at the waist. The curve of the back center seam is more pronounced than that of the front. It goes from 9.5" at the top point to 13.5" at the crotch point - a difference of 4". The front center seam curve is only 2.25". This allows for the curve around the buttocks. It also makes the pant waist come IN at the small of the back, creating a nice fit.
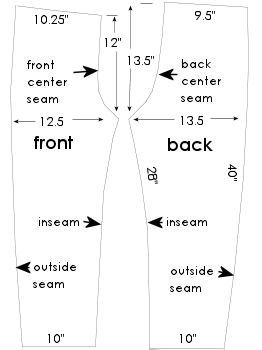
Custom Drawn Pajama Pants Pattern
Add Seam Allowances, Hem & Waistband
Add 1.25" hem on each leg length (for a 1" hem) and 1.25" at the top for a 1" waistband (for elastic casing). All seams are 1/4 inch.
Go to Lesson 2 to learn how to learn how to draw new lines around your pattern to allow for the hem, waistband, and seam allowances.
Alter Your Pants Pattern As Needed
This pattern fits a size 8-10, or hips: 39"; waist 29"; thigh 21"; inseam 27". Using my drawing as a guide, draw your pattern. Use the same general shape as my pattern pieces; just add or delete from the size as needed.
The person I made this pattern for had a thigh measurement of 21". This pattern will create a pant leg of 25" around the fullest part at the top of the leg. This allows for some extra room in the leg. The front pattern measures 12.5" across the widest part of the top of the leg and the back pattern measures 13.5" across. 1/2" is used for the two seam allowances (each side's seam allowance is 1/4"), so the finished measurement will be 12+13=25".
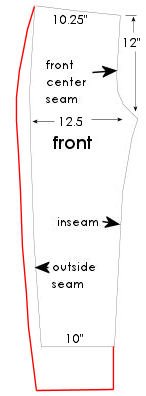
Let's say you need a finished inseam of 33" (6" longer than our pattern) and your thigh measures 25" (4" larger than our model). You will need to add 2" to both the front and back pattern at the area of the thigh and 6" to the inseam. Your finished pattern will have an inseam of 33" plus 1.25" for hem and .25" for seam allowance at top of leg - total inseam on pattern equals 34.5". Note that the hem width remains the same (10").
The pattern below left shows an altered FRONT pattern. It adds 2" to the outer seam and 6" to the overall length. The same will be done to the BACK pattern. The overall change will be 4" to the thigh circumference (2" front plus 2" back) and 6" to the length of the legs.
If you wish to change the shape of the leg, draw the new shape. For example, if you wish to have flare legs that are 4" wider at the bottom, simple add 2" to the outsides of both the front and back pattern pieces as shown below right. To keep the flare even, I added 2" to both the inseam side and the outer seam side. Doing this to both the front and back piece would add a total of 8" to the bottom circumference of the leg.
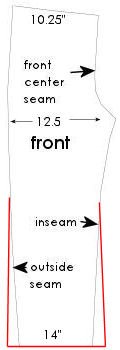
Remember that the outside seam and the inseam MUST be equal between the front and back pieces. This is because the front and back pieces are stitched together at the inseam and the outer seam.
What if your crotch measurement is longer than our pattern? Our measurement is 14" along the curve of the front plus 15.5" along the curve of the back. We will turn down 1.25" for the elastic casing (both front and back) and we will lose 1/2" for the crotch seam. Our finished crotch measurement will be 26.5". Let's say your total crotch measurement is 30.5". Simply add 2" to the top edge of both the front and back pieces.
Clothing
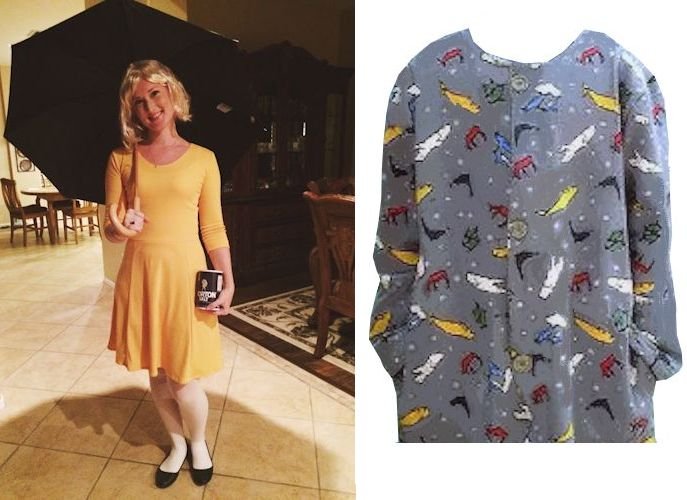
Learn how to turn a simple tee shirt pattern into a robe with buttons and pockets - or a dress! One pattern - many uses.
Learn how to attach elastic. Properly attached elastic will create a nice fit around a leg opening of a gymnastic suit or swimsuit.
Sewing lesson: learn how to work with nap, fabric direction, and plaid prints. Align plaids so they match up correctly.
Lesson 4. Learn how to sew a cuff and properly attach it to a pant leg. Free instructions for pajama pants.
Lesson 2. Learn the correct method for tracing an existing pair of pants to create a new sewing pattern. .
Lesson 1: Create Custom Pattern. Total of 4 lessons including making and altering a pattern, add elastic or drawstring waistband, sewing the PJ pants.
Add comfort and insulation to hiking boots or shoes with comfy shoe inserts. Free sewing pattern.
Pillows
Nicely constructed pillowcase with contrast cuff and piping trim. Cuff is nicely finished on the inside. Free sewing pattern with directions for standard, queen and king.
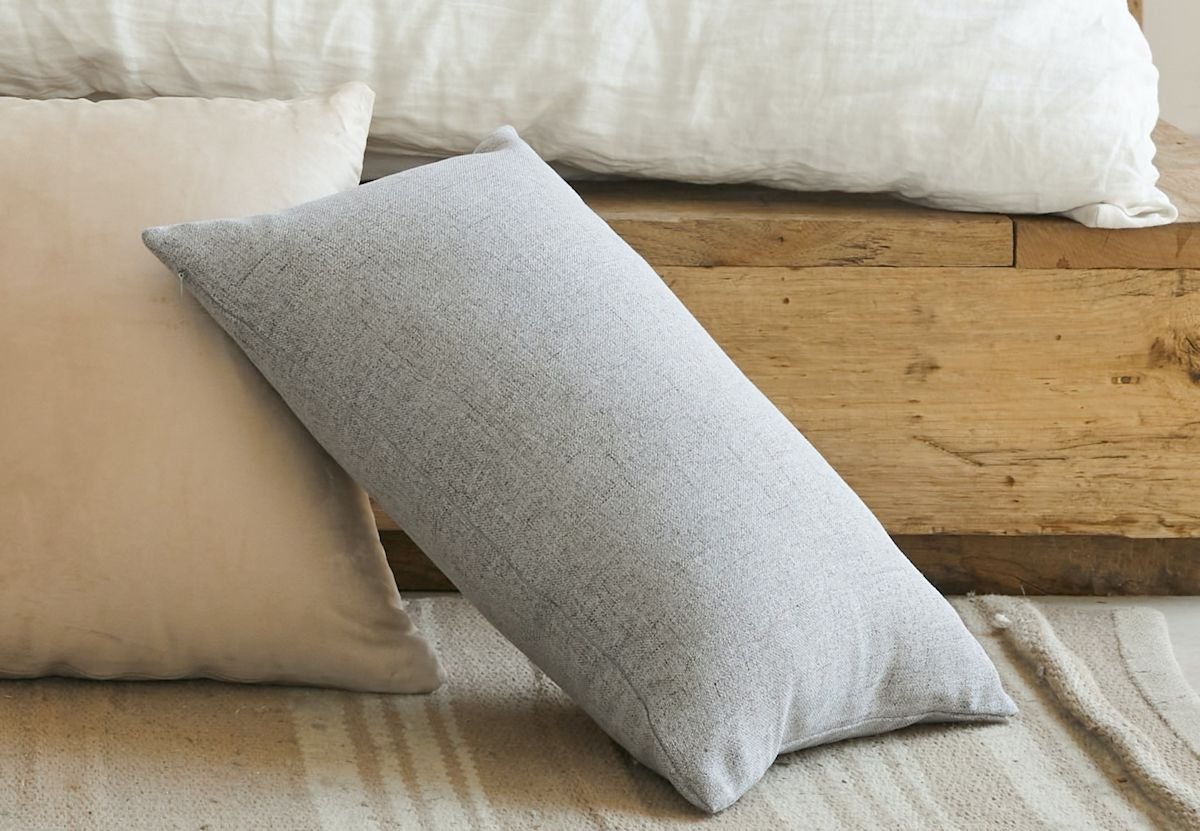
Inner cushion and removable cover made with non-slip fabric. Super easy - no buttons or zippers. Protect furniture from pet fur, add comfort to hard surface chairs.
Envelope back square pillow. Optional letters are padded with fusible fleece. Easy - no zippers or buttons. Side ties.
Three different Halloween scenes to applique. Use for pillows, hot pad, quilt blocks, wall hanging. So many uses!
Learn two methods for sewing mitered corners for cushion covers, tote bags, mattress covers.
Easy cushion cover pattern for any square or rectangular cushion, futon, or mattress. Customize the fit. Wheelchair or pet cushion, baby or doll bed mattress.
Super easy! The case is finished on both ends - keeps the pillow securely inside. Perfect for small pet bed.
Nicely constructed pillowcase with contrast cuff. Cuff is nicely finished on the inside. Free sewing pattern with directions for standard, queen and king.
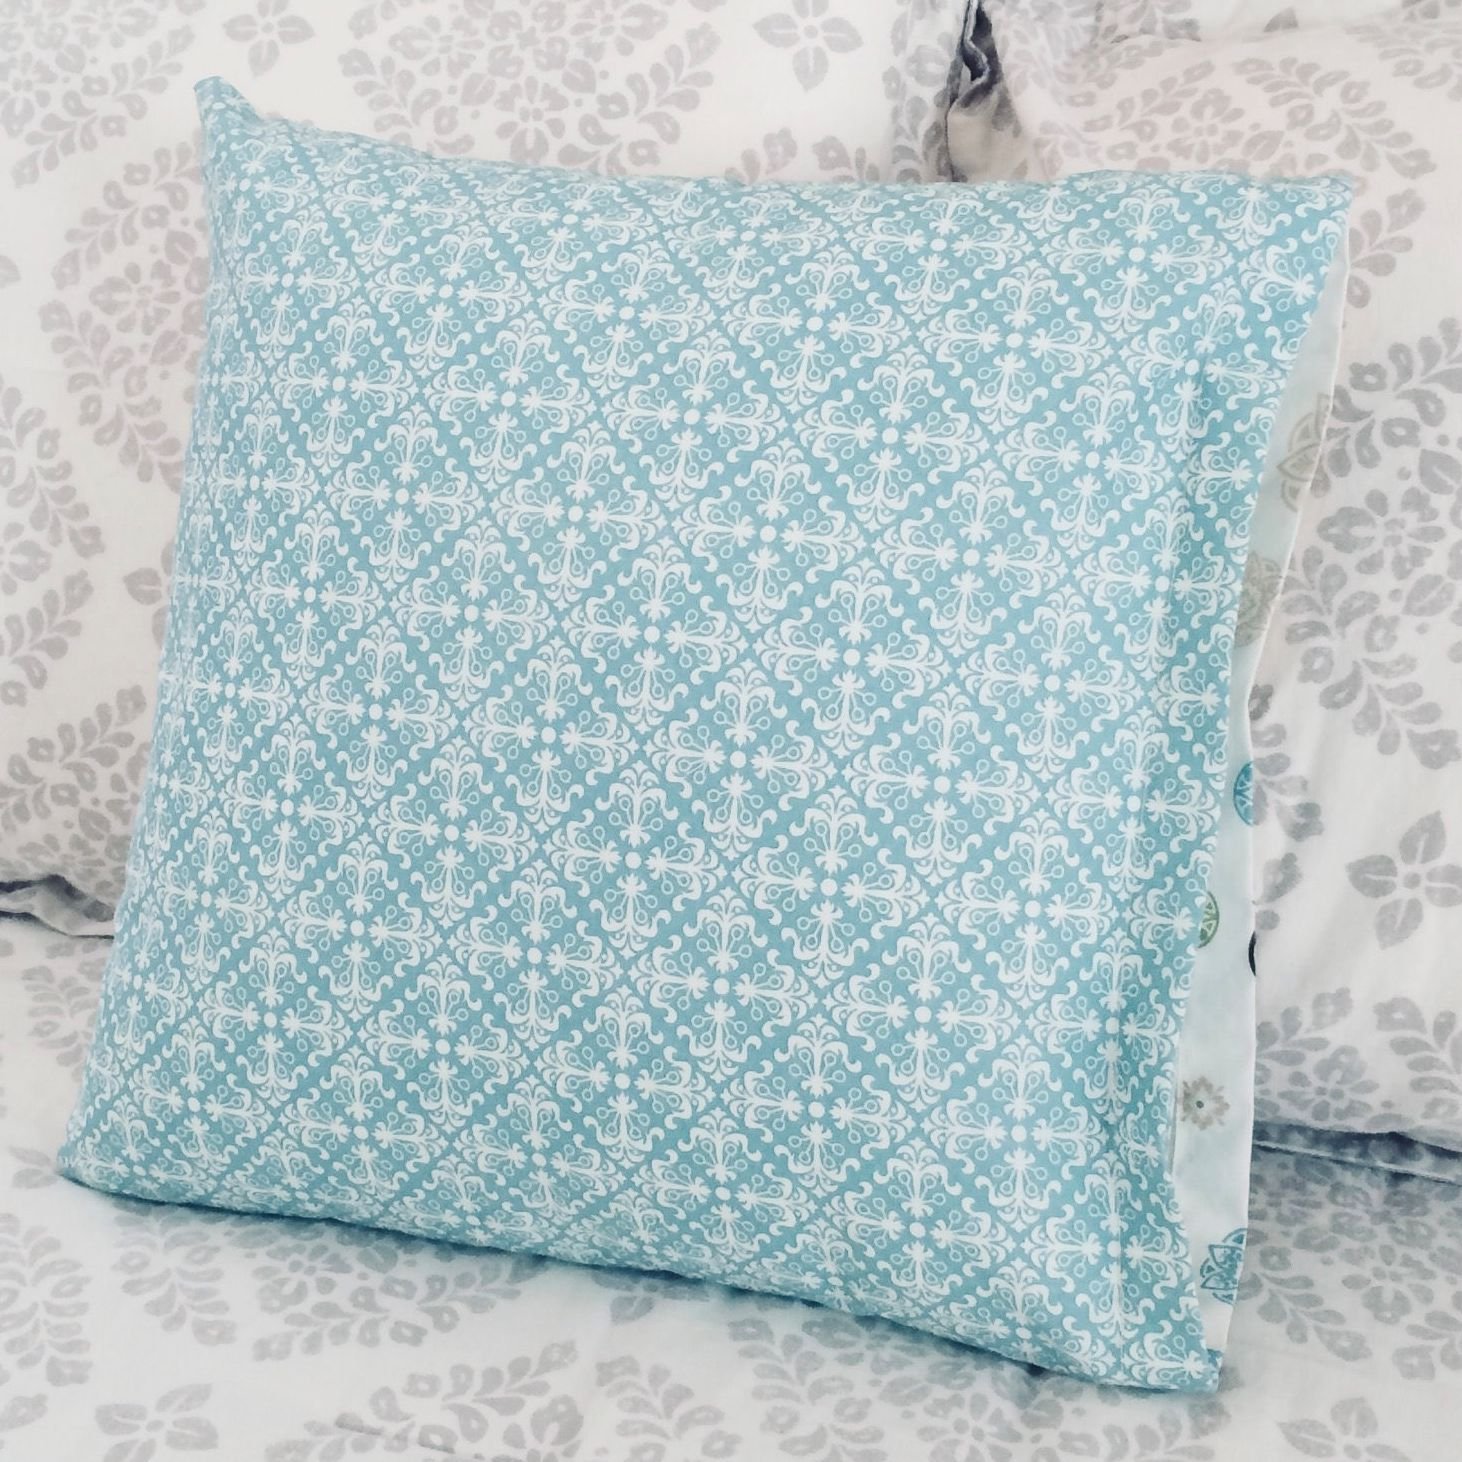
Nicely constructed pillowcase. Hem is properly finished inside and out. Quick and easy beginner project. Standard, Queen and King.
Christmas Pillow featuring our Christmas Tree quilt block, a decorative flange, and an envelope back opening.
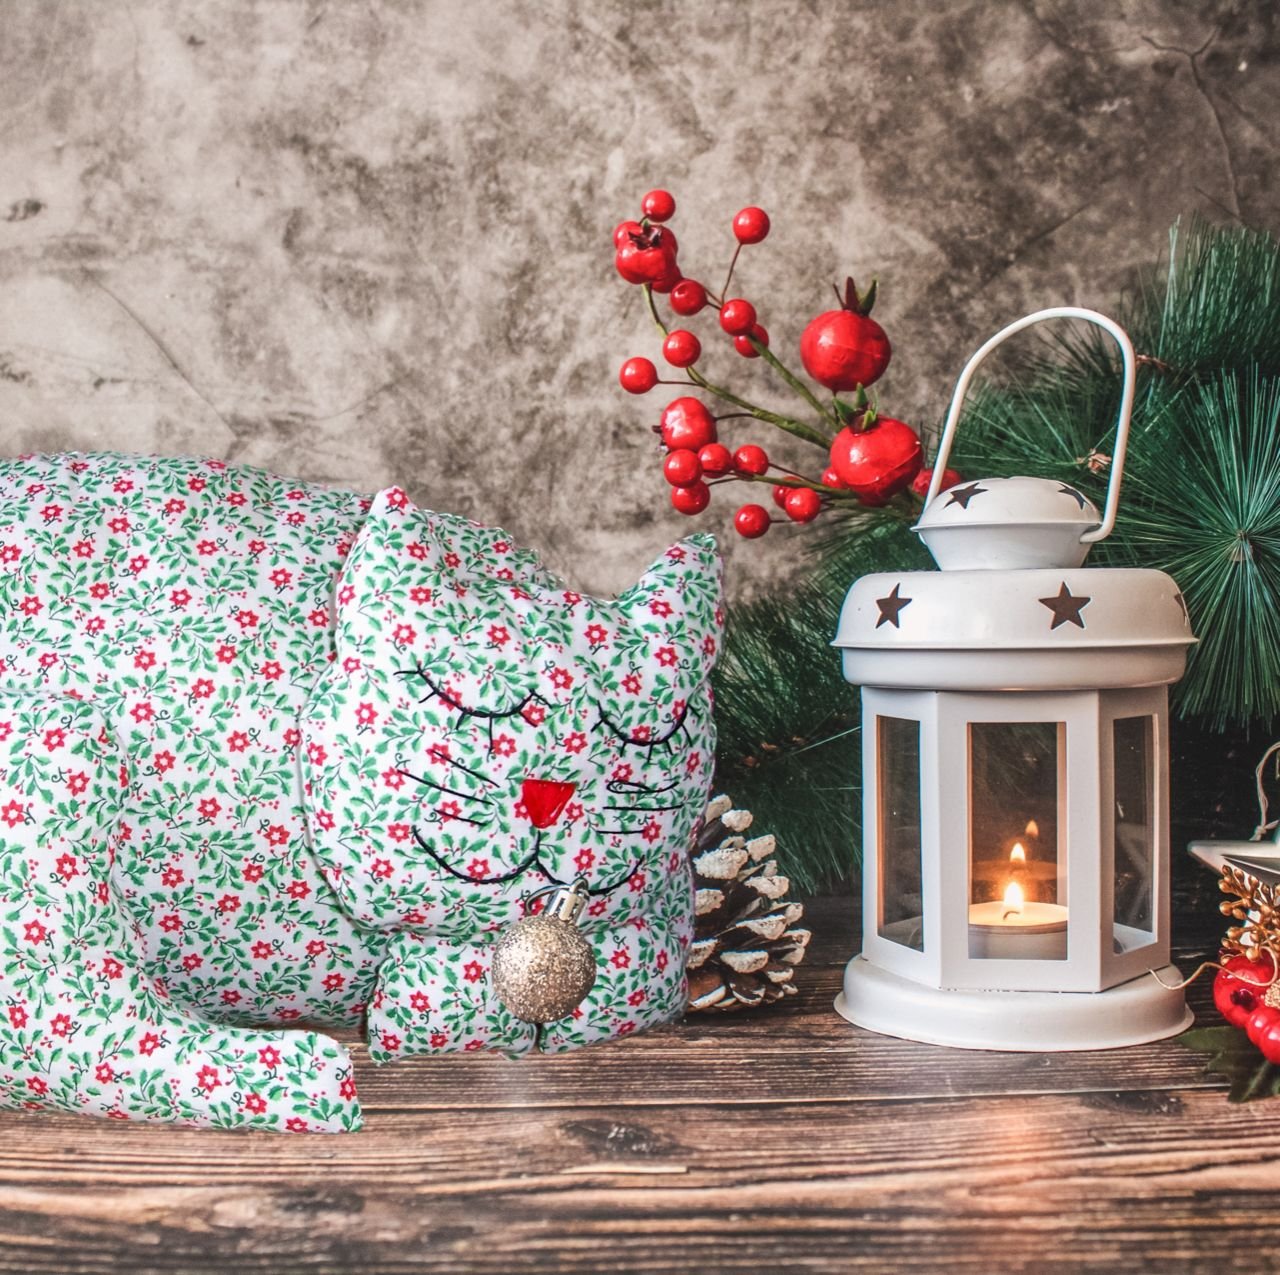
Christmas Cat pillow. Make one for each holiday! Adorable for baby’s room. Embroider or paint the face.
Crafts
Use a line drawing and photos to paint a watercolor of your Toyota Tacoma truck - or any vehicle. Step by step directions.
Valentine abstract watercolor for small painting or card. Create stunning designs. Instructions plus printable heart templates.
I turned a fallen tree disaster into a beautiful evergreen bouquet for my front porch. Easy! Use holiday items from your stash.
Beautiful, easy DIY floral swag for your wedding, special occasion or holiday. Easy to follow instructions for hanging on banquet tables. Change up florals for the holidays.
Beautiful, easy DIY floral letter or number for your wedding, special occasion, baby’s room, or holiday. Paper mache letter, floral foam, and flowers.
Printable, foldable mini boxes. Teach your child how to create a 3 dimensional object from a 2 dimensional print.
Gorgeous custom painted floral design on wood boxes for use in bridal or baby shower, anniversary, birthday, or other special occasion. Video and pattern included.
Create a beautiful spring gouache watercolor in only 30 minutes! Pattern, instructions, and video provided. Frame or scan and print to cards.
Summer garden table. Use exterior paints to refinish an interior table for use outdoors. Dress up your yard with a colorful garden side table.
Create beautiful textured and painted paper mache eggs. Free video tutorial included. Easter and spring eggs.
Create beautiful paper mache letters or numbers for special occasions. Free video tutorial included.
Scan artwork or photographs, then print to card stock to create your own beautiful, meaningful cards. OR use watercolor stamps and pens.
Printable free graphics. Learn how to turn recycled boxes and cans into fun, usable items. DIY magnet.
Melt edges of ribbon to create a beautiful silk poppy hair clip. Perfect for Valentine’s Day, Christmas, or any special occasion.
Tulip acrylic painting lesson using paints and molding paste. Bring spring into your home in any season. Free video included.
Beautiful for any occasion! We created a wreath for Valentine’s Day. Make for baby’s room, spring, or any holiday.
Use lace, buttons, embroidery floss, and other decorative items to create a fabric flower. Create a bouquet for any season or room’s color scheme. We also show you how to attach it to a hair clip. Beautiful!
Create a patriotic turkey for Thanksgiving yard decor. Cut from plywood and paint, using our free pattern - customize size for your needs.
Easy to follow directions, photos and video on DIY tassel tree garland. Includes painting tree ornaments with paint and dotting tools.
Home Improvement
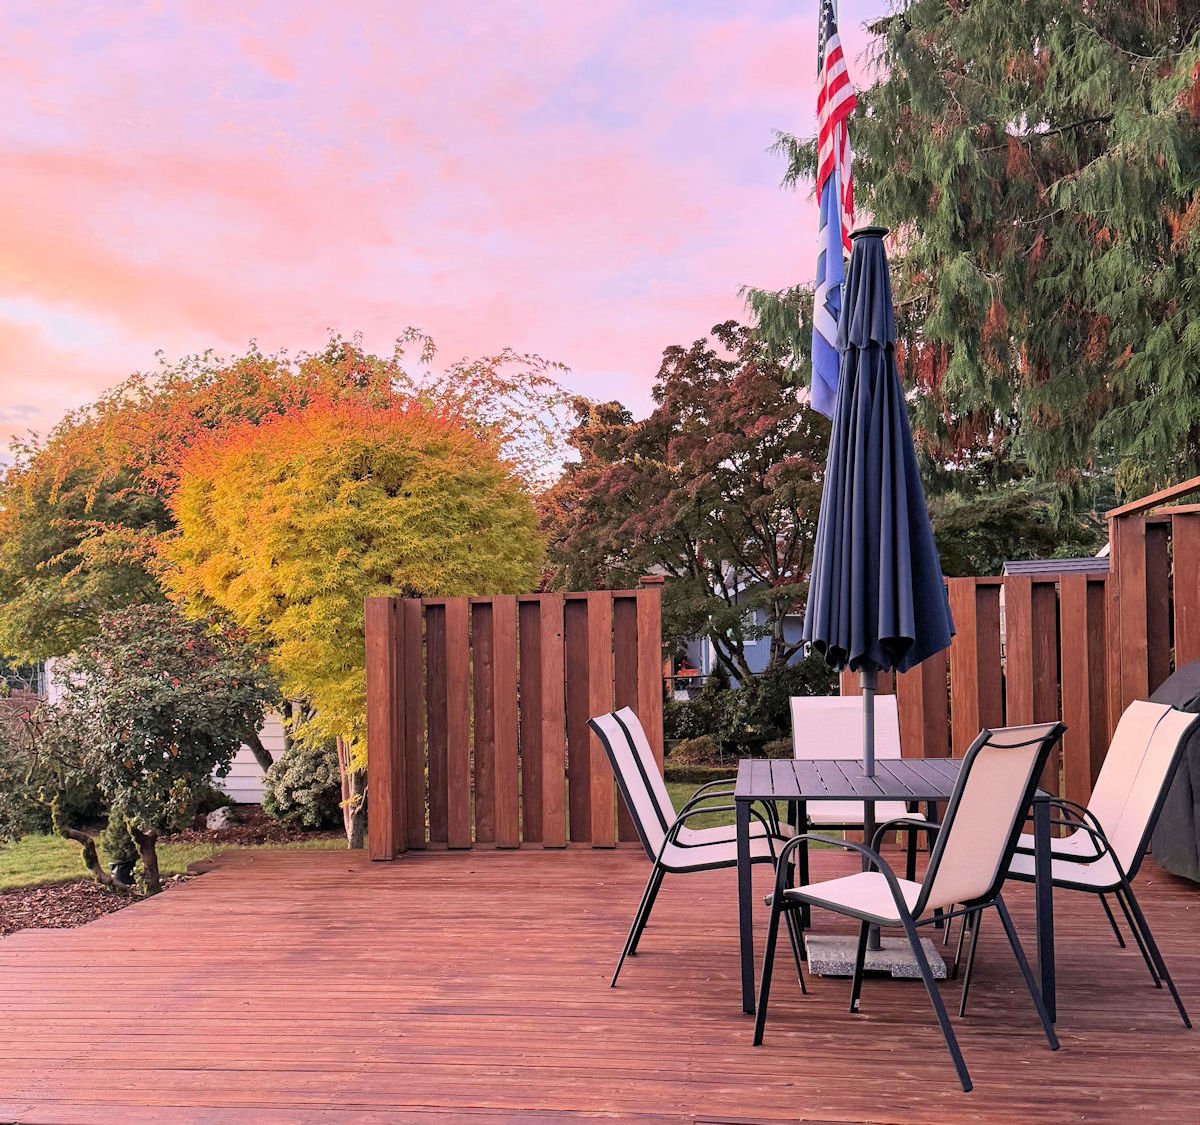
Protect your wood deck from the elements with proper prep and quality stain. Proper maintenance enhances the life span of a wood deck. Protect from snow, rain, freezing ice, hot sun.
Create an opening in a deck fence and add an easy-to-install step. Improve access and view of your yard beyond your deck.
Install a secure fencepost that will withstand ground moisture. Strongly secured with concrete footing.
Rejuvenate your rusty old chain link fence by adding fresh paint. Learn the tricks to creating a beautiful like-new fence.
Protect your blueberries from birds with a DIY cover. Easy to create using netting and PVC frame.
Keep garden maintenance down by using a weed barrier. Spend time up front to save time over the long run.
DIY personalized house address sign. Free mountain pattern provided. Quick and easy project to dress up your home.
Build a beautiful ramp with decking top for your garden shed. Step by step instructions.
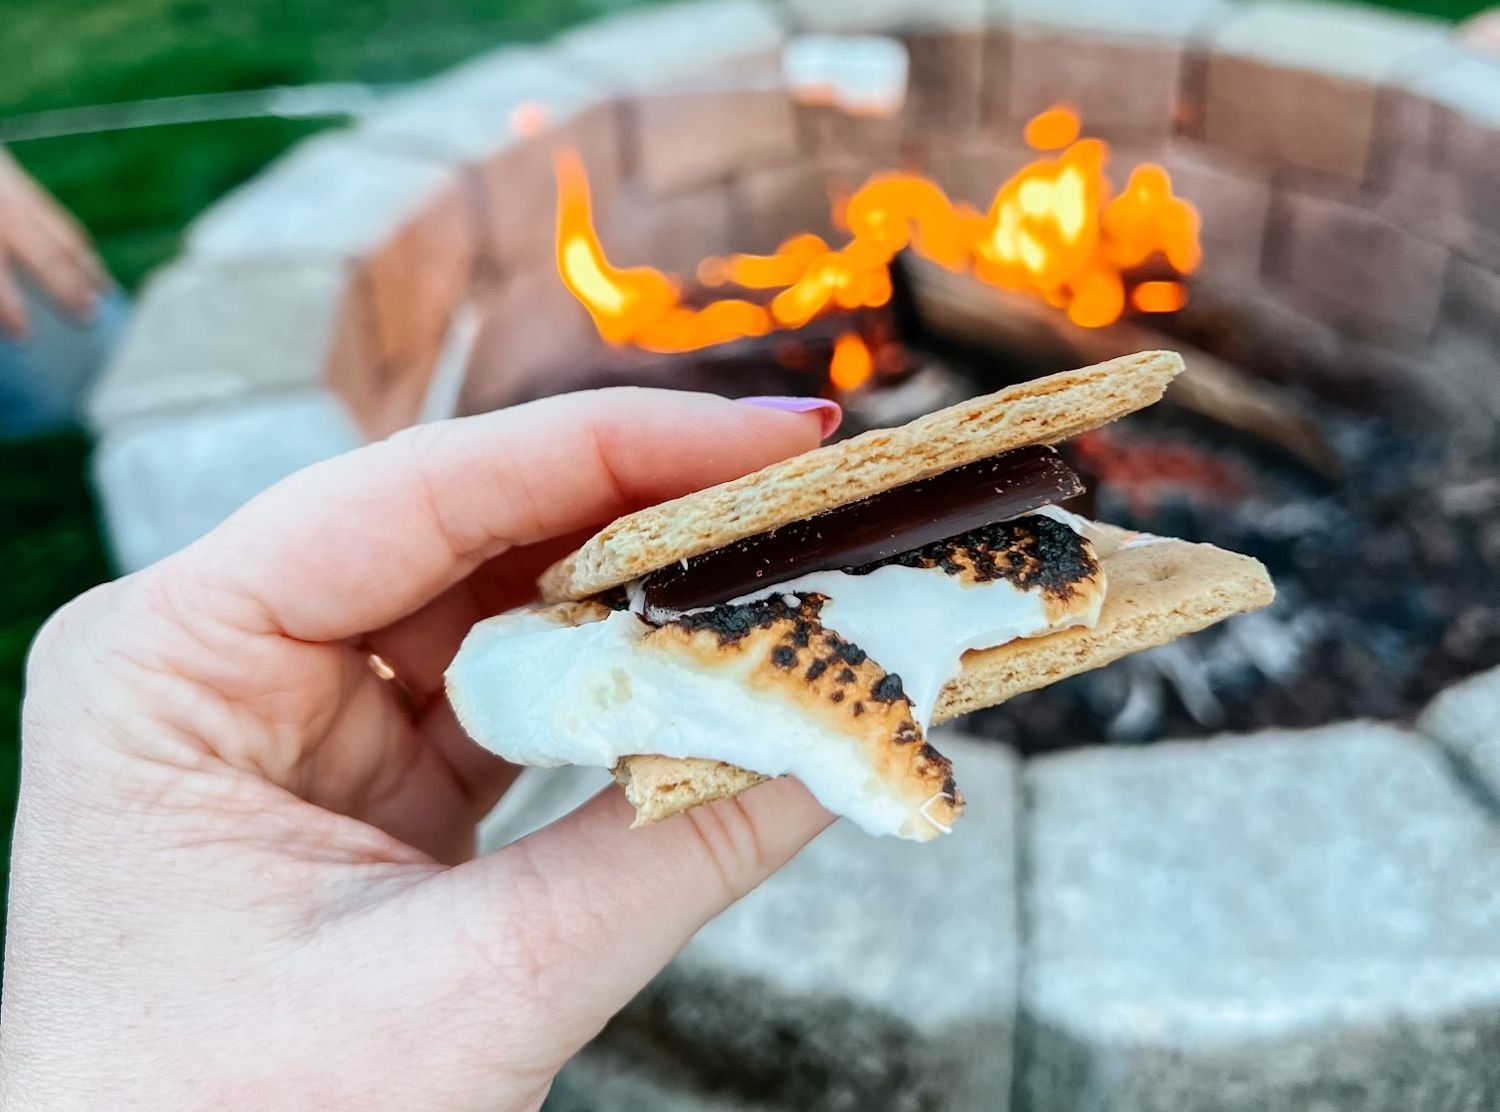
Easy, portable DIY firepit made from reclaimed landscape bricks. Create memories with family and friends.
By choosing the right tools, you can do your own mowing and edging. Proper weight and size is the key. DIY yard maintenance tools.
Turn a boring wall into a beautiful, functional space. Calculate spacing. Wall molding, trim & coat hooks.
Spruce up your closet laundry. Paint, better lighting, and new shelves help mood and organization.
Transform an accent wall by installing shiplap. Very easy with our step-by-step directions. Part 3 of our fireplace makeover.
Refinish an out of date fireplace hearth with chalk paint. Part 4 of our fireplace makeover.
Refinish cabinets to lighten and brighten a room. Part 2 of our fireplace makeover series.
Exterior stucco fireplace makeover. Learn how to repair or replace loose tiles, fill cracks, and re-paint.
Building plans for elevated wood flower boxes. Save your back and add beauty to your yard.
Transform your fireplace by whitewashing the old brick. Easy, with beautiful results. You can do this!
Repair and paint an old shed to breathe new life into it. Quick and easy landscape upgrade.
Learn how to remove carpet, linoleum, and subfloor. Do it yourself to save money - plus it will be done to your satisfaction, and you can ensure all the mess is properly cleaned up.
Instructions and safety tips on how to remove a sparkly ceiling. Add new texture and paint. With the right tools and motivation, you can do it!
Lifestyle Blog
Our traditional Fattigman Day tradition. Swedish cookie making instructions with printable recipe.
From winter storm watching to outdoor recreation to social gatherings: our favorite activities for the dark and cozy time of year.
There is nothing like hearty butternut squash soup to add warmth to a cold, blustery day. Learn our secrets for creating an easy, flavorful soup.
Nature provides equal access to the magnificence of wild places. Joy and entertainment are not purchased; they are experienced.
Hygge: emotional wellbeing, content, cozy. Our favorite projects for creating hygge in your home.
How to choose the right e-bike. Biking in the fall is magical. Perfect temps and gorgeous color. Comfort and safety are key to enjoyment, however.
Animals teach us a lot about transitioning from summer to winter. Completing projects in autumn saves us time in spring.
Christmas eve is coming! Need some great homemade gift ideas that you can fit into your busy schedule? Look no further!
DIY Wedding. From plans to putting together your dream team to making it all come together. My full wedding guide and links to my projects.
I hiked Beacon Rock after developing plantar fasciitis - with no problems. PT and the right shoes made it happen. Tips & tricks to help you stay on the trails.
Keep a life balance of social connection even at a long distance by establishing a virtual book club. Follow our posts.
The 2023 summer hiking season is fast approaching. Time to get in shape! Tips for the trail.
Our best articles and sewing projects to inspire and assist on your journey to downsize, organize, and make the best use of your space.
Our ten most popular super simple sewing projects. Each is designed to teach a new skill.
Exchange the endless tidying up of your home for hiking, sewing, crafting - or following your own true passions.
This year, we decided to obtain a permit to get a tree from the mountains. What was to be a relaxing day in nature turned out to be quite the adventure!
The Big Dark in the Pacific Northwest is a peaceful, reflective time that runs from October through spring. Weather is mild, foggy, dark, and rainy - nourishing. We move our focus to indoor projects during this cozy time of year.
October additions to Spruce and Fjell, including a new, custom sideboard exterior table with full instructions, plus beautiful fall bouquet.
Oh fun - moving our old website (CraftAndFabricLinks) to our new site. Tons of work - but it will be worth all the effort.







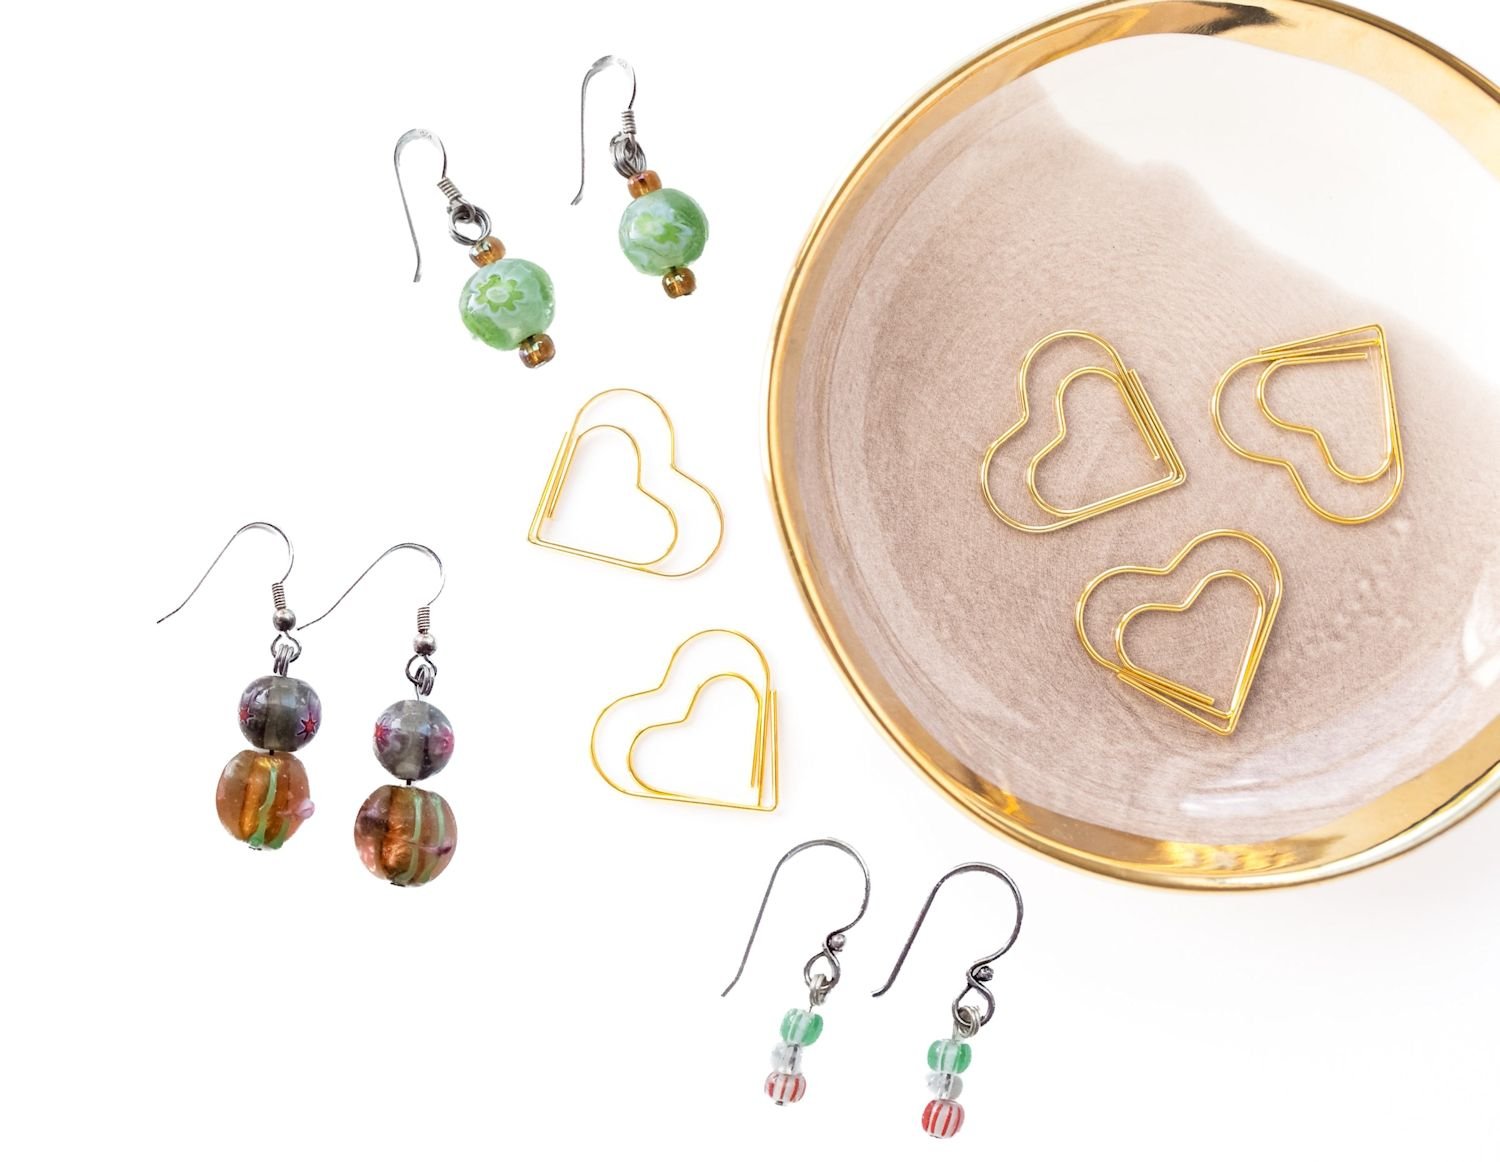













Super easy scarf crochet pattern, using only double crochet. Back loop holds layers together.