Wood Turkey

decor crafts -> wood -> yard
Wood Turkey Yard Decor
Design by : Walter Hoke
This delightful patriotic turkey was created by my father, Walter Hoke. He was an exceptional artist, and loved creating beautiful holiday decorations. He was also a waltercolor artist, and created many paintings during his lifetime. I miss him, but his creations live on. He gave me designs and information over the years, so that I could share his items with the world, through this website. His "Patriotic Thanksgiving Turkey" delighted many. You may use this pattern for your personal use only. Any other purpose must be first approved in writing by us. Our pattern is copyright protected and cannot be copied, displayed or distributed. - Christina
Also, see our wood pumpkin! Includes video tutorial for using the pattern to create a small painting for inddors.
Disclosure: This site contains affiliate links. As an Amazon Associate, I earn from qualifying purchases. Clicking on links, and purchasing products, may result in the seller paying us compensation - at no extra cost to you. Affiliate links are in green.
OUTDOOR USE / PATTERN SIZE
Use exterior paints if you plan to place the turkey outdoors.
Print the pattern (listed under supplies), then draw grid lines onto the pattern, as shown in the photo. Your grid lines can represent 6 inches, 1 foot, or any dimension you wish. Draw in the outlines of the turkey. Using your gridlines as a guide, redraw the pattern onto a sheet of plywood.
Applique or Painting
This pattern would also work well for applique sewing, or as a small painting for inside decor.
See Pumpkin Painting for instructions on making a small acrylic painting. Video tutorial included.
SUPPLIES - project supplies
3/8" Plywood (sheet size depends on the size you plan to make your pumpkin - 1/4" plywood would be ok if you are making a smaller pumpkin, such as 2 feet x 2 feet or smaller)
Exterior Paints: Undercoat paint (primer), colors of your choice for pumpkin and hat. Shading colors will add dimension, but can be omitted. Follow the photo above as a guide or choose your own colors. Most home improvement stores offer small sample jars of paint.
Pencil - for drawing the design
Turkey Pattern (color version) - download our free pattern (a jpg file) Our pattern prints to one 8.5” x 11” sheet of paper.
Turkey Outline Pattern (outline version)
Check Amazon for prices. Affiliate links are green.
Sandpaper - medium to fine grit
Paint brushes - sizes of your choice
Jigsaw or sabre saw if you prefer - for cutting out the wood turkey
SUPPLIES - general building supplies
Hammer and nails - for attaching turkey to fence or post etc
Drill and drill bits for attaching turkey to fence or post etc
Paint brushes - sizes of your choice
INSTRUCTIONS
1. Prepare The Pattern
Print the pattern. I provide a color version, and a black/white outline version. Decide what size you wish your finished turkey to be. Draw grid lines onto the pattern. Draw the outlines of the turkey parts onto the pattern, as shown in the photo. Trace your lines from each square section onto a piece of paper. Copy and enlarge to the size you need.
NOTE: Each square on the pattern represents a unit of measure. For example, if each square respresents 1 foot, this pattern would create a turkey that is approximately 4 feet across. To use the pattern in such a way, simply draw grid lines onto your wood 1 foot apart. Then freehand draw in the turkey following the image.
The grid line squares can be any unit of measure. If you decide that each line will be drawn 6" apart, the turkey will be approximately 24" across.
2. Transfer Turkey Outline To Plywood
You can do this by placing graphite paper under your pattern pieces and using a stylus to press down on the lines of the pattern, transferring the pattern to the wood. Or, you can "free hand" draw the pattern onto the wood, using the pattern as a guide. Refer to the photo that is posted at the end of the article.
3. Cut Out The Turkey From The Plywood
Use a saber saw to cut your turkey from the sheet of plywood. CAUTION: You must be skilled with the saw before attempting to use it. If you are not skilled at the use of a saw, and knowledgeable about its safety, find a skilled craftsman to cut this for you. Always take all usual safety precautions when cutting wood (dust mask, eye safety goggles, etc.).
4. Prepare The Turkey For Painting
Sand the front of the turkey until smooth. Use a tack cloth to remove dust.
Apply a coat of primer to both sides of the wood (use exterior paint if the turkey will be used outdoors). Let dry.
5. Paint The Turkey
Paint the front of the piece with desired colors and details. If you need help with the design, tape or staple string lines to the turkey to create temporary grid lines. Use a pencil to lightly draw the pattern lines onto the turkey. A grid makes copying a pattern much easier, because you now know precisely where lines should be.
Paint the back of the piece with 2 coats of any exterior paint or varethane.
Mount your turkey on a fence, post, or stake. He can also lean up against a tree or the house.

Turkey Grid
Refer to step 2 above.
Wood Crafts
Gorgeous custom painted floral design on wood boxes for use in bridal or baby shower, anniversary, birthday, or other special occasion. Video and pattern included.
Beautiful for any occasion! We created a wreath for Valentine’s Day. Make for baby’s room, spring, or any holiday.
Create a patriotic turkey for Thanksgiving yard decor. Cut from plywood and paint, using our free pattern - customize size for your needs.
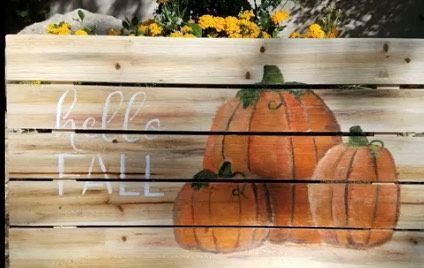
Create a wood pumpkin for fall yard decor. Cut from plywood and paint, using our free pattern - customize size for your needs.
Super easy DIY build an exterior table. I change up decor and use for all seasons and holidays.
Recycle your beautiful holiday centerpiece into a spring floral bouquet. Learn what to keep and what to replace.
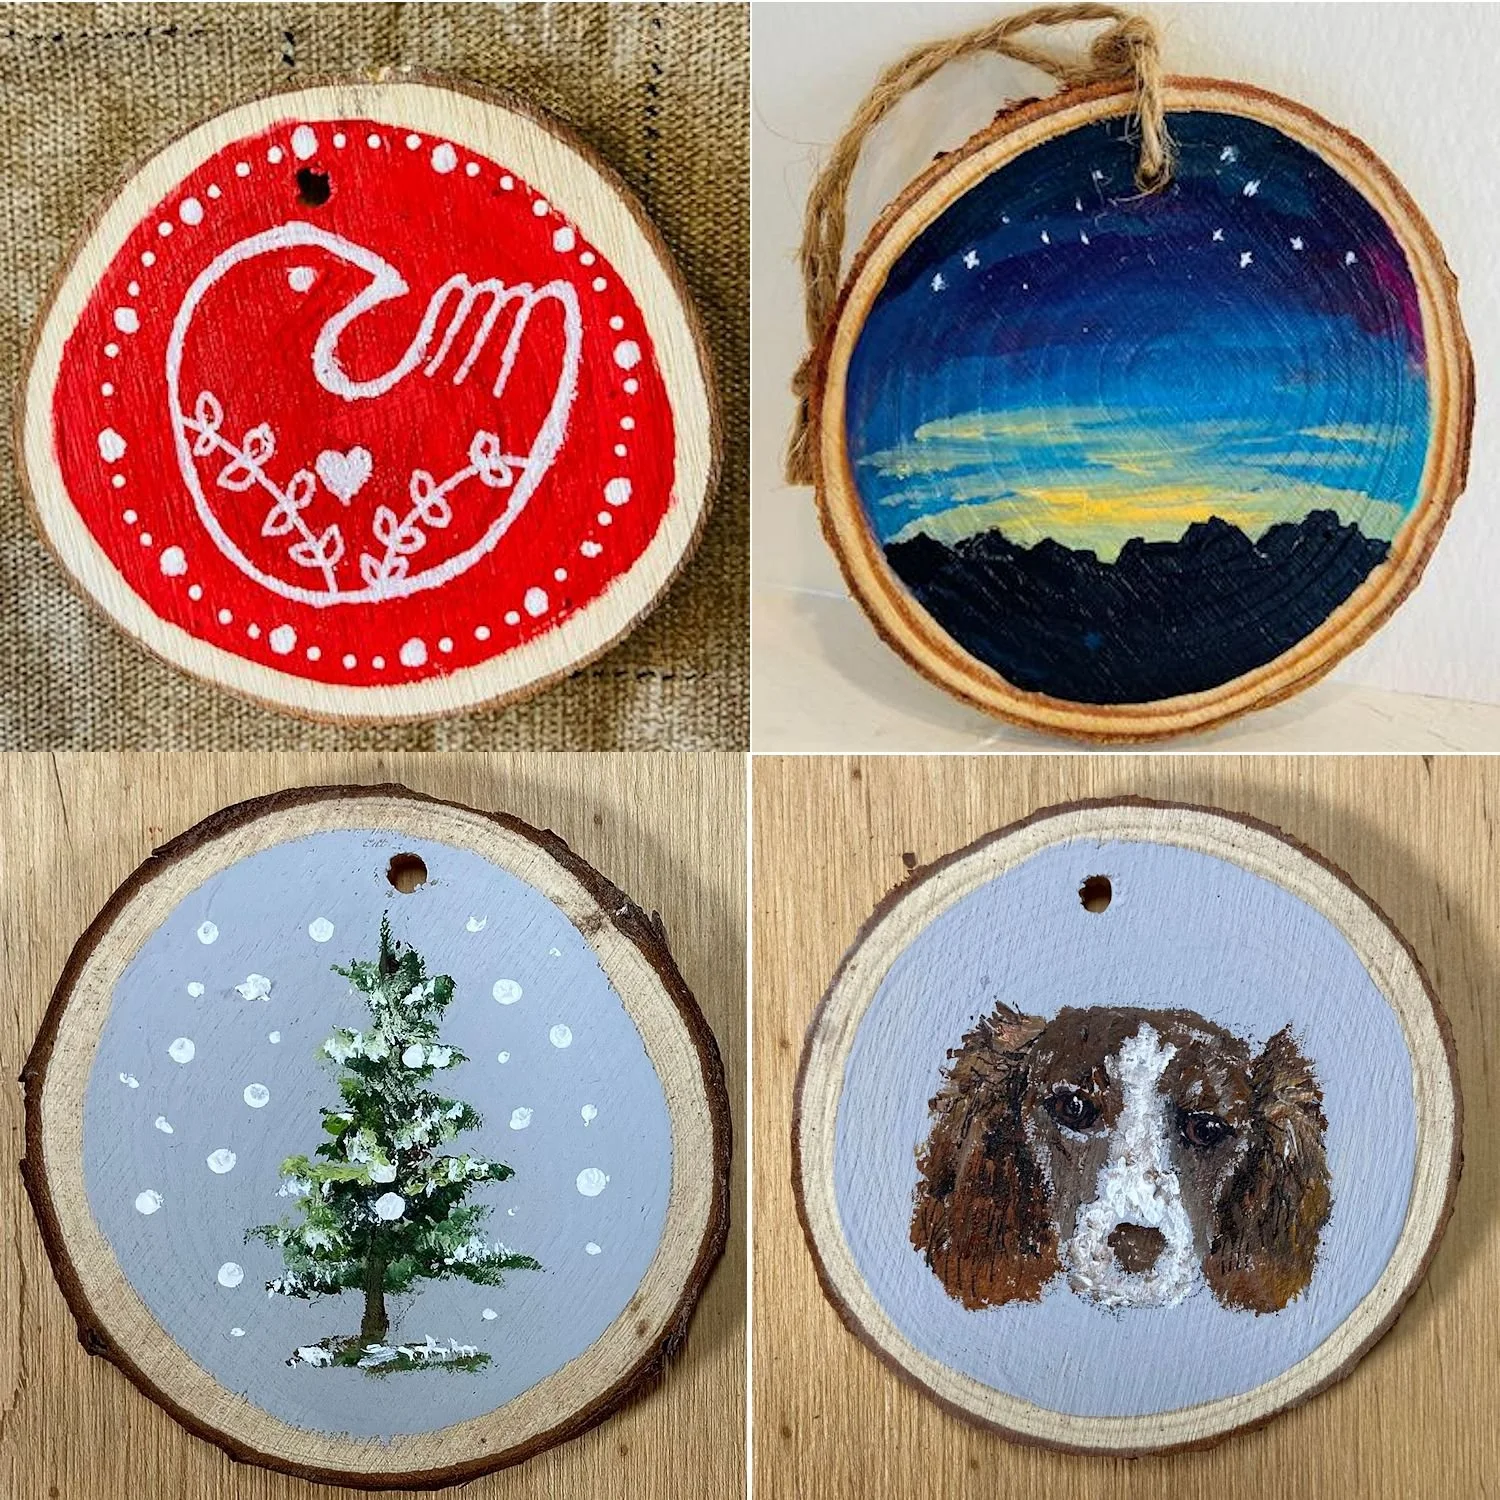
Paint beautiful Scandinavian, landscape, pets, or other scenes on wood rounds for use as Christmas, holidays, or special occasions.
Quick and easy. Illuminate a decorative bowl with battery powered fairy lights. Customize your bowl for any holiday.
Turn any flat surface into the perfect place to display your Christmas village, or any decorative items. Easy to make wood platform.
Holiday Sewing
Adorable, super easy stuffed cat ornament. Embroider or paint a face. Add a ribbon bow.
Swedish Dala Horse with surface crochet embellishment. Printable pattern and instructions. Intarsia and Tapestry crochet. Sized for table trivet. Also use in a blanket.
Learn Intarsia and Tapestry crochet. Bring Hygge into your home with this cozy, Scandinavian minimalist Christmas tree design. For blankets, pillows, hot pads.
Protect your lap from hot or cold dishes. Soft yarn and perfect size. Can also use for blankets or scarves.
Super easy scarf crochet pattern, using only double crochet. Back loop holds layers together.
Adorable 4-inch mini quilt patterns for use as coasters or doll bed. Ohio Star and center diamond.
Super easy to make. Great for beginner project. Straight stitch and mitered corner.
Easy to follow instructions and free printable pattern. Lined and beautifully finished inside and out.
Christmas Pillow featuring our Christmas Tree quilt block, a decorative flange, and an envelope back opening.
Super Simple and Fast placemat pattern. Sew or no-sew. Uses pre-quilted fabric. DIY pre-quilted fabric instructions included.
Christmas Cat pillow. Make one for each holiday! Adorable for baby’s room. Embroider or paint the face.
Reversible placemat pattern with borders. Use fusible fleece for a quick and easy, padded placemat.
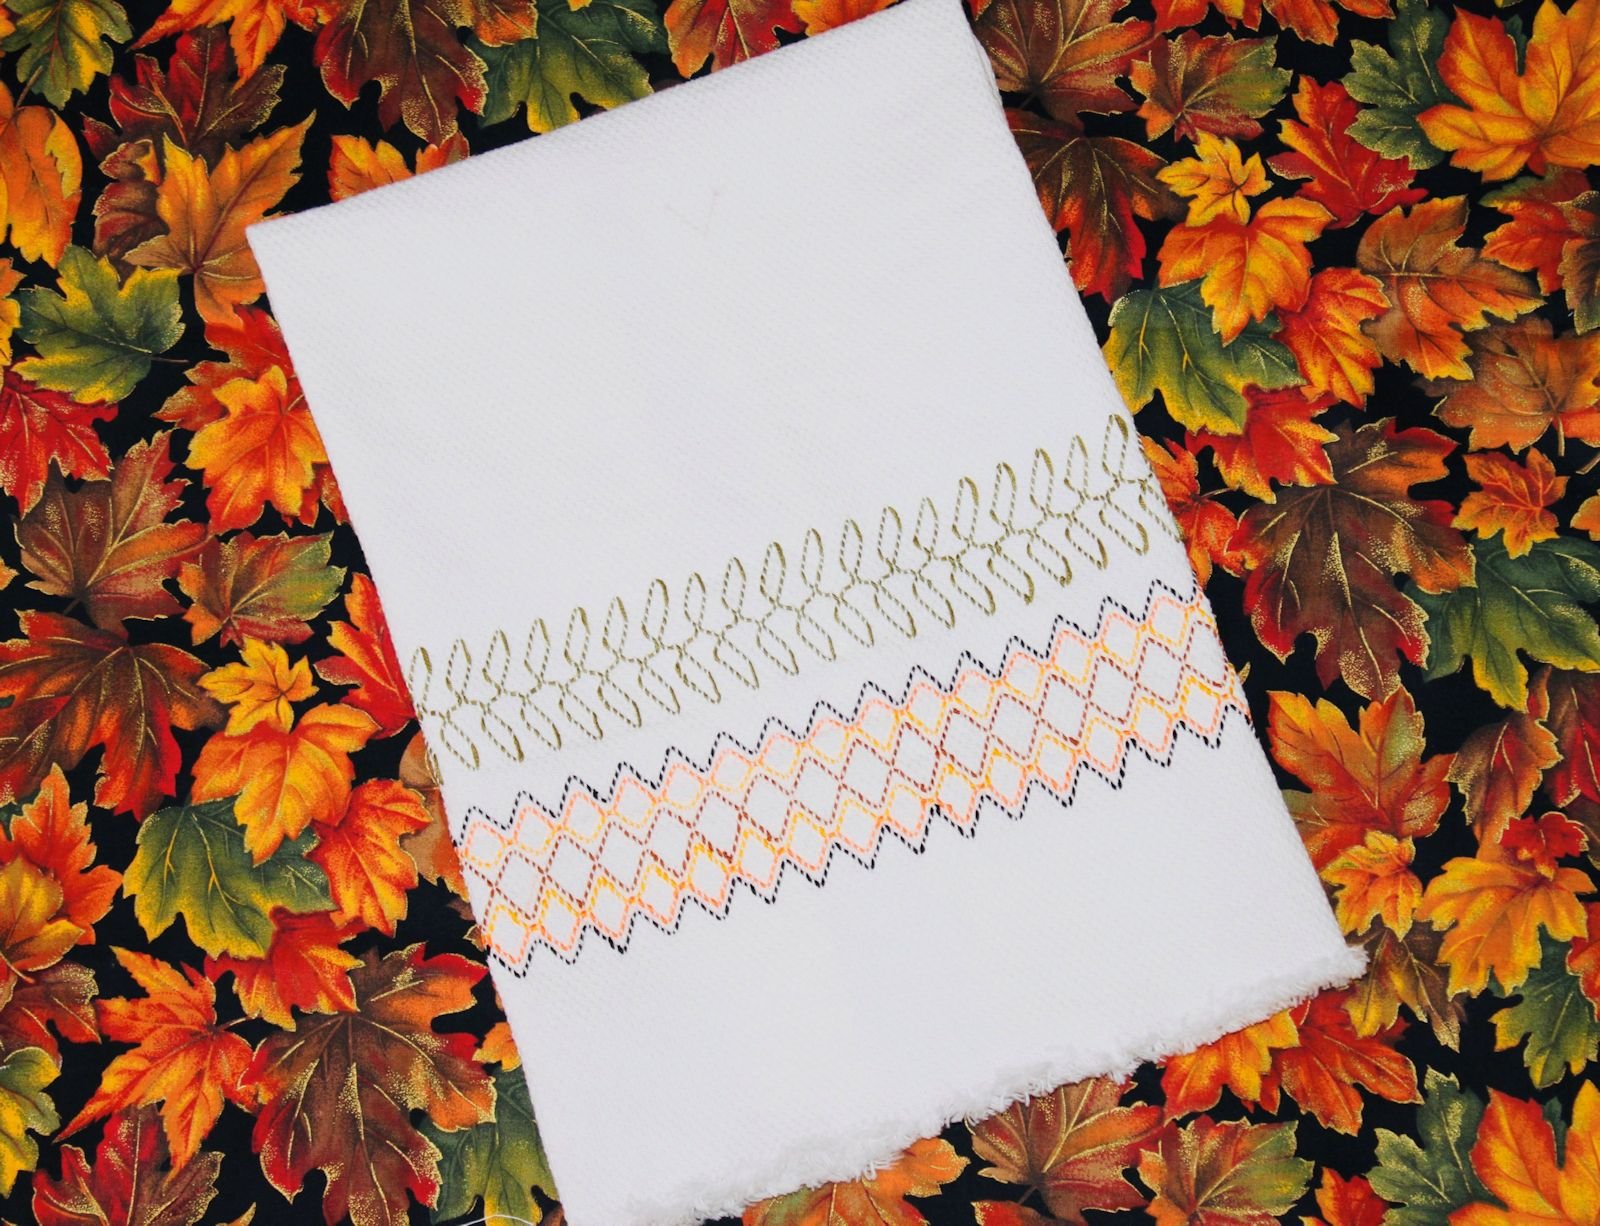
Learn the art of huck weaving - also known as Swedish weaving. Use inexpensive huck toweling to create beautifully decorated items.
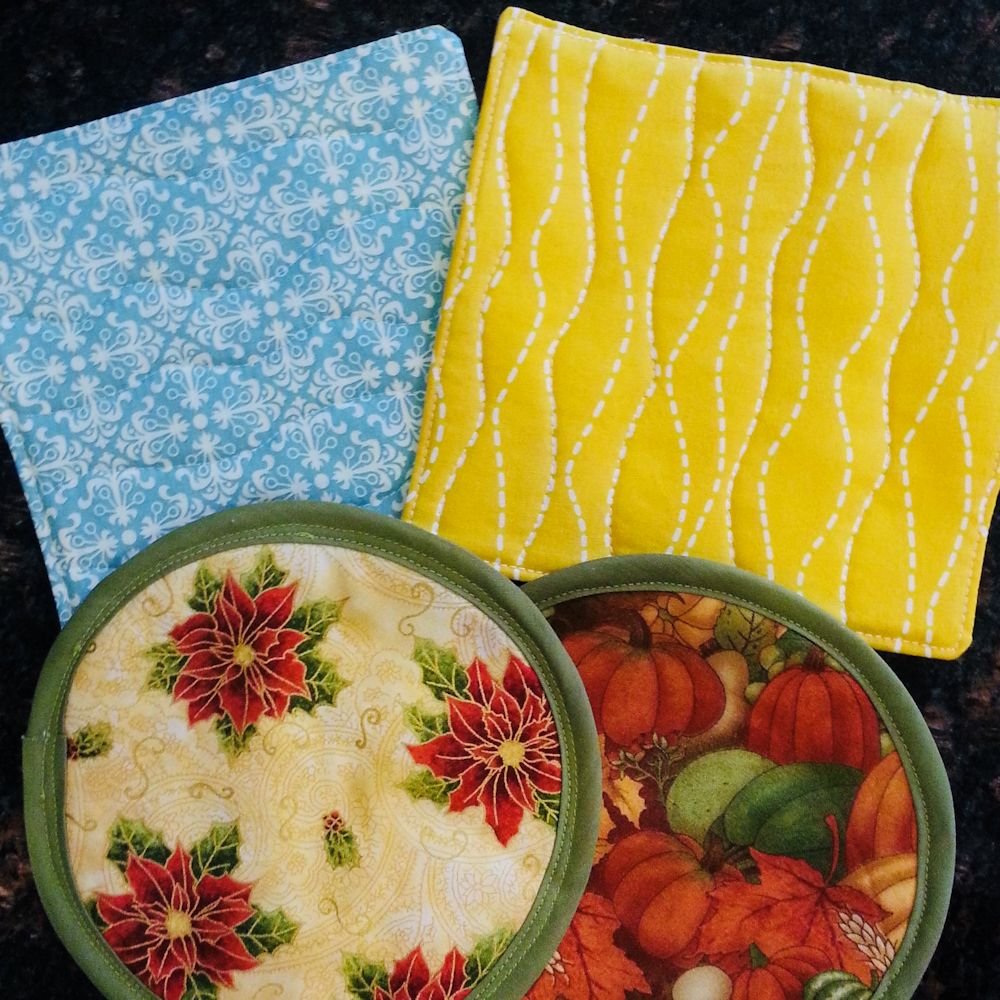
Super easy decorative table trivet or hot pad free sewing pattern. Create for each holiday.
Home Improvement
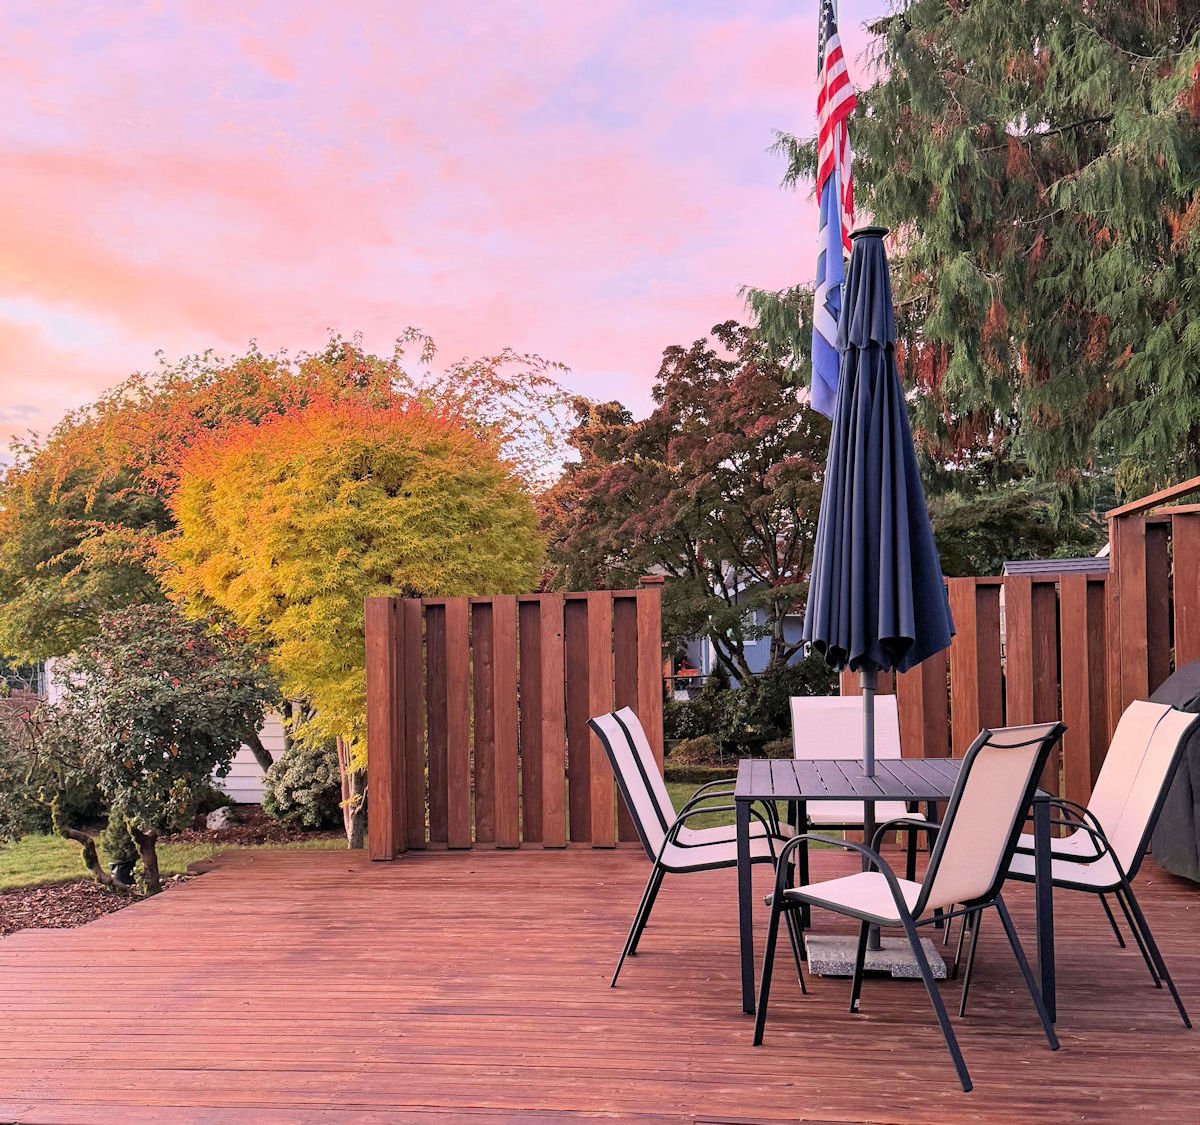
Protect your wood deck from the elements with proper prep and quality stain. Proper maintenance enhances the life span of a wood deck. Protect from snow, rain, freezing ice, hot sun.
Create an opening in a deck fence and add an easy-to-install step. Improve access and view of your yard beyond your deck.
Install a secure fencepost that will withstand ground moisture. Strongly secured with concrete footing.
Rejuvenate your rusty old chain link fence by adding fresh paint. Learn the tricks to creating a beautiful like-new fence.
Protect your blueberries from birds with a DIY cover. Easy to create using netting and PVC frame.
Keep garden maintenance down by using a weed barrier. Spend time up front to save time over the long run.
DIY personalized house address sign. Free mountain pattern provided. Quick and easy project to dress up your home.
Build a beautiful ramp with decking top for your garden shed. Step by step instructions.
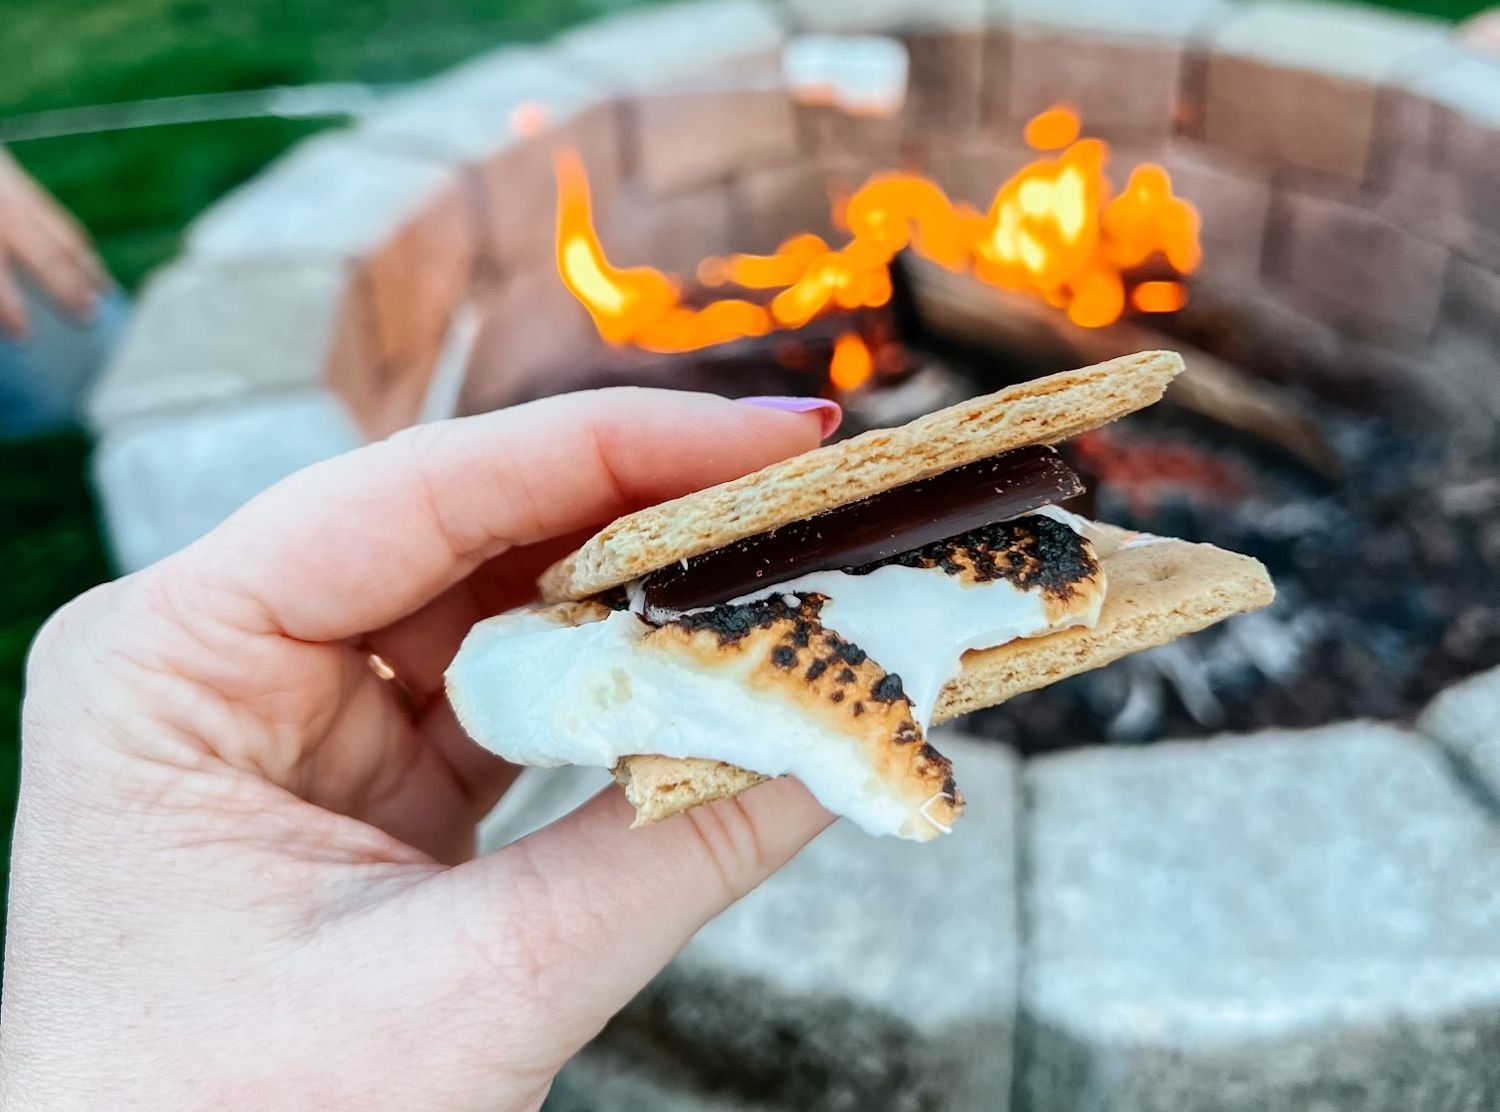
Easy, portable DIY firepit made from reclaimed landscape bricks. Create memories with family and friends.
By choosing the right tools, you can do your own mowing and edging. Proper weight and size is the key. DIY yard maintenance tools.
Turn a boring wall into a beautiful, functional space. Calculate spacing. Wall molding, trim & coat hooks.
Spruce up your closet laundry. Paint, better lighting, and new shelves help mood and organization.
Transform an accent wall by installing shiplap. Very easy with our step-by-step directions. Part 3 of our fireplace makeover.
Refinish an out of date fireplace hearth with chalk paint. Part 4 of our fireplace makeover.
Refinish cabinets to lighten and brighten a room. Part 2 of our fireplace makeover series.
Exterior stucco fireplace makeover. Learn how to repair or replace loose tiles, fill cracks, and re-paint.
Building plans for elevated wood flower boxes. Save your back and add beauty to your yard.
Transform your fireplace by whitewashing the old brick. Easy, with beautiful results. You can do this!
Repair and paint an old shed to breathe new life into it. Quick and easy landscape upgrade.
Learn how to remove carpet, linoleum, and subfloor. Do it yourself to save money - plus it will be done to your satisfaction, and you can ensure all the mess is properly cleaned up.
Instructions and safety tips on how to remove a sparkly ceiling. Add new texture and paint. With the right tools and motivation, you can do it!
Lifestyle Blog
Our traditional Fattigman Day tradition. Swedish cookie making instructions with printable recipe.
From winter storm watching to outdoor recreation to social gatherings: our favorite activities for the dark and cozy time of year.
There is nothing like hearty butternut squash soup to add warmth to a cold, blustery day. Learn our secrets for creating an easy, flavorful soup.
Nature provides equal access to the magnificence of wild places. Joy and entertainment are not purchased; they are experienced.
Hygge: emotional wellbeing, content, cozy. Our favorite projects for creating hygge in your home.
How to choose the right e-bike. Biking in the fall is magical. Perfect temps and gorgeous color. Comfort and safety are key to enjoyment, however.
Animals teach us a lot about transitioning from summer to winter. Completing projects in autumn saves us time in spring.
Christmas eve is coming! Need some great homemade gift ideas that you can fit into your busy schedule? Look no further!














Rustic wood bar made from wood pallets. Quick and easy.