Reversible Placemat
Also see:
Follow Our Adventures
Easy Sewing Patterns
Home Improvement
Disclosure: This site contains affiliate links. As an Amazon Associate, I earn from qualifying purchases. Clicking on links, and purchasing products, may result in the seller paying us compensation - at no extra cost to you. Affiliate links are in green.
Reversible Placemats - Two Styles
Make both sides the same style, or make the back out of just one piece. Elegant on one side and casual on the other, or mix up holidays and other occasions to create holiday placemats, seasonal placemats, or special occasion or every day. Economical and easy. All it takes to create 2 placemats is 1 fat quarter of fabric #1 for the main fabric of one side, and one fat quarter of fabric #2 for the main fabric of the reversible side. Mix and match strips for the borders. All patterns, images and text © Christina Sherrod of CraftAndFabricLinks.com and SpruceAndFjell.com unless otherwise noted.
These instructions can be used to create hot pads or trivets. Just remember which side of your finished piece will be against the hot surface, and layer the insulation and fabric accordingly.
I also used 1/2 yard of fusible fleece. It takes just a bit more to add the table runner. Besides being quick to make, this project is very economical.
NOTE: Fusible fleece adds a nice padding. It noes NOT provide insulation. If you need insulation against heat or cold, use cotton batting and Insul-Bright.
Click photos for larger view.
Soft Padding
This project uses Fusible Fleece. This provides nice padding. I often use fusible fleece for this type of project.
SUPPLIES
Tip: I provide exact lengths of strips. It is safer to cut the strips a bit longer than needed and then trim as necessary.
FINISHED SIDE A: one center section measuring 10" x 15", and one border measuring 1.5"
FINISHED SIDE B: one center section measuring 10" x 15", and one border measuring 1/2" and one border measuring 1"
Side A Main Piece: 1 fat quarter (I used large floral)
Side A 1.5" Border: 4 strips measuring 2" x 10.5", and 4 strips measuring 2" x 18.5" (I used dark aqua print: 1 fat quarter is more than enough)
Side B Main Piece: 1 fat quarter (I used light aqua print)
Side B 1/2" Border: 4 strips measuring 1" x 11.5", and 4 strips measuring 1" x 15.5" (I used cream print: 1 fat quarter is more than enough)
Side B 1" Border: 4 strips measuring 16.5" x 1.5", and 4 strips measuring 13.5" x 1.5" (I used orange print: 1 fat quarter is more than enough)
1/2 yard fusible fleece (fusible fleece needs to be 40" wide)
Sewing Supplies: pins, sewing ruler, scissors, thread to match background
INSTRUCTIONS
NOTE: USE 1/4” SEAMS
1. Side A: Cut 2 top pieces, each measuring 10.5" wide by 15.5" tall.
2. Side A: Cut strips for Side A: 4 strips measuring 2" x 10.5", and 4 strips measuring 2" x 18.5"
3. Repeat for Side B (refer to section above for measurements for strips)
TIP: I use a large 6” width sewing ruler with a rotary cutter and mat to cut fabric that requires straight line cutting.

4. Stitch the two side borders to Side A main piece.

5. Stitch the top and bottom border to Side A main piece. press all seams.
6. Stitch the top and bottom borders to Side B main piece.
7. Stitch the two side borders to Side B main piece. Press all seams.
8. Following the directions provided with the fusible fleece, press the fusible fleece to the wrong side of Side A. Refer to the first image below.
9. Lay Side A right side up. Lay Side B over Side A wrong side up. Pin layers together.
10. Stitch around perimeter using a 1/4" seam allowance. Leave a four or five inch opening for turning right side out. See diagram at right.
11. Trim corners (cut corners off, diagonally, close to stitching).
12. Topstitch around entire outside edge, 1/8" from edge. See diagram at right.
NOTE: It's difficult to get perfectly square corners. They will probably be at least a tiny bit rounded. If you make a sharp corner with your topstitching, your rounded corners will show more. Therefore, I stitch up to within a stitch of the corner, then turn the corner slightly and make one or two stitches diagonally to the corner, then turn slightly and stitch on down the next side. Be sure your needle is DOWN when you come to a corner. This allows you to turn your mat without pulling the needle away from the mat. Some machines allow you to designate a needle down position when stopping (a very nice feature).
Kitchen Sewing
Rustic table round. Quick and easy crochet using bulky yarn. Add rows to create placemat; omit rows to create coasters.
Woven design crochet table trivet. Printable pattern grid. Intarsia crochet. Sized for table trivet; enlarge as needed.
Swedish Dala Horse with surface crochet embellishment. Printable pattern and instructions. Intarsia and Tapestry crochet. Sized for table trivet. Also use in a blanket.
Learn Intarsia and Tapestry crochet. Bring Hygge into your home with this cozy, Scandinavian minimalist Christmas tree design. For blankets, pillows, hot pads.
Learn the Ohio Star quilt block while making this Independence Day placemat with watermelon applique. Included: instructions for solid center block.
Learn to crazy quilt! Hot pad, quilt block, or decorative pillow block. Fun way to use fabric scraps.
Saucepan fudge brownie mix gift set. Gift Bag sewing pattern, recipe, and printable label. Valentine gift - or any special day.
Adorable 4-inch mini quilt patterns for use as coasters or doll bed. Ohio Star and center diamond.
Valentine’s Day or Independence day. Heart or full flag applique with directions for hot pad and shirt applique.
2 patterns! Pieced hot pad, and appliqued trivet. Use for quilt, hot pad, trivet, pillows.
Easy pattern for sewing a kitchenaid appliance cover. Instructions for seam binding or border finishing. Can be modified to fit any kitchen appliance.
Super Simple and Fast placemat pattern. Sew or no-sew. Uses pre-quilted fabric. DIY pre-quilted fabric instructions included.
Reversible placemat pattern with borders. Use fusible fleece for a quick and easy, padded placemat.
Learn the art of huck weaving - also known as Swedish weaving. Use inexpensive huck toweling to create beautifully decorated items.
Super easy decorative table trivet or hot pad free sewing pattern. Create for each holiday.
Remodel Projects
Protect your wood deck from the elements with proper prep and quality stain. Proper maintenance enhances the life span of a wood deck. Protect from snow, rain, freezing ice, hot sun.
Create an opening in a deck fence and add an easy-to-install step. Improve access and view of your yard beyond your deck.
Install a secure fencepost that will withstand ground moisture. Strongly secured with concrete footing.
Rejuvenate your rusty old chain link fence by adding fresh paint. Learn the tricks to creating a beautiful like-new fence.
Protect your blueberries from birds with a DIY cover. Easy to create using netting and PVC frame.
Keep garden maintenance down by using a weed barrier. Spend time up front to save time over the long run.
DIY personalized house address sign. Free mountain pattern provided. Quick and easy project to dress up your home.
Build a beautiful ramp with decking top for your garden shed. Step by step instructions.
Easy, portable DIY firepit made from reclaimed landscape bricks. Create memories with family and friends.
By choosing the right tools, you can do your own mowing and edging. Proper weight and size is the key. DIY yard maintenance tools.
Turn a boring wall into a beautiful, functional space. Calculate spacing. Wall molding, trim & coat hooks.
Spruce up your closet laundry. Paint, better lighting, and new shelves help mood and organization.
Transform an accent wall by installing shiplap. Very easy with our step-by-step directions. Part 3 of our fireplace makeover.
Refinish an out of date fireplace hearth with chalk paint. Part 4 of our fireplace makeover.
Refinish cabinets to lighten and brighten a room. Part 2 of our fireplace makeover series.
Exterior stucco fireplace makeover. Learn how to repair or replace loose tiles, fill cracks, and re-paint.
Building plans for elevated wood flower boxes. Save your back and add beauty to your yard.
Transform your fireplace by whitewashing the old brick. Easy, with beautiful results. You can do this!
Repair and paint an old shed to breathe new life into it. Quick and easy landscape upgrade.
Learn how to remove carpet, linoleum, and subfloor. Do it yourself to save money - plus it will be done to your satisfaction, and you can ensure all the mess is properly cleaned up.
Instructions and safety tips on how to remove a sparkly ceiling. Add new texture and paint. With the right tools and motivation, you can do it!


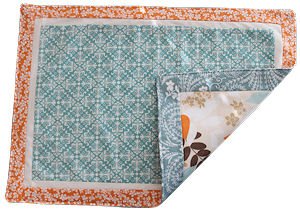


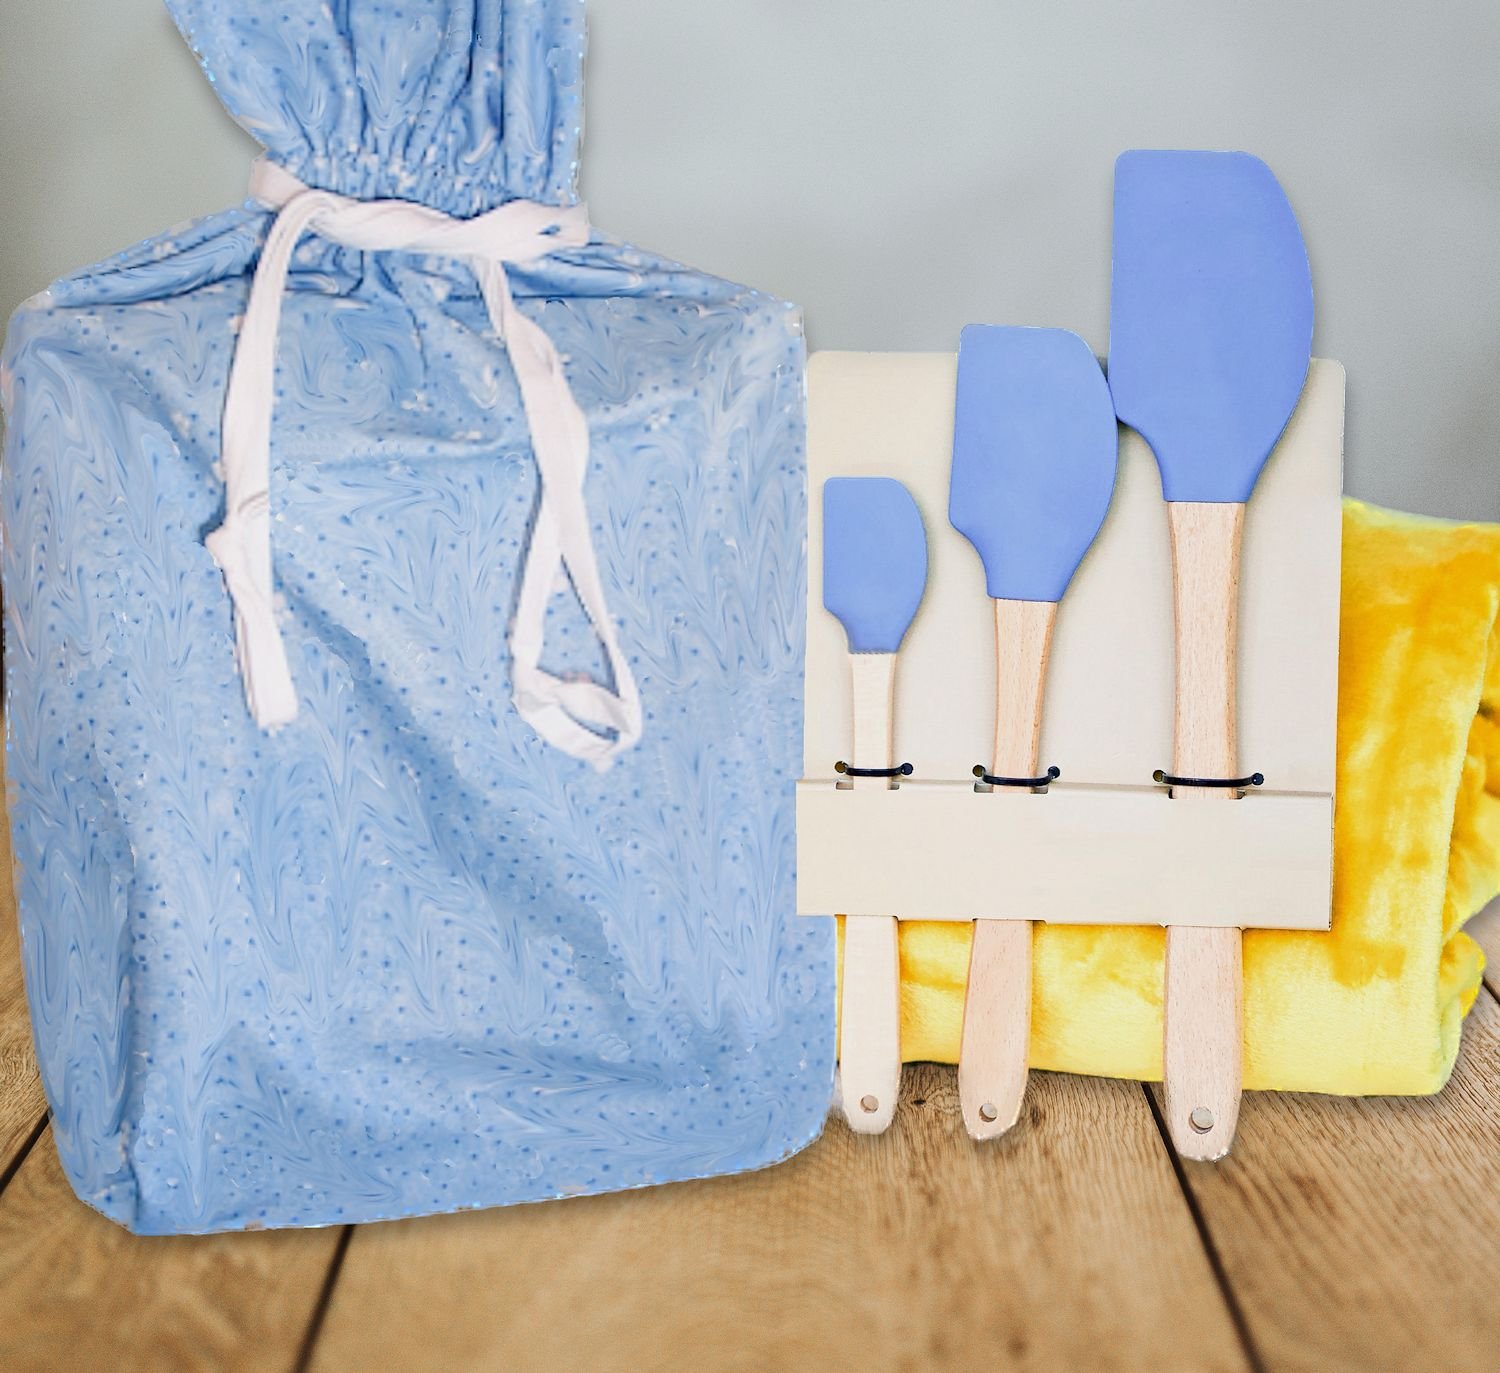

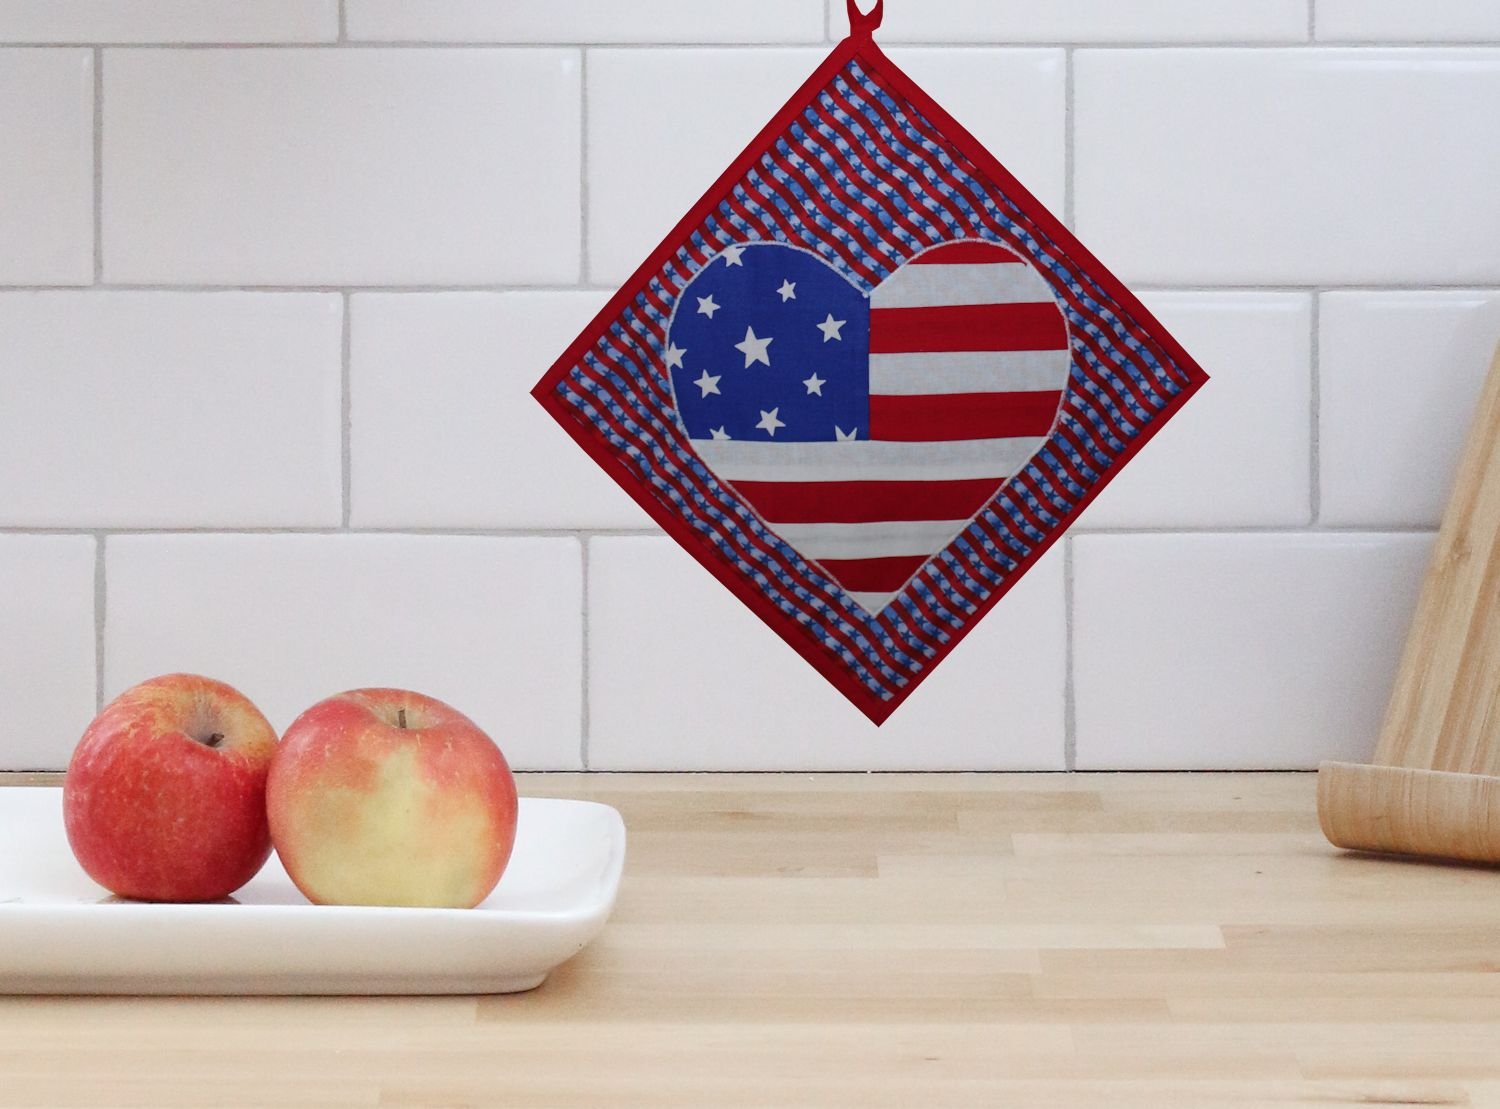


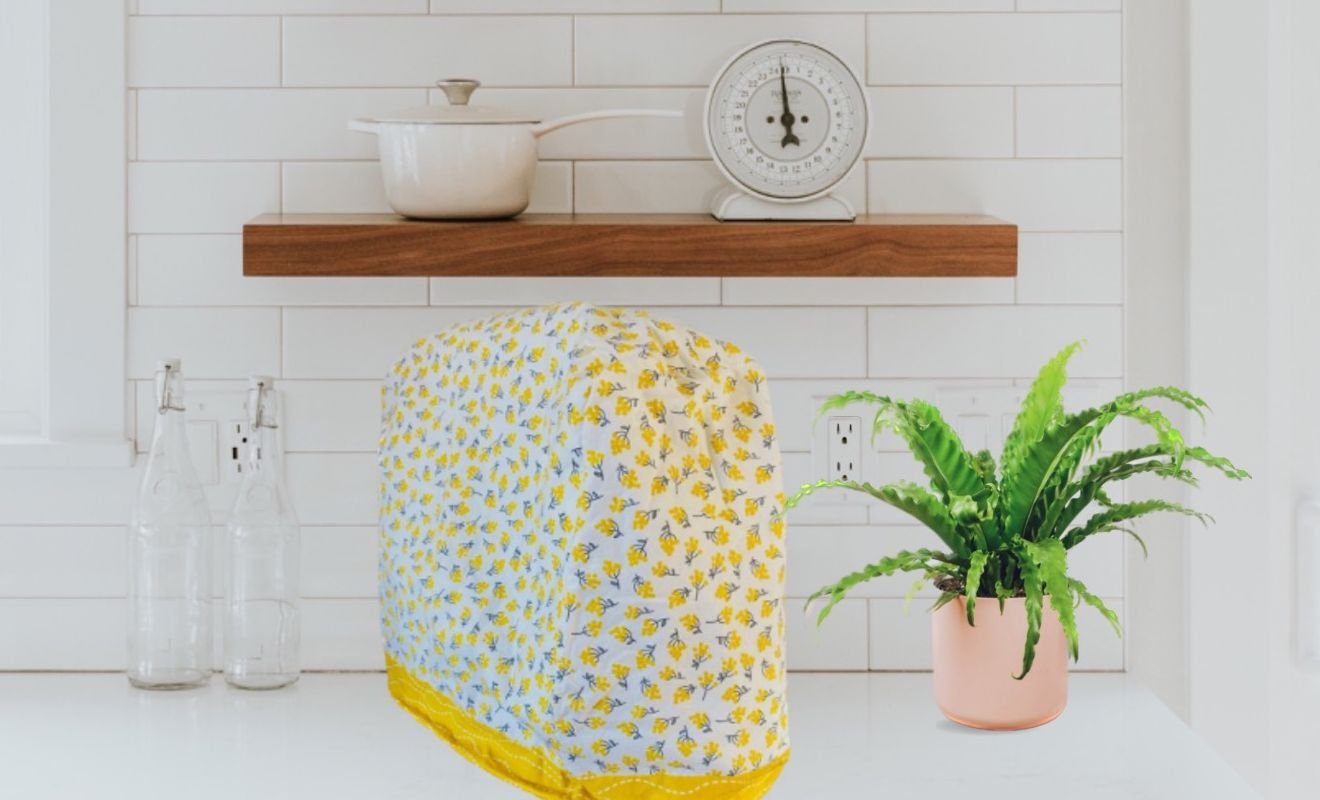


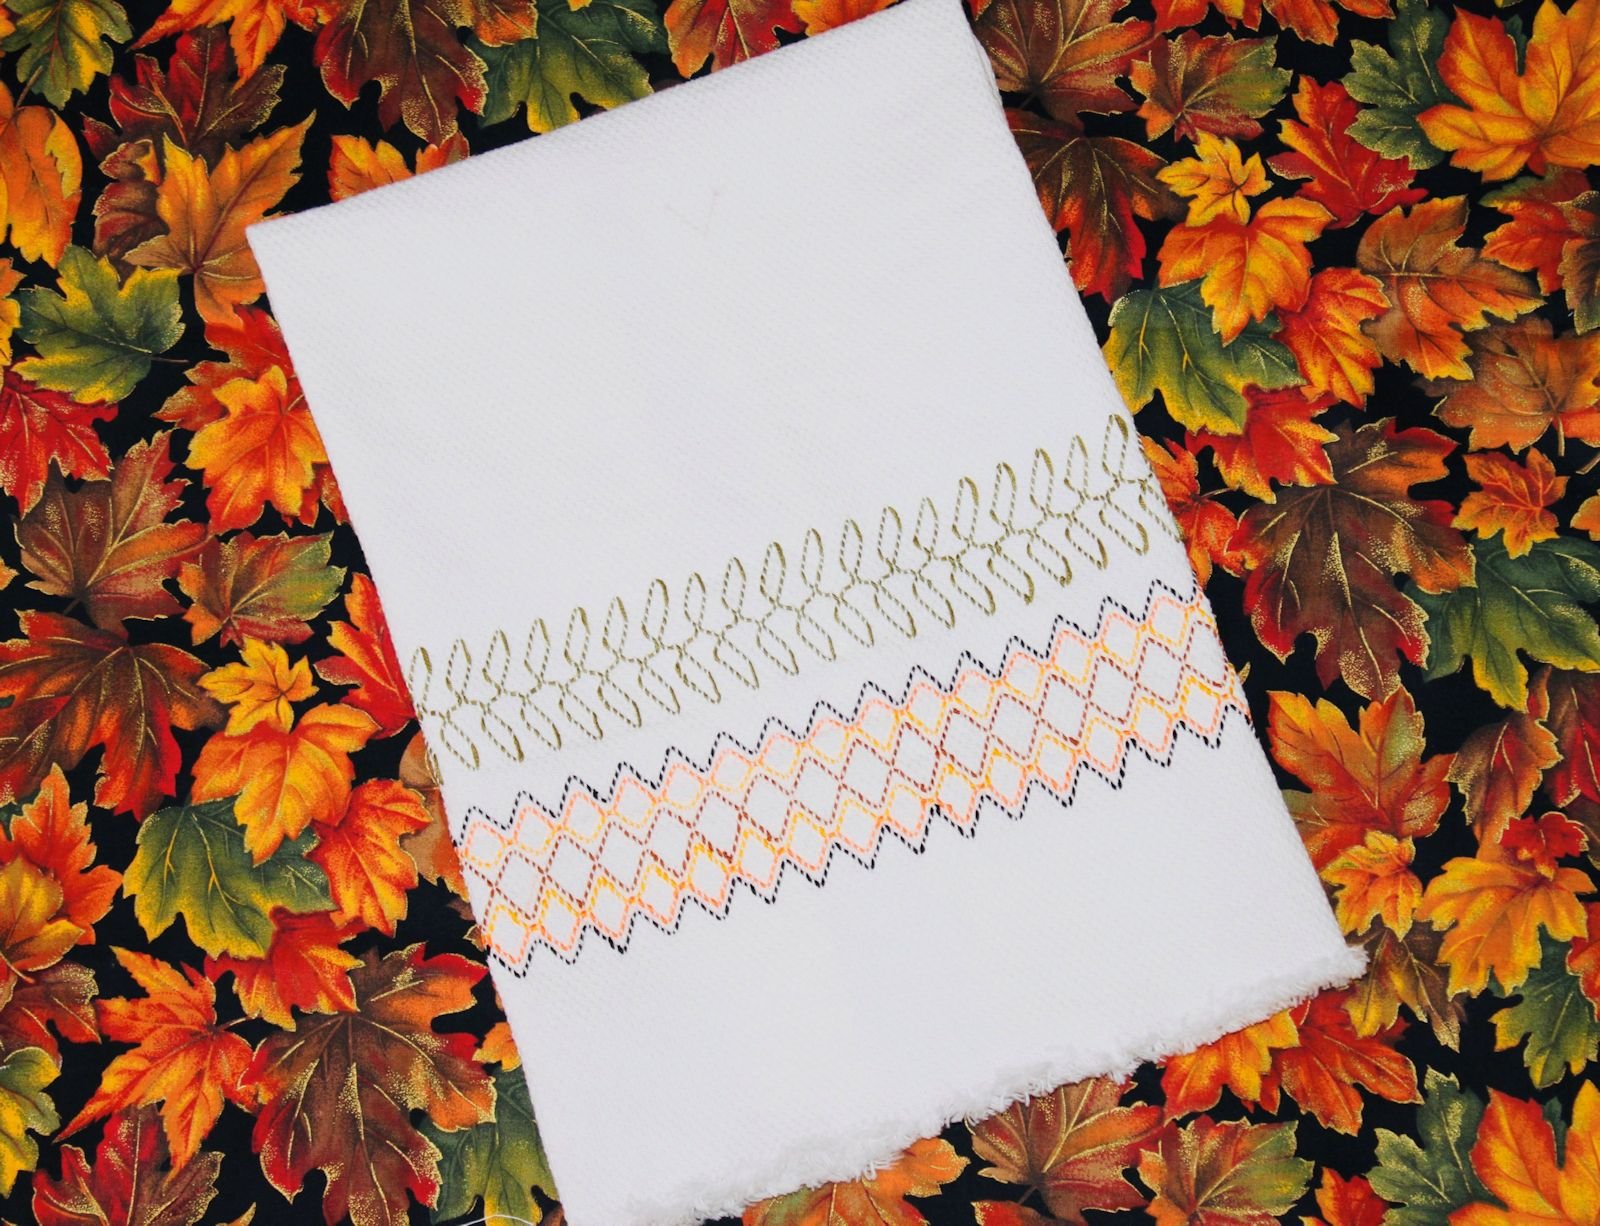
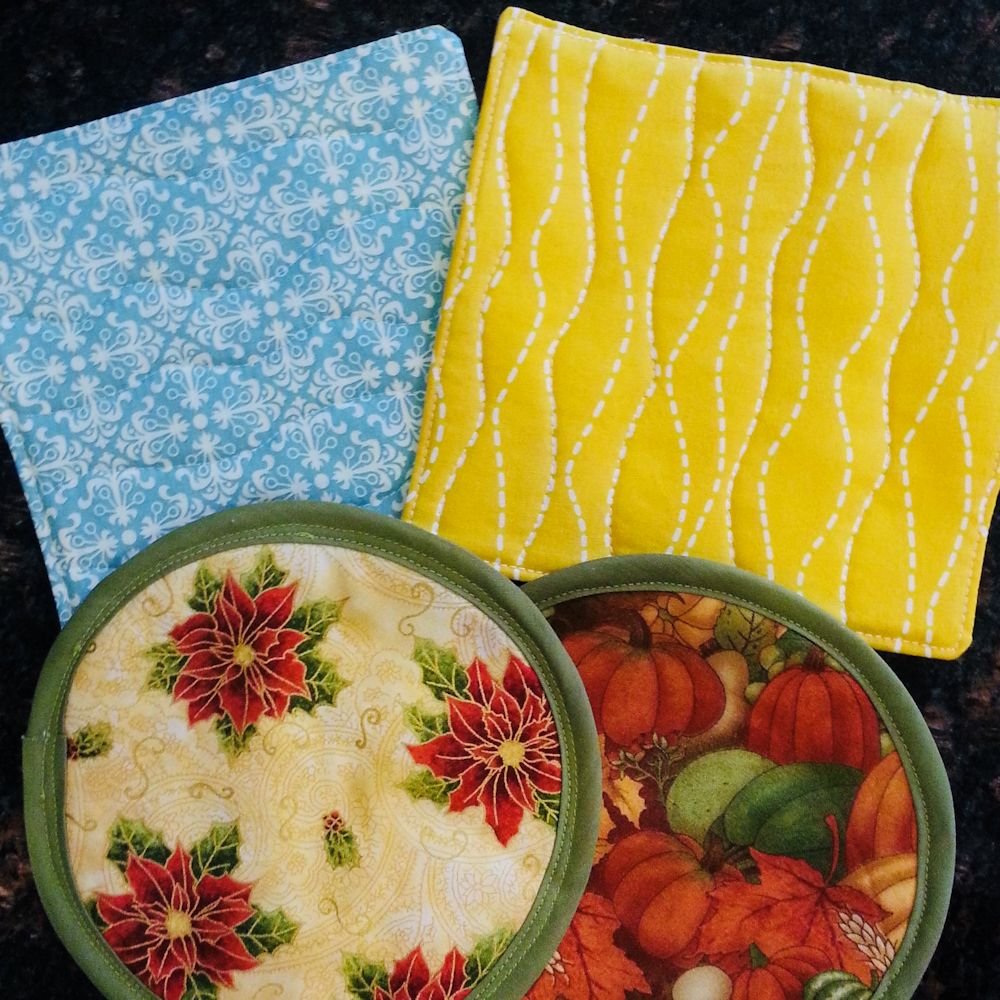








Table trivet - fast crochet with bulky yarn.